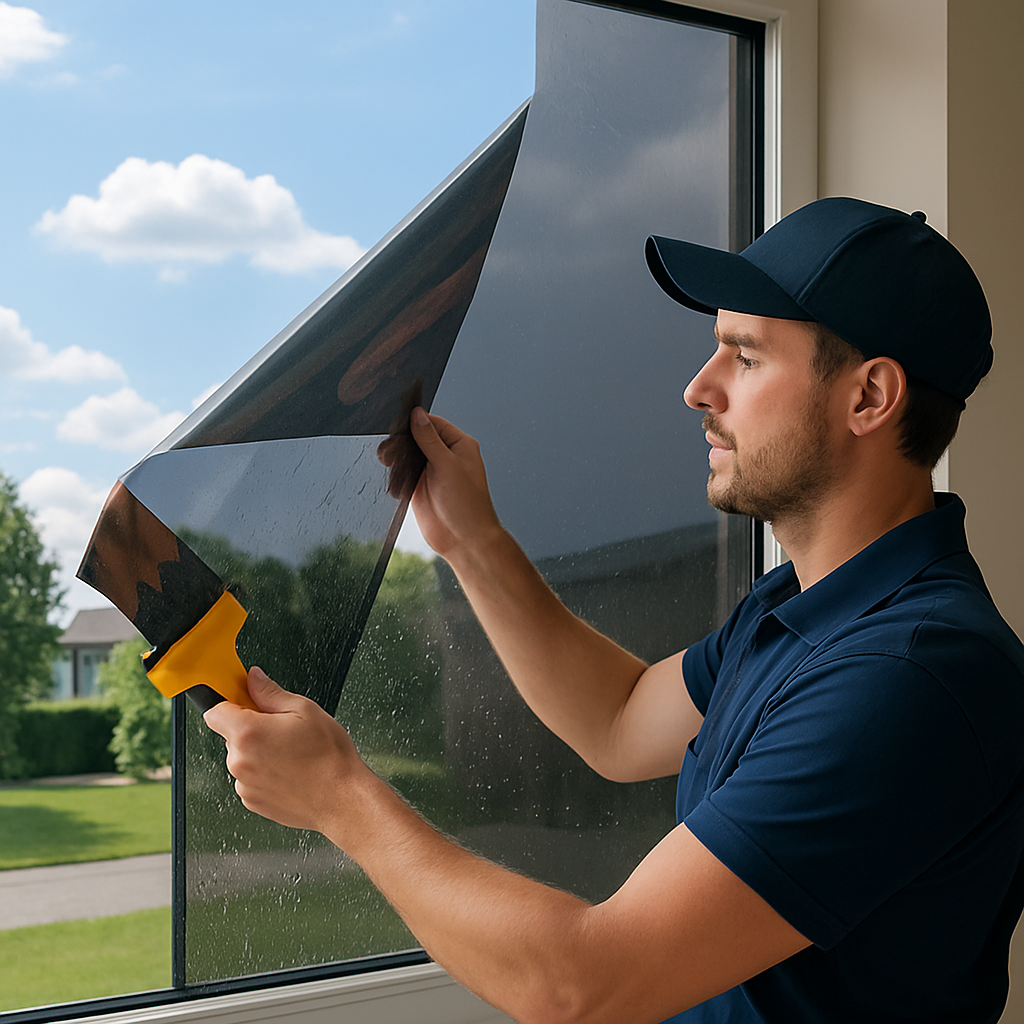
If your rooms overheat in summer, glare ruins workspaces, or sunlight is bleaching floors, window tinting is a low-disruption retrofit that cuts heat, reduces glare, protects interiors, and adds privacy. This guide walks Oregon homeowners and facility managers through the performance metrics that matter, film types and realistic energy savings, cost and payback estimates, installation expectations, and how to choose a qualified local installer. Read on to compare concrete film options for residential and commercial projects in Portland, Salem, Eugene, and Bend and take the next step with confidence.
How Window Films Produce Benefits for Property Owners
Direct physical mechanisms: Window films change how glass handles sunlight through three actions: reflection (bouncing energy away), absorption (holding heat in the film and dissipating it), and spectral rejection (blocking specific bands such as near‑infrared while leaving visible light alone). Those mechanisms are what cut peak solar load, reduce glare, and stop UV from bleaching fabrics — not any marketing claim about being a replacement for new windows.
Why that matters day to day: When a film reflects or rejects infrared, interior surfaces and air behind that window stop spiking during afternoon sun and the HVAC compressor cycles less aggressively. When a film blocks UV and reduces transmitted light, carpets and furniture fade slower and computer screens are easier to read. Those are operational benefits: lower peak cooling demand, fewer tenant complaints, and longer interior lifecycles.
Tradeoffs to plan for: Darker, highly absorbing films cut heat best but reduce daylight and view; metalized films reject heat cheaply but can interfere with Wi Fi, RFID, or radio reception and may accelerate seal failures on older insulated glass units. Spectrally selective ceramic films cost more up front but usually offer the best balance for owners who want bright interiors plus heat control.
A small, practical performance note: Manufacturer datasheets for high‑end films show that advanced products prioritize infrared rejection while maintaining high visible light transmission — many list infrared rejection figures in the high 90s percent range while keeping VLT suitable for living rooms and offices. For a summary of how films affect window performance, see the U.S. Department of Energy guidance on window films Energy Saver.
Real application and what to expect
Concrete example: A Portland bungalow with west‑facing living room glass installed a spectrally selective ceramic film recommended during a site survey. Occupants reported noticeably less late‑afternoon glare, the thermostat setpoint stayed 2–3 degrees higher without sacrificing comfort, and leather furniture showed markedly less direct sun exposure on problem panels within weeks. This is typical: you will feel comfort changes before you see large meterized bill differences.
- Use case — glare and workstations: Offices and home offices get immediate productivity wins from anti‑glare and high VLT films that cut reflected hotspots without darkening the room.
- Use case — storefronts and retail: Reflective or low‑emissivity films reduce display fading and improve customer comfort during peak sun hours, which can increase dwell time.
- Use case — privacy and decorative needs: Frosted or printed decorative films deliver privacy without heavy renovation and are reversible if tenant plans change.
Practical judgment: In practice for Oregon properties, spectrally selective ceramic and multilayer films deliver the best net value when you need both bright interiors and heat control. If budget is tight and view loss is acceptable, darker or metalized films give faster payback but bring the side effects noted above. For a site‑specific recommendation and a mockup, schedule a survey with a certified installer such as our residential or commercial teams (residential, commercial).
Key Performance Metrics Property Owners Need to Understand
Start with the numbers that actually move the needle. When evaluating window tinting, focus on the metrics manufacturers use on datasheets, not marketing adjectives. Those numbers tell you how much light, heat, and UV will pass through glass after film is applied, and they determine whether a product will reduce cooling peaks, preserve daylight, or protect interiors.
Visible Light Transmission (VLT)
VLT explained: VLT is the percentage of visible daylight that gets through the glazed assembly after film. Higher VLT keeps interiors bright and preserves view; lower VLT reduces glare and increases privacy but darkens rooms. Practical tradeoff: if you want a sunny living room or storefront display, choose films with VLT in the upper ranges; if glare and privacy are higher priorities, accept lower VLT.
Total Solar Energy Rejected (TSER) and Solar Heat Gain Coefficient (SHGC)
Why both matter: TSER is a simple percentage of incoming solar energy the film rejects. SHGC is the fraction of total solar heat transmitted through the entire window assembly and is what HVAC models use. Manufacturers often highlight TSER or infrared rejection because the numbers look large; for energy and cooling outcomes, ask for the SHGC of the glazed unit with film applied.
Practical insight: prioritize SHGC when your goal is lowering air conditioning loads. If you only compare TSER you can be misled into thinking two films perform the same in-situ when their whole-window SHGCs differ.
U value and winter performance
What film does for insulation: window film is not a window replacement. It can slightly change effective U value by reducing radiative transfer and lowering emissivity, but gains are modest compared with installing new insulated glass. If winter heat loss is your primary problem, film is a secondary measure; if cooling and glare are the priority, film is highly effective.
UV Rejection, Visible Light Reflectance, and Other specs
UV protection matters for interiors. Look for the UV rejection percentage on datasheets when protecting flooring, fabrics, and artwork. Also check visible light reflectance – high reflectance can change exterior appearance and affect storefront aesthetics or neighbor relations.
- Datasheet checklist: Verify VLT, SHGC (or SHGC with film), TSER, UV rejection percent, visible light reflectance, and any NFRC or laboratory test references.
- Warranty and durability: Note lifetime or year limits for film performance and whether adhesive or delamination is covered.
- Compatibility checks: Ask your installer about insulated glass unit condition and whether the film type is safe for that IGU to avoid accelerated seal failure.
Concrete example: A Salem condo with framed prints facing east selected a high UV rejection decorative film. After installation the owner reported no further noticeable fading on the prints within six months; the installer provided the datasheet showing UV blocking and the film warranty, which made the choice straightforward for a space-sensitive tenant improvement.
Common misunderstanding: installers and owners sometimes fixate on infrared rejection percentages promoted in marketing. In practice, whole-window SHGC and VLT determine occupant comfort and energy bills. Ask for measured or modeled SHGC for your specific glass type, not just standalone film numbers. For general background on how films affect window performance see the U.S. Department of Energy guidance at Energy Saver and compare manufacturer datasheets from vendors such as 3M or VISTA.
Types of Window Film and Real Product Examples
Different films solve different problems. Some are tuned to keep rooms bright while cutting heat, others prioritize privacy or security; picking by brand name alone is a mistake. Match the film family to the operational goal — view preservation, glare control, display protection, or forced‑entry mitigation — and accept the aesthetic and cost tradeoffs that follow.
Ceramic and spectrally selective films
Ceramic/multilayer films: These products use nonmetallic layers to block near‑infrared wavelengths while keeping visible light high. Practical value: they preserve daylight and sight lines for living rooms, offices, and view‑critical storefronts. Example product: Eastman VISTA ceramic series — recommended when you need heat control without the classic darkened look. Downsides: higher upfront cost and longer lead times for specialty tint shops. See VISTA for technical guides and sample specs.
Multilayer nano-technology (3M Prestige)
Multilayer nano films: 3M Prestige is the best known of this class. They reject heat aggressively while remaining relatively clear and nonmetallic, so you do not get radio or Wi Fi disruption. When to pick: high‑rise offices or premium homes where preserving view matters. Practical limitation: cost per square foot is toward the top of common retrofit options and certified installers matter for warranty support. See 3M Prestige for datasheets.
Reflective / metalized films
Metalized reflective films: These are the budget workhorses for storefronts and heavily sun‑exposed façades. They deliver noticeable shading and daytime privacy at a lower price. Tradeoffs include a mirrored exterior appearance, potential interference with some signals, and a higher risk of stressing older insulated glass seals. Use them where aesthetics are secondary to glare control and security.
Privacy, decorative, and frosted films
Decorative/frosted films: Options such as printed or etched‑look films (e.g., LLumar OMNI range) give privacy or branding without replacement glass. They are low‑disruption and reversible, but they typically offer modest solar control compared with technical heat‑rejection films. Ideal for bathrooms, conference rooms, and tenant improvements where appearance and flexibility matter more than peak cooling savings.
Security and safety films
Security films: Thicker films from lines like 3M Safety and Security are designed to hold glass fragments in place after impact. Real use cases are ground‑floor retail, schools, and retrofit locations where full laminated glass is cost‑prohibitive. Important constraint: safety film is not the same as laminated glazing and often requires mechanical anchoring for hurricane or blast standards — plan for additional labor and hardware.
| Product / Family | Best use | Main tradeoff or caveat |
|---|---|---|
| Eastman VISTA ceramic series | Bright interiors that need heat control (homes, offices) | Higher cost; choose certified installer for full warranty |
| 3M Prestige (multilayer) | High‑rise offices, premium storefronts wanting clear views | Top‑tier price; supplier certification recommended |
| LLumar / reflective metalized | Retail façades, privacy‑focused exteriors | Reflective look; possible signal interference and IGU stress |
| Decorative / frosted films | Bathrooms, conference rooms, branded glazing | Limited solar/heat rejection compared with technical films |
| 3M Safety & Security films | Ground‑floor protection, retrofit security applications | May require anchoring; not a full substitute for laminated glass |
Concrete example: A mid‑size Bend coworking space had afternoon workstation glare but demanded preserved views. The installer phased a 3M Prestige application on the south and west exposures over two weekends; staff reported reduced screen reflections and fewer thermostat complaints, and management avoided the darker look of metalized options.
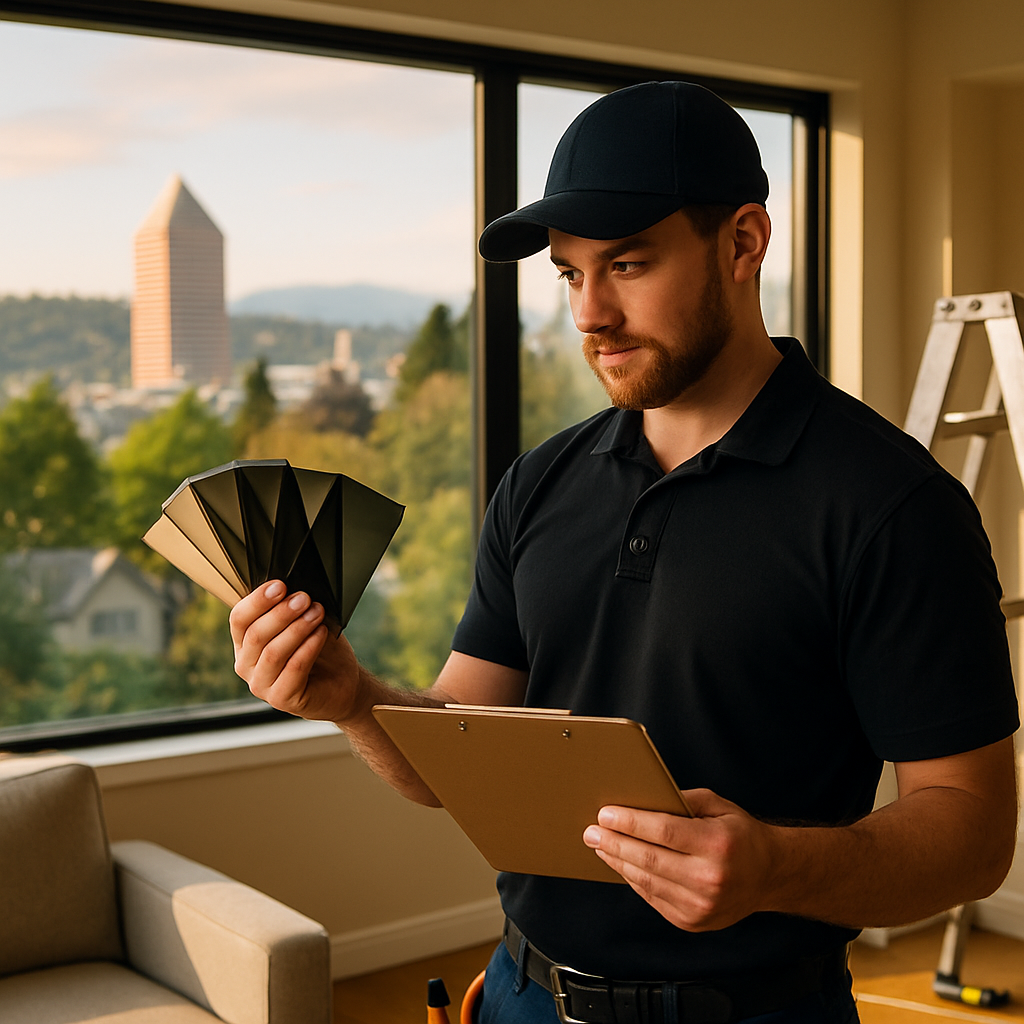
Next consideration: ask installers for side‑by‑side sample swatches and the combined SHGC of your existing glass with the proposed film. Bring those sheets to your site survey and compare interior appearance at solar peak — that practical test reveals more than marketing claims. For on‑site estimates see our residential services or commercial services.

Selecting the Right Film for Residential vs Commercial Projects
Start with the priority, not the brand. Residential jobs typically trade a small amount of heat rejection for preserved daylight and aesthetic subtlety; commercial projects usually prioritize uniform performance, glare control across many windows, and compliance with tenant or building code needs. Choosing a film that fits those priorities reduces rework and warranty friction later.
How priorities change the technical choice
Residential: preserve view and comfort. Homeowners want natural light, minimal exterior reflectance that upsets neighbors, and a finish that looks like normal glass. In practice that steers recommendations toward spectrally selective ceramic or multilayer films that keep VLT high while rejecting heat. Expect a higher upfront cost per window but fewer complaints from occupants and better long term satisfaction. See our residential services for examples and cost context.
Commercial: scale, uniformity, and code. Offices, retail, and multi tenant buildings need consistent appearance across façades, predictable SHGC reductions for HVAC planning, and films that meet safety or privacy specs. That often makes reflective or low VLT films appropriate for storefronts and security films for ground floor retail. For offices where employee comfort and view matter, multilayer films are a common compromise. Check our commercial services for typical project workflows.
- Practical tradeoff: pick higher VLT when daylight and merchandising are revenue drivers; pick lower SHGC when peak cooling reduction is the primary operational target
- Aesthetics matter: exterior reflectance affects street appearance and tenant perception – commercial landlords often require a single film choice for a building
- Access and logistics: residential panels are easy; commercial façades can require lifts, night or weekend work, and phasing to avoid business interruption
- Glass condition: older IGUs tolerate reflective, heat absorbing films poorly; always have installers inspect seals and recommend lower heat absorption options when needed
Concrete example: A Corvallis cafe with large south facing glazing needed to reduce midday glare without dimming its product displays. The installer applied a spectrally selective multilayer film to the customer side windows and a low reflectance privacy strip to the service counter glazing. The cafe kept the bright display cabinets visible to passersby while staff reported fewer screen reflections and improved comfort during peak sun hours.
Common misjudgment: many owners assume darker equals better. In real jobs you sacrifice sales visibility or resident satisfaction when you over darken windows. For multi tenant or mixed use buildings, a one size fits all dark film creates complaints and can lower natural surveillance on street fronts. Choose by use case room by room, not by a building wide impulse.
Next consideration: schedule a site survey that includes daylight checks at peak sun and an IGU inspection. That test catches the single biggest mismatch between recommended film and real world performance.
Costs, Energy Savings, Incentives, and Payback in Oregon
Straight answer: window tinting is usually a lower‑cost, faster retrofit than replacing glass, but the economics hinge on whether your building actually spends much on cooling. In much of Oregon — where heating dominates annual energy use but sunny afternoons create uncomfortable peaks — film delivers the most measurable value where cooling peaks or occupant comfort drive complaints.
Typical installed cost ranges: expect a broad market spread depending on film class and access. Economy metalized films often fall in the low teens per square foot; mid‑range multilayer or standard ceramic sit in the mid‑teens to low twenties per square foot; high‑end spectrally selective ceramic can run toward $25–$35 per square foot installed. Per‑window pricing commonly ranges from a few hundred dollars for a small double‑hung to several hundred for large panes; high‑rise or scaffolded façades add significant mobilization charges.
- Primary cost drivers: size and shape of glass, film class (ceramic vs metalized), access method (ladder vs lift vs rope), and whether edges or hardware need special treatment
- Longevity tradeoff: cheaper films reduce initial spend but often age faster, which increases lifecycle cost and risks warranty disputes if installed by non‑certified shops
- Commercial logistics: phased installations, after‑hours work, and scaffold permits increase soft costs compared with a suburban home
Energy savings and realistic payback: savings depend on orientation, glass type, and how much cooling you use. For installations that address peak sun exposures (south/west glazing with AC usage), owners commonly see payback windows measured in years rather than decades — a practical range is about 2 to 10 years depending on film, local utility rates, and how much of the cooling load the treated glass represents. If your site spends almost no electricity on cooling, expect much longer payback and prioritize comfort or preservation benefits instead of pure energy ROI.
Concrete example: a Portland single family with roughly 50 square feet of sun‑exposed living room glass chose a premium ceramic film at $25 per square foot (installed cost ~$1,250). The owner measured lower peak indoor temperatures and, based on modest cooling usage, estimated annual HVAC energy savings that imply a payback in the mid‑range of the 2–10 year window. The non‑energy benefits — reduced glare for a home office and slower fading of hardwood floors — were decisive in the owner signing the contract.
Incentives, financing, and where to check: incentives for window film are intermittent in Oregon. Start with Energy Trust of Oregon and ask your local utility about current business or commercial rebates. Some projects may qualify for commercial energy‑efficiency financing or on‑bill programs; federal credits are uncommon for retrofit film but occasionally change — verify before assuming them.
Practical judgment for decision makers: don’t buy film as an energy silver bullet if heating is your year‑round load. Treat film as a targeted investment — spend where solar peaks cause comfort problems, tenant complaints, or visible fading. For projects where energy savings pay the bill, insist on modeled or measured SHGC improvements for your actual glass and get firm pricing that separates film cost from access/mobilization so you can compare apples to apples.

Next step: request a site survey that includes a simple ROI estimate using your building’s recent energy bills and the installer’s modeled SHGC change. For Oregon residential and commercial quotes see our residential services or commercial services pages and ask for a line‑itemed proposal showing film, labor, and access costs.
Installation Process, Timeline, Warranties, and Maintenance
Start with the survey, not the install. A competent installer will measure glass, inspect insulated glass seals, photograph sightlines at peak sun, and bring physical swatches to confirm appearance before any film is ordered. That upfront work prevents the most common failures: wrong film choice for the IGU condition and unmet expectations about daylight or reflectance.
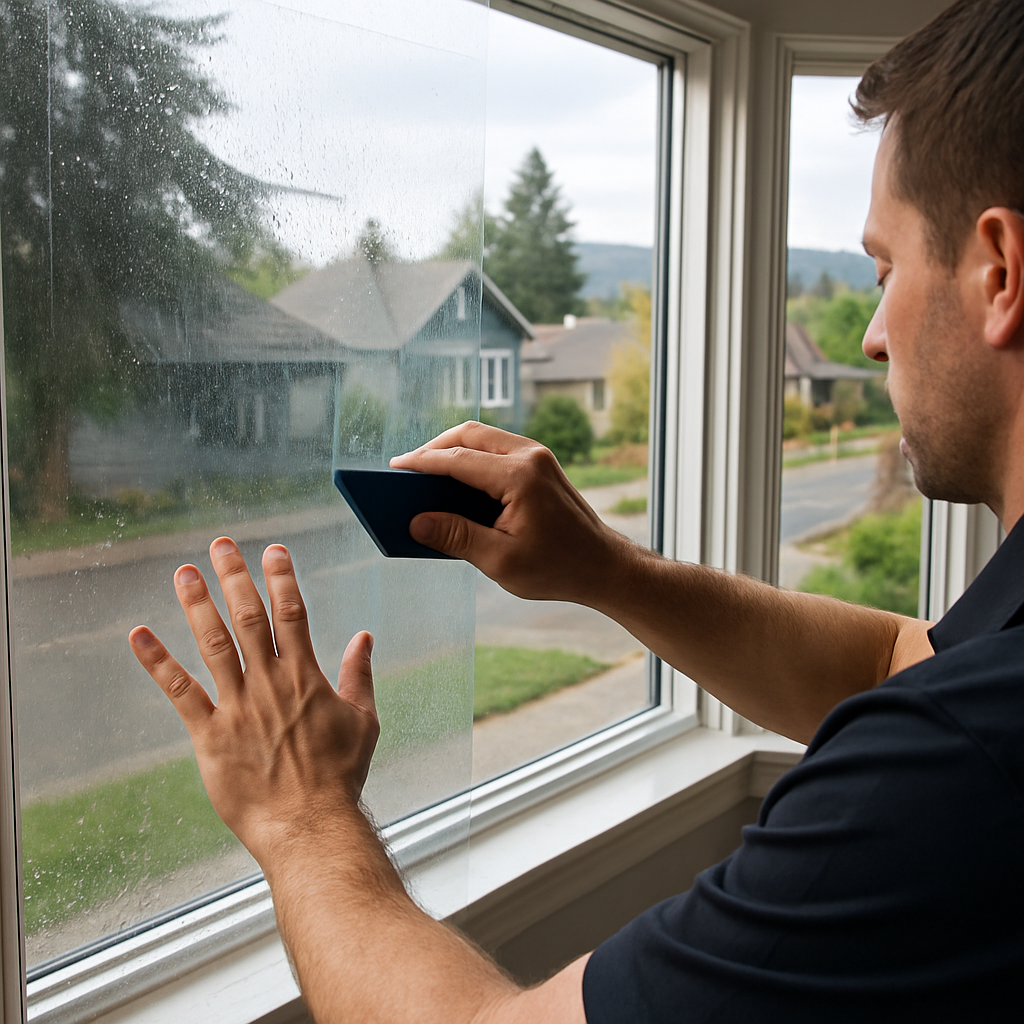
Typical workflow and realistic timelines
Standard steps: measurement and sample approval, ordering film, site prep, application, and final inspection.** For a modest single‑family job installers typically complete all on‑site work in a single full day; complex commercial façades are staged and completed over multiple days or weekends to avoid business interruption.
- Before the crew arrives: clear window sills, move blinds or shades, and secure pets so installers can work without delay.
- On arrival: expect protective floor coverings, scaffold or ladder setup if needed, and an installer to confirm the exact film sample that will be applied.
- Application phase: windows are measured, cleaned, film cut to size, applied and squeegeed; installers then trim edges and allow the adhesive to seat.
- Final check: crew inspects edges, documents photos, and explains immediate care instructions.
Practical constraint: weather and access drive schedule risk more than film availability.** High winds, rain, or restricted scaffolding permits are the usual causes of rescheduling. Ask your contractor for a written contingency plan and mobilization charges up front.
Warranties: what to read and what to demand
Two separate promises matter: the manufacturer film warranty and the installer labor warranty. The manufacturer covers product defects such as adhesive failure, delamination, or unacceptable discoloration; the installer covers workmanship like improper edge seaming or cutting. Both should be written and dated on the estimate.
Watch for exclusion clauses. Common exclusions include damage caused by exterior pressure washing, aftermarket window films applied over the original film, and preexisting IGU failures. If an installer cannot show factory certification or written warranty terms from the film maker, treat that as a red flag.
Maintenance, normal wear, and early‑failure signs
First 30–60 days matter. Allow the adhesive to cure before aggressive cleaning; follow the installer’s specified wait period. Early cleaning or using ammonia or solvent cleaners can loosen edges and void some warranties.
- Routine cleaning: use a soft microfiber, mild detergent or manufacturer‑approved cleaner, and a plastic squeegee — never metal blades.
- What to avoid: abrasive pads, razor blades, and high‑pressure exterior washers near film edges.
- Troubleshooting signs: bubbling that grows, edge lifting, rapid color shift, or weeping at seams are reasons to contact your installer immediately rather than attempt DIY fixes.
Material tradeoff to accept: higher performance films are often more scratch resistant but cost more to repair or replace. Cheaper films may discolor or delaminate sooner, increasing lifecycle expense even if upfront cost is lower.
Concrete example: A busy Eugene retail storefront scheduled a phased install across three weekends to keep the shop open. The crew used film samples confirmed in the site survey, completed each phase overnight, and provided a written labor warranty covering edge lifting for the first year. When a small corner began to lift after a pressure wash by the landlord, the installer returned within three business days and repaired the edge under the labor warranty — avoiding lost storefront time and a protracted warranty dispute.
Next consideration: before you sign, get written warranty copies, confirm on‑site care instructions, and request a firm schedule with contingency terms. For a site survey and documented warranty review, request an appointment through our commercial services or residential services pages.
How to Choose a Qualified Installer and Why Tinting Oregon is a Strong Local Choice
A competent installer is the single biggest factor between a successful film job and a long, costly headache. Poor prep, wrong film choice for the insulated glass unit, or sloppy seams create warranty fights, early delamination, and aesthetic complaints — all avoidable with the right contractor.
Practical tradeoff to accept: factory certification and manufacturer partnerships are necessary but not sufficient. Local experience with Oregon light angles, building types, and permit logistics matters more than an out‑of‑state certification alone. You want certification plus a demonstrated track record in Portland, Salem, Eugene, or Bend.
A simple contractor scorecard you can use on site
| Criteria | Why it matters | What to ask or demand |
|---|---|---|
| Insurance and business registration | Protects you from liability and ensures the contractor is operating formally | Request a COI showing general liability and workers compensation covering the job |
| Factory certifications (3M, VISTA, LLumar) | Required for some manufacturer warranties and trained installation practices | Ask to see current certification cards and written warranty terms linked to those certifications |
| Local references and before/after photos | Shows experience with your climate, glass types, and aesthetic constraints | Request 2–3 recent projects in your city and call one reference about follow‑up service |
| On‑site mockup and physical swatches | Nobody evaluates VLT or reflectance accurately from a spec sheet | Insist on a small sample application or at minimum in‑situ swatches at peak sun |
| IGU inspection and written compatibility notes | Protects insulated glass seals and avoids accelerated failures | Require written confirmation that the chosen film is safe for your IGUs or a recommendation for alternatives |
| Clear, line‑itemed estimate | Separates film cost from access, mobilization, and scaffolding charges | Get film, labor, and access fees listed separately with payment terms |
| Warranty transferability and local service commitment | Preserves property value and speeds remediation if problems arise | Confirm if the manufacturer warranty is transferable and get the installer labor warranty in writing |
Beware of low ball mobile window tinting services that quote rapidly over the phone. They can be fine for a single car or a small residential sunroom, but for multi‑window residential or any commercial work you need a company that can return for warranty work, supply certified film, and handle access issues such as lifts or permits.
Stepwise approach to getting a reliable quote from Tinting Oregon:
- Request a site visit via the residential or commercial contact page and ask for available appointment windows during peak afternoon sun.
- During the visit, ask the technician to perform an IGU seal check, bring physical film swatches, and provide a short written recommendation with SHGC/VLT tradeoffs for your priority windows.
- Ask for a line‑item estimate that separates film, labor, access, and warranty details plus a projected timeline for installation and remediation.
- Compare the estimate against at least one other local certified shop and prioritize written warranty transferability and documented local references over the lowest price.
Concrete example: A Bend office needed glare control but insisted on preserving views. Tinting Oregon ran an IGU check on site, recommended a spectrally selective ceramic film, and performed an overnight phased install to avoid business interruption. After three months a corner edge began to lift following an exterior pressure wash; because the job included a written labor warranty and local service commitment, the crew returned and repaired the edge within two business days at no charge.
Next consideration: before you sign, schedule the on‑glass mockup during the hour when your windows get hottest — that live test is the most reliable predictor of satisfaction and warranty compatibility.
Real World Examples and Mini Case Studies from Oregon
On the ground in Oregon: short projects reveal the practical limits and true benefits of window tinting faster than any datasheet. These three mini case studies show how choices about film family, scheduling, and preinstall checks determine satisfaction in Portland, Eugene, and Bend. If you want local context or a site visit, see our residential services or commercial services pages.
Portland bungalow – VISTA ceramic retrofit
Situation and approach: a century home with a west facing living room had severe afternoon glare and early fabric fading. The crew recommended and installed a spectrally selective VISTA ceramic film over two half days after an IGU inspection and on glass mockup. Outcome: occupants reported markedly reduced glare and the installer measured lower surface temperatures on problem panels with an IR gun. Paraphrased client feedback: the living room stayed usable in late afternoon without heavy blinds.
Eugene retail storefront – LLumar reflective application
Situation and approach: a boutique on a busy street needed display protection and cooler interiors for staff. The team selected a LLumar reflective film and completed the install in staged overnight shifts to avoid business disruption. Outcome and tradeoff: foot traffic dwell time increased and displays faded less, but the mirror like exterior finish required landlord sign off and a small neighborhood aesthetics mitigation after approval. That preapproval step saved a later dispute.
Bend office retrofit – 3M Prestige phased install
Situation and approach: a co working space had widespread screen glare yet management did not want darkened windows. The solution used 3M Prestige applied over three weekend phases to keep operations running. Outcome: staff complaints about reflections dropped quickly, the interior brightness remained acceptable, and the installer reported reduced HVAC short cycling in peak hours based on thermostat logs.
Practical insight and limitation: these jobs share one reliable lesson: appearance and access determine whether an install succeeds as much as technical performance numbers. Spectrally selective films win when view preservation matters, reflective films win where exterior privacy and shading trump aesthetics, and phased installs reduce downtime but add mobilization cost. Mobile window tinting services can handle single autos or small sunrooms, but complex residential and commercial retrofits benefit from certified teams who return for warranty work. For a site visit request our contact page.
- Lesson one: insist on an on glass mockup during peak sun so you see real VLT and reflectance
- Lesson two: budget for phased work or after hours access to avoid lost business during installs
- Lesson three: require a written labor response time so small defects get fixed quickly under warranty
Decision Checklist and Next Steps for Property Owners
Make the decision around the problem you need solved, not the film name. Pick by outcome — glare reduction, privacy, heat control, or security — because each outcome drives a different technical tradeoff and budget line.
Quick decision flow (practical and chronological)
- Clarify the priority: Rank the single biggest driver (comfort, energy savings, display protection, privacy, or security). This one choice should shape your short list of film families.
- Document the glass: Photograph panes, note single vs double pane and any fogging or seal issues, and record orientations (south/west are highest priority).
- Request an on‑glass mockup: Insist the installer test a small area or place swatches on the actual windows during the hour you experience peak sun.
- Get at least two line‑item quotes: Require film, labor, access/mobilization, and warranty spelled out separately so you can compare SHGC with film and VLT directly.
- Confirm warranties and service: Verify manufacturer warranty numbers and whether the installer offers a transferable labor warranty with a committed response time for repairs.
- Schedule install with contingencies: Book a dry-weather window and a backup date; commercial jobs should have phased scheduling to avoid business disruption.
Practical tradeoff to accept: Lower cost films can look fine initially but often age quicker and trigger warranty disputes when installed over older IGUs. If you need longevity or resale value, budget for certified film and installer — that reduces long term risk even if upfront cost is higher.
Concrete example: A Salem duplex owner wanted tenant comfort without darkening living rooms. The site survey documented IGU age and sun hours, the installer applied a small in‑situ sample of a spectrally selective film during peak afternoon sun, and the owner chose a mid‑range ceramic film after comparing two certified quotes. Tenants reported less glare and fewer thermostat adjustments within a week; the landlord kept the transferable warranty documentation for future sales.
- Checklist to bring to the site survey: printed room priority list, photos of problem panes, recent utility bills (if ROI matters), and a request for SHGC with film on your glass type.
- Questions to ask installers on site: How will this film affect external reflectance? Do you have local references for similar work? What is your written labor response time for warranty claims?
- Post‑install actions: take before/after photos, note thermostat behavior for two weeks, and keep datasheets and warranty paperwork in a central file.
Final judgment: If you plan to sell in the near term or care about curb appearance, prioritize high VLT, low exterior reflectance, and transferable warranties. If immediate payback is the only metric and view loss is acceptable, document that choice and accept the aesthetic and technical compromises up front.