
Glare Reduction Window Film: Make Office Screens Easier to See and Reduce Eye Strain
If office screens are constantly fighting bright windows, glare reduction window film can make them easier to read and reduce the eye strain and complaints that hurt productivity. This short guide shows how the right film cuts reflected light, which measurable specs to use when comparing products, how film stacks up against blinds and monitor filters, and what professional installation looks like in Portland, Salem, Eugene and Bend. You will get practical decision steps, manufacturer examples, and a simple ROI checklist to evaluate options and plan a low disruption install with Tinting Oregon.
How reflected glare affects screen readability and worker comfort
Reflected glare is a direct attack on screen contrast. When daylight or bright sky reflects off glazing onto a display it reduces the difference between the darkest and brightest parts of the image, which makes text and fine details harder to read and forces users to strain, squint, or repeatedly reposition screens.
What workers actually do. People raise display brightness, lean forward, tilt heads, or lower blinds. Those are quick fixes but they increase visual fatigue, create awkward postures, and often produce complaints that persist because the light source—the window—is left untreated.
How reflected light breaks visual tasks
Mechanics in plain terms. Reflected light adds a veiling layer on top of the image; the screen still emits luminance but the reflected component lowers perceived contrast. That makes small fonts, spreadsheets, and color-critical work harder and elevates mental effort for routine tasks.
- Common scenarios: West-facing conference rooms with low sun in the afternoon that wash out projectors and laptop screens
- Open-plan problem: Storefront glazing behind rows of desks creating intermittent specular highlights across multiple workstations
- Perimeter offices: Bright sky reflections at desk level that force employees to use high screen brightness and complain of headaches
Practical trade-off managers need to know. Treating the window with glare reduction window film reduces reflected visible light at the source so screens regain contrast, but the trade-off is a small, controlled reduction in overall daylight. In practice the right film type—spectrally selective or low-reflectance films—preserves useful daylight while removing the specific reflected component that causes the most harm.
Why screen filters alone often fail. Monitor anti-glare films and hoods help with direct reflections on the display surface, but they do nothing to reduce the roomwide veiling luminance that reduces contrast across many workstations. Fix the window when multiple users are affected.
Concrete Example: A mid-size marketing office in Portland had daily 2 pm complaints from a west-facing conference room where presenters had to close blinds. After installing a low-reflectance commercial film the room kept daylight, projector images stayed legible without lowering blinds, and the team stopped rescheduling afternoon meetings to avoid glare. Results varied by film choice and orientation, so the installer provided a VLT and reflectance mockup before final selection.
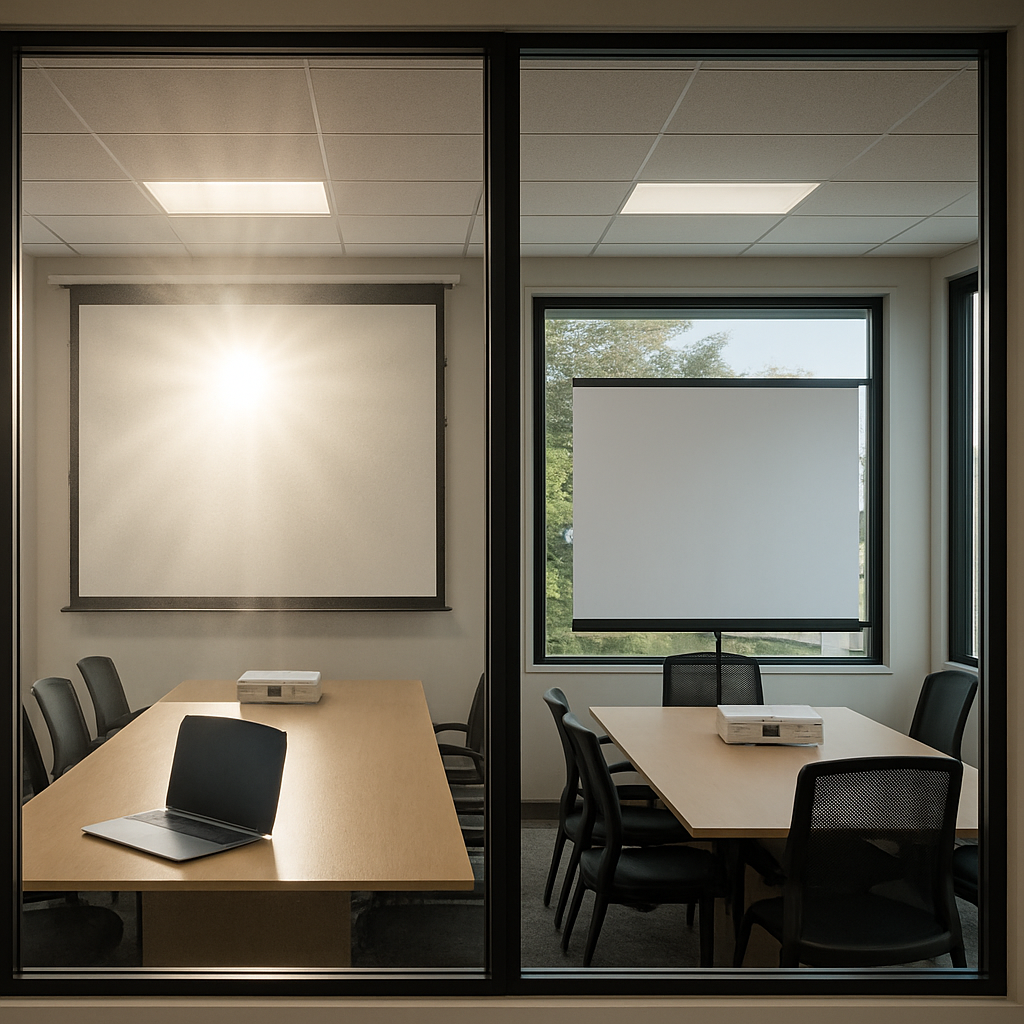
Final judgment to act on. If complaints come from multiple desks or an entire room, start by measuring reflected light and testing film samples instead of buying more monitor accessories. Treating the window is the systemic fix; use professional site surveys and mockups so you avoid over-darkening the space or choosing a film that creates unwanted color cast.
How glare reduction window film works and film technology types
Direct point: Glare reduction window film reduces the reflected light that washes out screens by changing how the glass handles visible and infrared light rather than by blocking line-of-sight like blinds do. Films work either by absorbing or redirecting unwanted wavelengths, lowering surface reflectance and often cutting solar heat and UV at the same time.
Core mechanisms in plain terms
How it removes the problem: Some films absorb visible light so reflections are dimmer, some use thin metal layers to reflect infrared and heat away while also reducing glare, and newer spectrally selective films block heat and UV while letting most visible daylight through. The practical effect is higher screen contrast and fewer bright hotspots on glass without relying on blinds.
- Metalized films: Durable and strong at rejecting heat, but they can add a mirrored look and occasionally interfere with radio signals or building sensors. Manufacturer example: LLumar commercial metalized lines.
- Ceramic films: Low visual tinting and high clarity with good heat rejection; pricier but worth it where color neutrality and viewing clarity matter. Manufacturer example: 3M ceramic options.
- Spectrally selective films: Best balance for offices – block infrared and UV while preserving visible light. Often sold as Prestige or high-performance series by major brands.
- Neutral density and tinted films: Simple visible-light reduction; effective for glare but can noticeably darken interiors if chosen too dark.
- Safety and exterior solar control films: Add glare control plus security or exterior weather resistance when needed for storefronts or historic facades.
Key specs to watch: Visible light transmission (VLT) controls daylight level, visible light reflectance (VLR) shows how much mirror-like reflection remains, solar heat gain coefficient (SHGC) estimates heat reduction, and UV rejection predicts fading protection. Also check haze and scratch resistance for screen clarity over time.
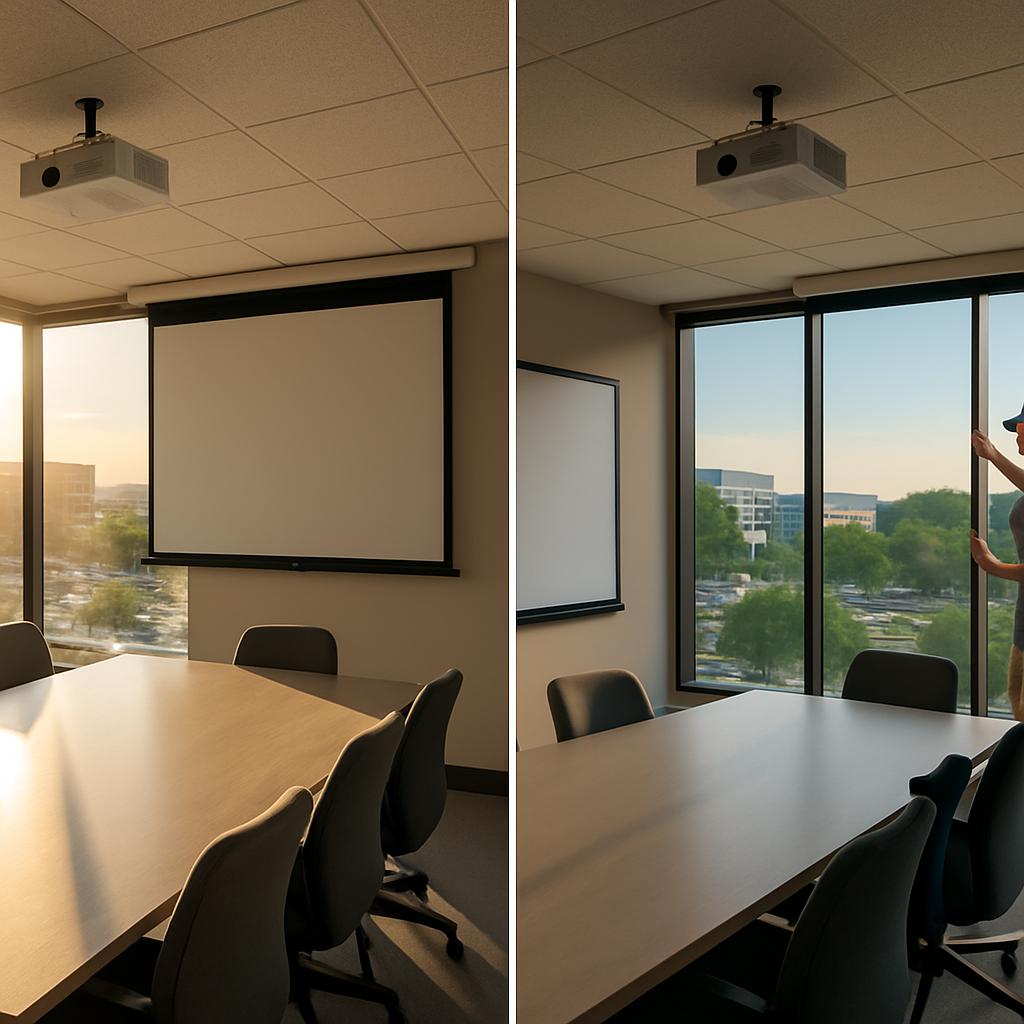
Concrete example: A west-facing conference room with mid-afternoon complaints had bright reflections on laptop screens and projectors. Installing a spectrally selective commercial film preserved the outdoor view, dropped reflected hotspots enough for reliable projector contrast, and cut cooling load in summer. The project required a professional site check to confirm the glass type and avoid thermal stress on insulated units.
Practical trade-off and judgment: If your priority is preserving daylight and color accuracy for office tasks, prefer ceramic or spectrally selective films despite higher cost. If budget is tight and heat rejection is the dominant goal, metalized films deliver value but expect appearance changes and to verify compatibility with building electronics.
Next consideration: Have a pro bring film samples and VLT mockups to the site and review the glass type before buying. For local rebates and product sourcing see Window Film Energy Rebates in Oregon: How to Qualify, Apply and Maximize Savings and our guide on Where to Buy Window Tinting Film: Retail vs Professional-Grade Options and Costs. For energy context read the U.S. Department of Energy overview on energy-efficient window film.
Selecting the right film for office screens and daylight balance
Start with the task, not the tint. Choose film based on where people sit and what they do there: screen-focused work needs low reflected light at eye level more than it needs absolute darkness. That means prioritizing low visible light reflectance (VLR) and spectral control over picking the darkest visible light transmission (VLT) available.
Key decision factors
- Window orientation and sun schedule: South and west exposures deliver the worst midday/afternoon glare. Note exact problem hours and test at those times.
- Primary task at the workstation: Video conferencing and color work need color-neutral films; general office screens tolerate slightly warmer or cooler tints.
- Balance daylight vs glare: Spectrally selective films reject heat and IR while keeping visible light — good when daylight is important.
- VLT vs VLR: Lower VLT darkens a room; lower VLR reduces visible reflections on screens. For screen legibility, choose films with low VLR even if VLT stays moderate.
- Thermal goals (SHGC) and HVAC: If reducing cooling load matters, prioritize a film with strong SHGC improvement, but be aware darker metalized films aren’t always the best thermal performer per SHGC.
- Aesthetics and privacy: Reflective films can look mirror-like from outside; if street-facing frontage needs privacy, factor that into appearance choices.
- Building compatibility and code: Verify IGU compatibility, emergency egress glazing rules, and landlord approvals before selecting a film.
Practical trade-off: Metalized films often give strong heat and glare reduction cheaply but can introduce exterior reflectivity, slightly distort views, and may interfere with some RF signals. Ceramic and spectrally selective films cost more but deliver superior clarity, color neutrality, and SHGC performance — usually worth it for large open-plan offices where daylight and accurate screen colors matter.
Concrete example: A west-facing conference room in a Portland office had afternoon washout on presentation screens. The practical solution was a spectrally selective commercial film from a 3M/LLumar class that kept VLT around mid-range so daylight remained usable, delivered low VLR to cut reflections, and reduced heat gain enough to stop the HVAC from running extra cooling cycles during peak sun. After installation the room retained its view but projection and laptop screens were readable without blinds.
Manufacturer judgement: Start your spec with spectrally selective lines such as 3M Prestige for offices where daylight quality matters; consider ceramic films when absolute optical clarity and color accuracy are required. Reserve heavily metalized tints for warehouses or non-public façades where cost and heat rejection outweigh appearance concerns.
Next practical step: Schedule an on-site mockup so you can compare sample films at the actual occupant locations and times. Bring problem photos and use the mockup to validate daylight, color rendering, and glare reduction. Tinting Oregon can run VLT/VLR comparisons and show how options affect daylight and SHGC — see Where to Buy Window Tinting Film and our rebate guidance at Window Film Energy Rebates in Oregon.

Film versus alternatives: blinds, shades, exterior shading and monitor solutions
Straight truth: for most open plan offices that need daylight and a clear view, glare reduction window film beats interior blinds and monitor filters on a cost per year of service basis because it reduces reflected luminance without forcing occupants to work in near darkness.
Blinds and roller shades: inexpensive and familiar, useful when variable privacy or full blackout is required. The practical downside is that when slats or shades are adjusted to cut direct sun they also eliminate the view and create deep local contrasts that still produce reflected glare on glossy screens. Maintenance and cord hazards matter in busy commercial settings; replacement cycles and cleaning are ongoing costs.
- Key tradeoff: Blinds give control but sacrifice daylight and sightlines
- When to use: Private offices, conference rooms, or tenant spaces that require privacy on demand
- When not to use: Large storefront glazing where preserving daylight and reducing roomwide reflections are priorities
Exterior shading and architectural fixes: exterior louvers, awnings, and brise soleil stop solar heat and low-angle rays before they hit glass. They are the most robust solution for summer heat and glare but require capital expense, design approvals, and often structural work. For buildings where facade changes are allowed, exterior shading paired with spectrally selective film yields the best energy and glare performance; for leased spaces where you cannot alter the facade, exterior options are usually off the table.
Monitor anti-glare filters and hoods: fast, cheap, and useful where the problem is strictly local to a single screen. They do not address room reflections or multiple occupant sightlines and can introduce color shifts or reduce image clarity. In my experience, teams that apply only monitor filters keep seeing complaints when the reflected background brightness remains high.
Concrete example: A downtown Portland open office had recurring west afternoon complaints. Staff tried monitor hoods and closeable blinds; complaints persisted because reflections were coming from storefront glass behind workstations. Installing a mid-VLT spectrally selective film reduced reflected luminance, restored usable daylight, and eliminated most complaints while leaving blinds available for privacy when needed.
Practical judgment: use window film as the first retrofit on large glazed areas where you want daylight and view preserved. Add blinds or shades where task variability or blackout is occasionally required. Reserve exterior shading for projects with budget and facade control, and keep monitor solutions as supplemental tools, not primary fixes.
Next step: check potential energy incentives before you commit; retrofit films can qualify in some programs. See Window Film Energy Rebates in Oregon: How to Qualify, Apply and Maximize Savings and the U S Department of Energy overview on energy efficient window film for guidance.
Professional installation, timeline, and maintenance expectations
Clear requirement: professional installation is the single biggest factor that determines whether glare reduction window film lives up to its promise — optical uniformity, edge sealing, and a valid manufacturer warranty all depend on correct site work and technique.
Typical installation workflow and schedule
On-site survey and verification: a proper job starts with an on-site survey — installers verify glass type, measure for templates, check for existing coatings, confirm sight-lines at problem times, and validate any lease or code constraints. Ask for a written scope that lists film model, VLT, and warranties.
- Day 0 — Site survey and mockup: installers take measurements, bring film samples, and often apply a small mockup to confirm visual appearance under actual light.
- Day 1 — Prep and cutting: factory or shop cut patterns to exact dimensions; interior spaces are prepped (furniture moved, floors covered).
- Day 2 — Installation: a two-person crew typically handles standard storefront glazing at a rate of roughly 100–300 sq ft per day depending on complexity; high-rise or frosted glass panels take longer.
- Post-install — drying and quality checks: film looks finished immediately, but adhesives settle over time; installers perform edge trimming, seal edges where required, and document final inspection.
Practical timeline note: plan for a small, multi-day window for most office projects — a single conference room can often be completed in one business day if scheduled after-hours, while larger open-plan façades commonly require one to three days of on-site work plus final inspection.
Concrete example: a west-facing conference room with eight 4×6 ft panes: a two-person crew will typically complete prep and install in 6–8 hours. Expect the film to appear finished immediately, but allow installers to return the next day for a trimming and adhesion check; follow manufacturer guidance on cleaning restrictions during the initial cure period.
Disruptions, trade-offs, and scheduling decisions
Trade-off — speed versus cost: after-hours or weekend installs reduce operational disruption but add overtime costs. Exterior access or scaffolding for multi-story glazing adds lead time, safety planning, and permit fees — budget those separately.
Limitation — glass compatibility: some insulated glass units and certain low-E coatings require specific films or may rule out aggressive metalized films to avoid thermal stress. Always confirm compatibility in the survey; changing film choice on install day adds cost and delay.
Real-world judgment: clients often underestimate visual impact until they see a full-pane mockup. Insist on a full-panel sample in-situ or a temporary tape-up of VLT samples so stakeholders can approve before committing.
Maintenance expectations and warranty considerations
Daily care: routine cleaning is simple — use a soft microfiber or sponge with mild, non-abrasive, pH-neutral detergent and plain water. Avoid ammonia-based cleaners and abrasive pads; they damage the hardcoat and shorten service life.
- First month: avoid aggressive scrubbing; many manufacturers advise limiting wet cleaning and mechanical contact during the initial cure window.
- Ongoing: inspect edges and seals every 6–12 months for lifting or discoloration; schedule professional touch-ups if you find bubbling or edge failure.
- Cleaning tools: use soft squeegees and microfiber towels; do not use razor blades on the film surface.
Warranty and service reality: installer-registered warranties matter. Professional installers will register manufacturer warranties for both material and labor; DIY or unregistered installs often give you no practical recourse when defects appear.
Local practical tip: installers in Portland, Salem, Eugene, and Bend routinely schedule larger installs around building hours and can advise on sun-angle timing for mockups. Ask your installer about rebate and documentation needs up front — see Window Film Energy Rebates in Oregon and compare buying options at Where to Buy Window Tinting Film. For UV and fabric protection details see UV Blocking Window Film.
Ask for a written post-install checklist and warranty registration proof before final payment — it is the simplest way to avoid future disputes.
Energy, cost, rebates and return on investment in Oregon
Straight answer: glare reduction window film can pay back on comfort and energy in Oregon, but whether it pays back on utility bills depends on glass area, orientation, film type, and local incentives. In practice the film is usually justified first by improved productivity and reduced complaints; energy savings are a secondary but real benefit.
ROI checklist you can use today
- Measure area: total square feet of glazing being considered.
- Pick realistic film costs: budget $8 to $20 per sq ft for commercial-grade installation depending on film (spectrally selective and ceramic films cost more).
- Estimate energy impact: expect a reduction in solar heat gain coefficient (SHGC) of 0.10 to 0.40 depending on product; translate that to coolingload reduction relevant to your building.
- Local climate factor: Portland and Salem have modest cooling loads so energy payback will be slower; Bend and parts of eastern Oregon see stronger summer gains and faster payback.
- Check rebates: confirm whether the product and installer are on the utility or program approved list; see Window Film Energy Rebates in Oregon: How to Qualify, Apply and Maximize Savings | Tinting Oregon and the U.S. Department of Energy overview.
- Include non-energy benefits: UV reduction for interiors, lower cooling peak demand, and fewer workstation complaints can justify projects even when pure utility payback is long.
Concrete example: a 2,000 sq ft office storefront with strong west exposure applies spectrally selective film at $12 per sq ft for a $24,000 install. If film lowers cooling use enough to save $2,400 per year in HVAC costs the simple payback is 10 years. If the same project qualifies for a $3,000 utility rebate the payback drops to about 8 years. These numbers illustrate why rebate qualification matters more than incremental differences between mid-grade and premium films.
Tradeoff to watch: darker or low VLT films give better glare and heat control but reduce daylight and can increase lighting energy or occupant dissatisfaction. Spectrally selective films are more expensive but preserve daylight and color while still cutting heat – that often gives a better overall ROI in offices where daylight matters.
| Cost Driver | Typical Range / Impact |
|---|---|
| Installed cost per sq ft (commercial) | $8 – $20 |
| Typical annual HVAC savings (varies widely) | 0.5% – 10% of building cooling costs; higher in hot, sunny orientations |
| Rebate impact | Can reduce upfront cost by $0.50 – $5.00 per sq ft when available |
Local judgment: in Portland and Salem expect modest direct bill savings but high value from reduced glare and occupant comfort. In Bend and sunnier sites the energy case becomes stronger. For commercial projects get a site-specific estimate; Tinting Oregon provides on site measurements and rebate assistance to make the math practical.
Local results and next steps with Tinting Oregon
Local, measurable advice beats off-the-shelf recommendations. Tinting Oregon starts with on-site light measurements and VLT mockups so the film choice matches each window's orientation, occupant tasks, and glazing type. That step changes outcomes: the right spectrally selective film in a north-facing office will differ from the ceramic option you need on a west-facing storefront.
What to expect from a Tinting Oregon site visit
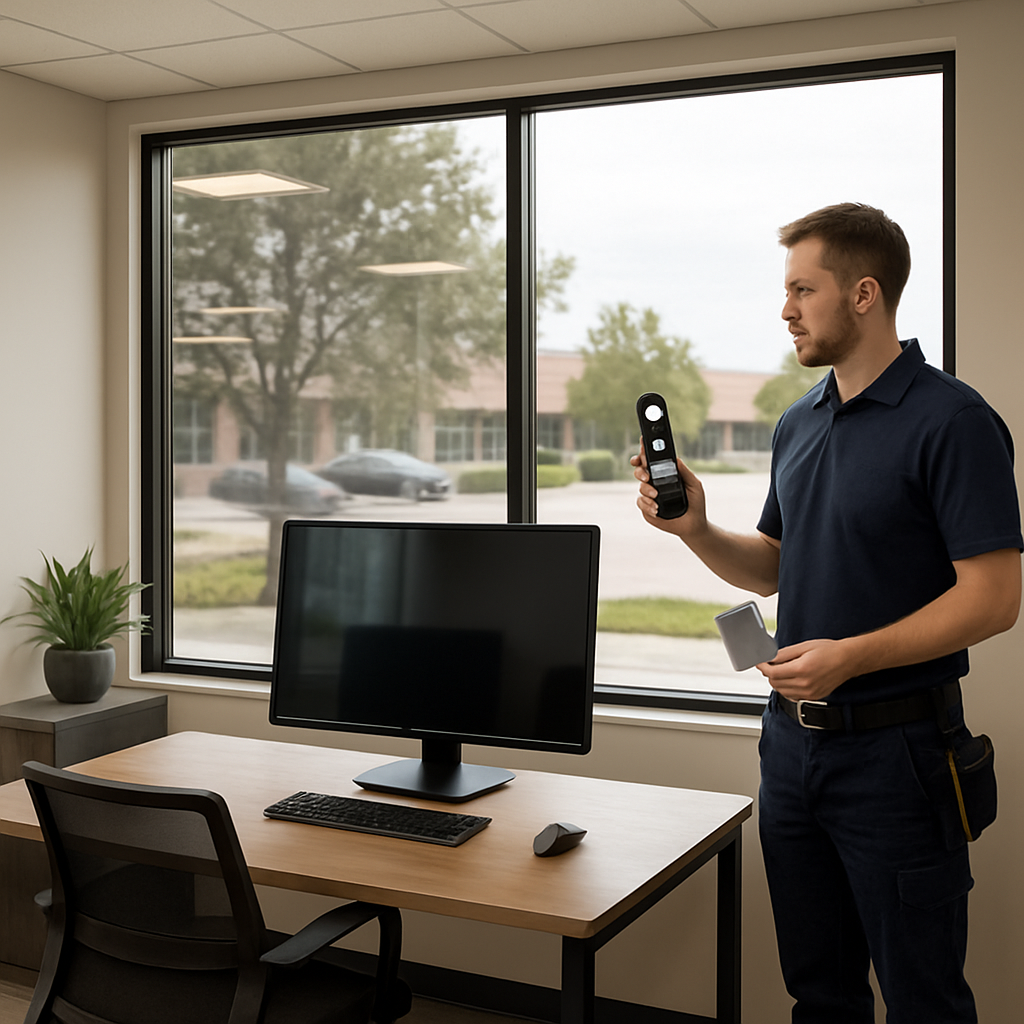
On-site work is specific and evidence based. A typical visit includes a daylight and glare survey with a light meter, placing physical film samples on problem panes for live VLT comparisons, reviewing workstation positions and projector lines, and producing a written recommendation that lists candidate films, expected VLT ranges, and estimated energy impacts. The recommendation will reference product families (for example spectrally selective or ceramic options) and call out any compatibility issues with insulated glass units.
- Before the visit: Collect photos of glare at peak problem times and mark the windows involved.
- Bring context: Note workstations, projector screens, and any complaints or safety concerns tied to specific spaces.
- Log access constraints: Building hours, security or lease limits that affect scheduling.
- Prepare measurements: Approximate window sizes or a floor plan speeds estimating and rebate screening.
Practical trade-offs you’ll discuss on site. You can choose lower VLT films for maximum glare control, but lower VLT also reduces daylight and can change perceived color. There’s also a scheduling trade-off: daytime installations let installers test results immediately but can disturb occupants; after-hours work costs more but avoids interruptions. Tinting Oregon will outline both options and their cost implications.
Concrete example: A mid-size Portland marketing office with a west-facing conference room scheduled a mid-afternoon mockup. Tinting Oregon applied film samples and showed the client live comparisons; the client selected a spectrally selective film that kept view while removing the distracting mid-afternoon reflections. Staff feedback shifted from repeated complaints to near-zero follow-ups within two weeks after installation.
What they deliver after the visit. Expect a proposal with film choices, VLT and SHGC projections, a project schedule, warranty details, and a rebate eligibility assessment. Tinting Oregon can help submit documentation for incentives and will point you to local rebate guidance like Window Film Energy Rebates in Oregon. For procurement differences see Where to Buy Window Tinting Film.
One limitation to be honest about: Window film reduces reflected daylight but it won't fix glare from poorly placed overhead lighting or monitor reflections caused by internal glossy surfaces. Those require complementary measures—adjusting lighting, repositioning monitors, or adding anti-glare monitor hoods.
Next step: Schedule a site survey with Tinting Oregon to get live VLT mockups and a written plan that ties glare control to energy and warranty outcomes. For UV and fabric protection questions, review UV Blocking Window Film and expect the estimator to reference DOE guidance on energy impacts during the consultation: Energy Saver – Window Film.
