Privacy window tint can block sightlines, UV, and unwanted heat without stealing daylight when you choose the right film and VLT. This guide walks homeowners in Portland, Salem, Eugene, and Bend through the film types and measurable metrics, explains how room orientation changes your choices, and shows which products preserve view while improving privacy and energy performance. You will find practical examples like 3M Prestige, Huper Optik Ceramic, and Llumar decorative films, ballpark costs, and clear advice on DIY versus professional installation so you can match the right solution to each window.
How privacy window tint balances privacy and daylight: the key performance metrics
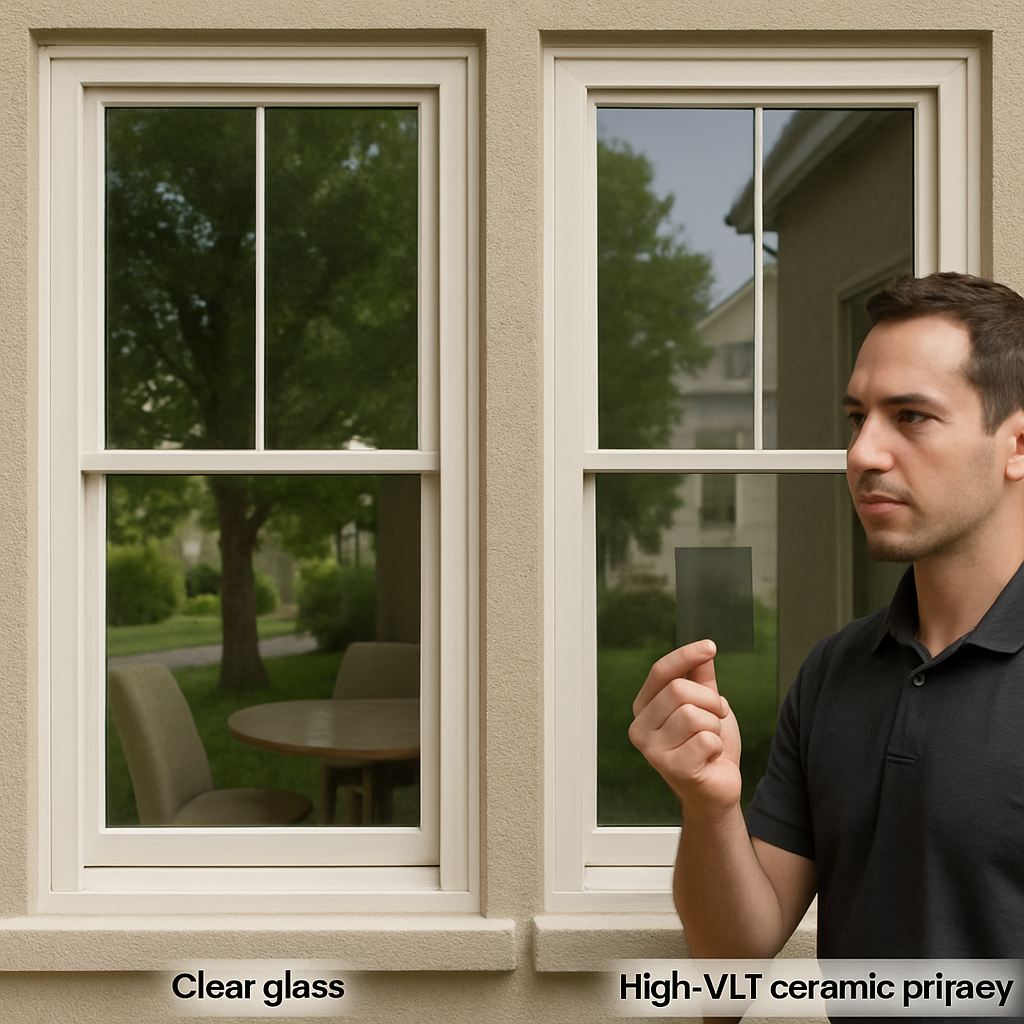
Visible Light Transmission (VLT) is the primary tradeoff. If you want privacy without darkening a room, choose a film by its VLT first. VLT is the percentage of daylight that passes through the glass after film is applied. For bright living spaces aim for 60–80% VLT; for street-facing bathrooms or entry sidelights accept 10–40% VLT where full sightline blocking matters more than view.
Solar Heat Gain Coefficient (SHGC) and percent heat rejection matter next. SHGC measures how much solar heat gets through; lower is better for cooling. Modern multi-layer and ceramic films commonly cut SHGC substantially while keeping VLT high — that means you can keep daylight while reducing glare and afternoon heat. Expect realistic SHGC targets around 0.30–0.50 for films that balance privacy and daylight, depending on orientation and glass.
Metric-by-metric practical notes
- VLT: Picks the room brightness. A 65% VLT film leaves a room feeling nearly unchanged in daylight; a 30% VLT feels noticeably dimmer but gives strong daytime privacy.
- UV rejection: Most quality films block up to 99% of UV—this protects flooring and fabrics without affecting visible light choices. See IWFA technical resources.
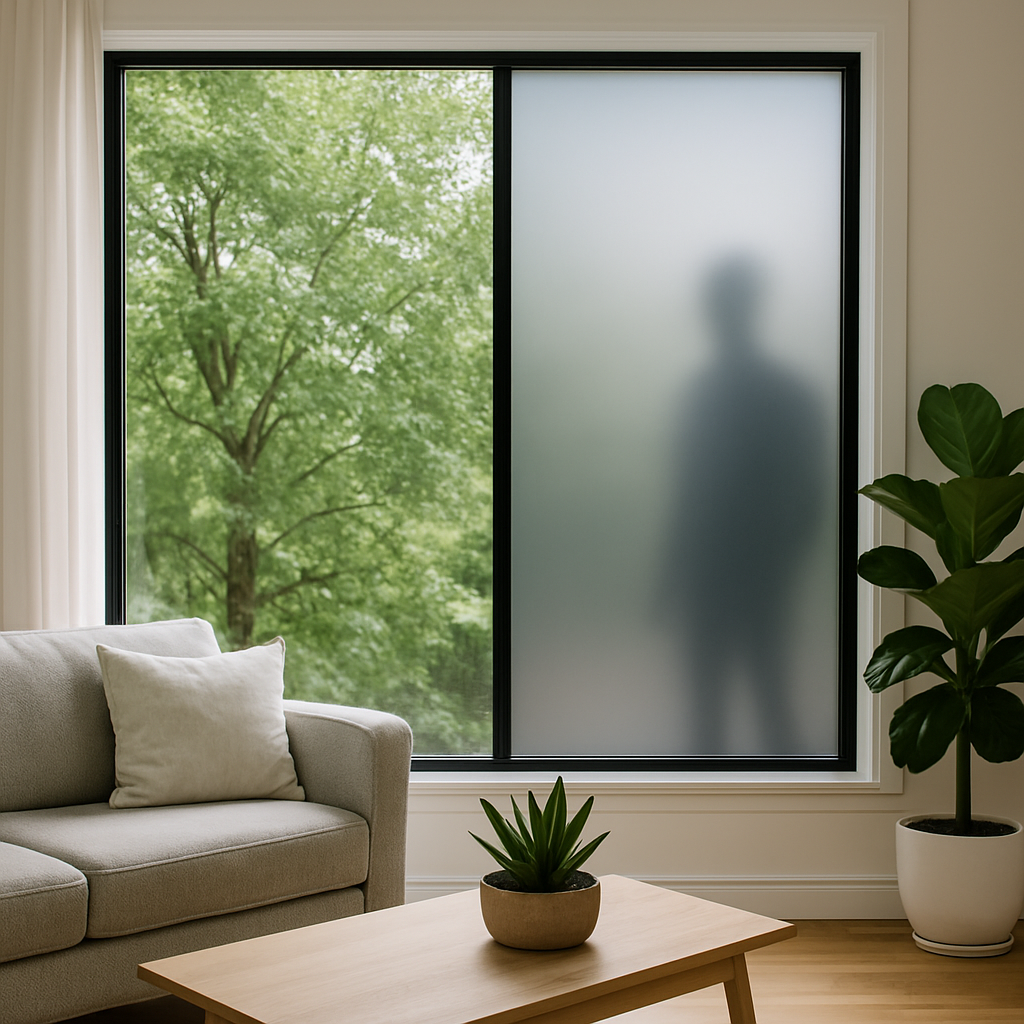
- Visible reflectance: Higher reflectance helps daytime privacy but creates the night problem when interior lights are on; prefer low-reflective films when preserving outward view is important.
- Optical clarity / haze: Thicker or low-cost films can introduce haze or color cast. Ceramic films deliver low haze at higher cost; cheap films often trade clarity for reflectivity.
Practical tradeoff: If you need daytime privacy with unchanged brightness, favor a high-VLT, low-reflectance ceramic or multi-layer film. If you need absolute obscurity (bathrooms, entryways), accept reduced VLT via frosted or opaque films and plan for lost outward view.
Concrete example: A south-facing living room with a floor-to-ceiling window typically benefits from a film in the 55–70% VLT range with SHGC below 0.40. In practice that means selecting a low-reflective ceramic film (for example lines available from 3M and Huper Optik) which cuts glare and heat but preserves the look and daylight of the glass.
What people get wrong: Many homeowners pick mirrored or very dark films for perceived privacy, then regret the poor night privacy and loss of natural light. Mirror finishes solve only daytime sightlines and often ruin exterior aesthetics in neighborhoods. Low-reflective, high-VLT films are the better default for living spaces.
Low-reflective ceramic and multi-layer films that preserve daylight and provide privacy
Straight answer: low-reflective ceramic and multi-layer films are the practical default when you want daytime privacy without making a room feel closed in. These products trade the mirror finish and heavy tint for optical neutrality — they reduce glare and solar heat while keeping views and natural color rendering intact.
How the technology preserves daylight
What makes them different: ceramic and multi-layer films use stacks of nano-ceramic or polymer layers rather than metal to reject infrared energy. That means low exterior reflectance, minimal color shift, and much lower chance of interfering with radios or GPS compared with metallic films. In practice that optical clarity is the reason designers pick these films for large picture windows and glazed living spaces.
Trade-off to accept: the improved clarity and low-reflective finish cost more and demand careful wet-install technique. Poorly cut or edge-sealed installations are how otherwise good films fail — expect to pay a premium for certified installers who will match film codes to your glass type and existing coatings like low-e.
- When to pick ceramic/multi-layer: for primary living rooms, floor-to-ceiling glazing, and situations where preserving the exterior look of the house matters.
- When they fall short: if you need complete sightline blocking (bathrooms, street-level sidelights), choose frosted or decorative films instead of a clear ceramic film.
- Installation consideration: verify compatibility with insulated glass units and ask the installer to check seal condition before application so trapped heat or delamination risks are minimized.
Concrete example: a west-facing kitchen with late-afternoon glare and neighbors across the street was fitted with a low-reflective ceramic film from a reputable manufacturer. The family kept unobstructed views to the yard, the countertops stopped heating up so quickly in summer, and they only needed lightweight blinds for full-night privacy — no heavy dark shades required.
Real-world judgment: for most Portland-area homes with large glass areas, the extra upfront cost of ceramic or quality multi-layer films pays off in livability and curb appeal. Cheaper high-reflectance films deliver a short-term privacy illusion but create night-time problems and often clash with neighborhood aesthetics.
Next step: ask your installer for on-glass swatches and a measured spec sheet for the exact film code; then compare optical clarity and manufacturer test data on the 3M product page and local options at Tinting Oregon residential window tinting.
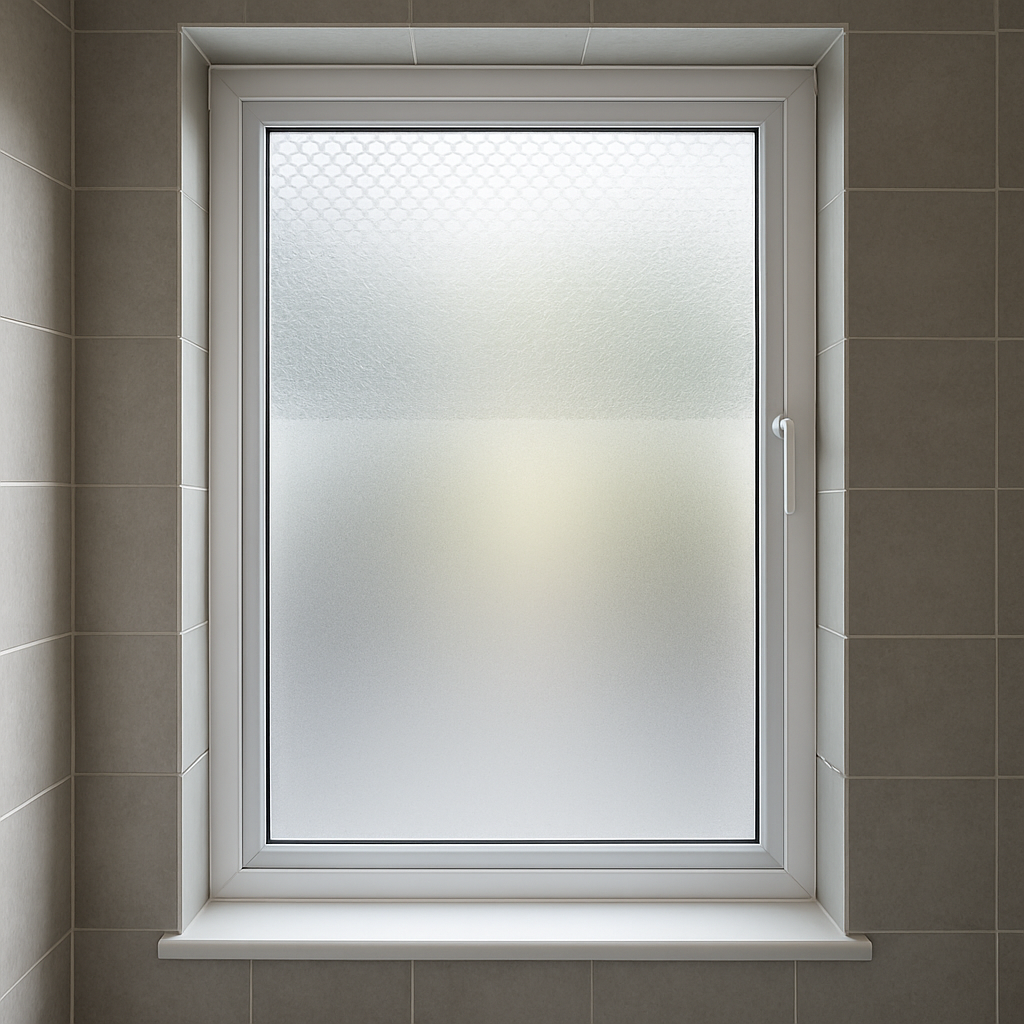
Frosted and decorative privacy films for bathrooms, entryways, and partial privacy
Direct point: Frosted and decorative films are the simplest way to stop sightlines while keeping daylight and design intact, but they are not a one-size-fits-all fix—materials, attachment method, and pattern scale determine how much light, texture, and longevity you actually get.
Practical limitation: Static-cling frosted films let you experiment and are removable for rentals, yet they peel, cloud, and delaminate faster in high-humidity areas like showers. Professionally laminated decorative films use pressure-sensitive adhesives and edge-sealing that resist moisture and last years longer, but they require expert cutting and can void warranties if installed over compromised IGU seals.
How to choose the right decorative finish for each spot
- Scale matters: Large-scale frosted gradients hide people more effectively than fine micro-patterns, which look good but can leave silhouettes visible at close distance.
- Opacity vs texture: Full-etch frosts give solid privacy; sandblasted or etched-look films provide privacy while preserving depth and soft shadows—choose based on whether you want a view blocked or merely softened.
- Placement strategy: Use opaque or heavily patterned film on lower panels and a lighter pattern above to keep sightlines blocked without sacrificing sky or daylight.
Concrete example: A Portland bungalow with narrow street-facing sidelights had frosted gradient film applied from the bottom up to about chest height, leaving the top third clear but patterned. The homeowners kept natural daylight and interesting shadowing across the entry hall while preventing direct sightlines from passersby—no heavy curtains were needed and the bathroom tiles remained uninterrupted visually.
Real-world trade-off: Decorative films can alter perceived color and contrast under certain light—printed or stained-glass look films are attractive but oxidize and fade faster than simple etched films. If long-term color fidelity matters (bathroom tile colors, artwork on a landing), pick neutral, non-printed frosts or ask for UV-stable inks and a manufacturer colorfastness spec.
Installer judgment call: I recommend testing a 12–18 inch on-glass sample in the actual window light before committing to an entire room. Patterns that look subtle on a sample board often read much stronger on a single tall pane or when backlit at night—confirm both daytime and evening appearance.
Decorative film is best when you want privacy without blinds; choose adhesive, pro-installed frosts for wet areas and static-cling for temporary or rental solutions.
Security and safety films that add privacy without sacrificing clarity
Direct point: Properly specified security film can increase forced-entry resistance and provide daytime privacy while remaining essentially transparent. The critical trade-off is simple: thicker, higher-hold films protect more but introduce a greater chance of optical distortion and more complex installation.
How these films keep daylight and view
Security films designed for clarity use clear polyester with high-clarity adhesives so windows keep their view and color fidelity. Manufacturers such as 3M Safety and Security, LLumar Safety, and Madico offer optically neutral formulas intended for occupied rooms and storefronts — they do not rely on dark tint or mirror finishes to provide privacy or theft deterrence.
- Thin, visual-friendly option (about 4 mil): basic fragment retention after low-energy impacts; minimal effect on daylight and clarity.
- Mid-range compromise (around 8 mil): commonly used on residential doors and sidelights; noticeably tougher but still maintains good optical quality.
- Heavy-duty films (12 mil and up): significantly increase glass hold-in-place and blast/shock resistance potential but often need perimeter anchoring or mechanical attachment and can show edge lines or minor haze.
Practical limitation: Security film is a retrofit reinforcement, not a replacement for laminated or tempered safety glazing in high-risk settings. For serious forced-entry resistance or ballistic protection you need laminated glazing or a system that combines film with mechanical anchors or interlayers. Also, some insurers and building codes require specific anchoring methods for security films to qualify for coverage or compliance.
Installation reality: Getting the film to perform while preserving clarity requires precise wet-install technique, full-surface adhesion, and professional edge treatment. Scrappy DIY installs that leave glue ridges, uncovered edges, or trapped bubbles degrade both appearance and the film's holding capability—so choose a certified installer and get an adhesion/installation spec sheet for the exact glass type.
Concrete example: A Salem homeowner installed an 8 mil clear safety film on street-level French doors to deter smash-and-grab attempts without blocking the garden view. The installer added mechanical perimeter anchors at the threshold because the door frame was shallow; the family kept full daylight and only added lightweight interior shades for nighttime privacy.
Judgment call that matters: For most residential windows where you want both daylight and credible security, a mid-thickness clear safety film professionally installed and edge-anchored is the best balance. Avoid the instinct to darken glass for security; dark or mirrored films hide visibility but create night-time privacy problems and degrade curb appearance.
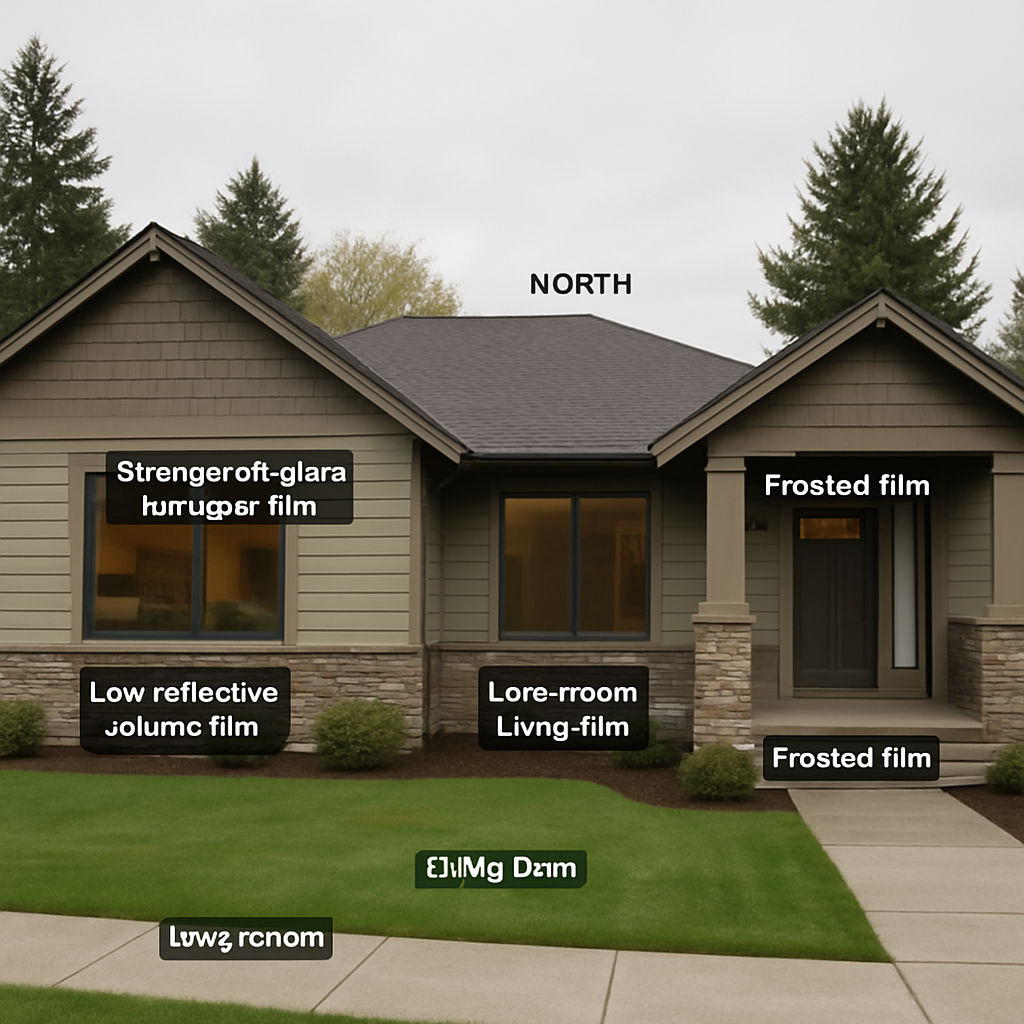
Room- and orientation-specific recommendations for Oregon homes
Start with function, not fashion. Choose film based on how a room is used and when the sun hits it during the day — that will decide whether you need daytime sightline control, heat rejection, glare management, or a mix. Portland and the Willamette Valley have milder summers and more diffuse light; Bend gets stronger direct sun and clearer skies, so the same film will behave differently between cities.
Orientation-first guidance
- South-facing living areas: pick a low-reflective, high-transmission solar control film (for example ceramic multi-layer products like those from 3M or Huper Optik) so you cut glare and daytime heat while keeping views and color fidelity.
- East / west exposures: prioritize films with stronger solar control and anti-glare properties because morning or late-afternoon sun causes the worst discomfort; a slightly darker optical density is acceptable here if it stops hotspots.
- North-facing or shaded rooms: opt for high-transmission treatments whose primary job is UV protection and minimal optical impact; don’t use heavy tints that will make these naturally dim rooms seem closed in.
- Bathrooms, sidelights, and entry glass: use frosted or decorative adhesive films for opaque privacy where view retention is not needed; choose pressure-sensitive adhesives for wet areas for durability.
- Street-level windows and bedrooms facing sidewalks: combine privacy films with internal light-filtering shades to avoid night-time visibility problems instead of relying on mirrored finishes alone.
Practical trade-off to plan for. If you want daylight preserved in a primary room, accept that absolute sightline blocking is unlikely without sacrificing view; conversely if you demand full obscurity you will sacrifice outside connection. The common mistake is choosing a highly reflective film for daytime privacy and then discovering poor night privacy and an aggressive exterior appearance.
Concrete example: A Bend rambler with large west glazing had a Huper Optik ceramic film installed. The homeowners kept their unobstructed mountain view and noticed much less late-afternoon glare on the couch; for evening privacy they paired the film with lightweight roller shades rather than installing a darker film that would have killed the daylight.
What installers should check that owners often miss. Verify glass type and coatings (low-e, tempered, laminated) before you choose film; some glass treatments change how heat is handled and limit which films are safe. Also confirm whether egress windows or manufacturer warranties impose thickness or attachment restrictions — this affects choices for security versus privacy films.
Daytime versus nighttime privacy: managing transparency and reflectivity
Simple reality: windows that look private during the day frequently become transparent at night because the light balance flips. Daytime privacy comes from exterior brightness and surface reflectance; nighttime privacy depends on what you do with interior lighting and window coverings.
Why the inversion happens and what it forces you to accept
How the physics matters: when exterior light outcompetes interior light, a reflective appearance reduces sightlines. Turn interior lights on after dark and the glass becomes a window again. That means any solution that relies on daytime reflectivity – high mirror finishes or very dark tints – will fail at night unless you add a second layer of privacy control.
Tradeoff to plan for: choose a film that preserves daytime view and color and accept that you will need interior or motorized shades for consistent night privacy, or choose a heavy opaque approach and live with a permanently altered view and lower daylight levels. Both paths are defensible; the right one depends on how often you need true night-time obscurity versus daytime-only privacy.
- Layered approach: combine a low-reflective, high-transmission privacy window tint with interior light-filtering shades for the most flexible result.
- Behavioral fixes: control interior lighting scenes – use downlights and directed lamps instead of bright ceiling washes near windows to reduce outward visibility.
- Premium option:
electrochromicor switchable films solve inversion on their own but add cost, electrical work, and lifecycle uncertainty compared with shades.
Practical limitation: switchable film and motorized systems sound neat, but in retrofit residential jobs they often increase project complexity – think wiring, controllers, and replacement logistics. For most Portland-area homes the better budget-to-benefit ratio is a quality low-reflective film plus coordinated interior treatments.
Concrete example: A Portland rowhouse with large street-facing glazing installed a low-reflectance ceramic privacy film and motorized light-filtering roller shades. Daylight and the street view remained intact; at night the shades drop automatically at a preset time so the family avoids manually closing thick curtains every evening. The result kept curb appeal, solved late-evening privacy, and eliminated the mirror-look neighbors dislike.
How to test your house before committing
Perform simple, repeatable checks on the windows you plan to treat. Have someone stand outside while you switch lighting scenarios inside and try the following steps. These tests reveal whether a film-only approach will satisfy you or whether a layered system is necessary.
- Do a daylight check with the room unlit and with bright exterior conditions – note sightline reduction from a few paces away.
- Do a night check with interior lights on and an assistant holding a flashlight or phone light outside at various distances to simulate street lighting.
- Apply a temporary static-cling sample or drape a sheet for a few evenings to live with the change before committing to a permanent film.
- Measure how much privacy you need at different times – living rooms often need only daytime privacy; bedrooms require reliable night privacy.
Key advice: prioritize a low-reflective, high-transmission privacy window tint for daytime comfort and plan for interior or motorized shades to handle night-time privacy reliably.
Installation considerations, warranties, maintenance, and professional versus DIY
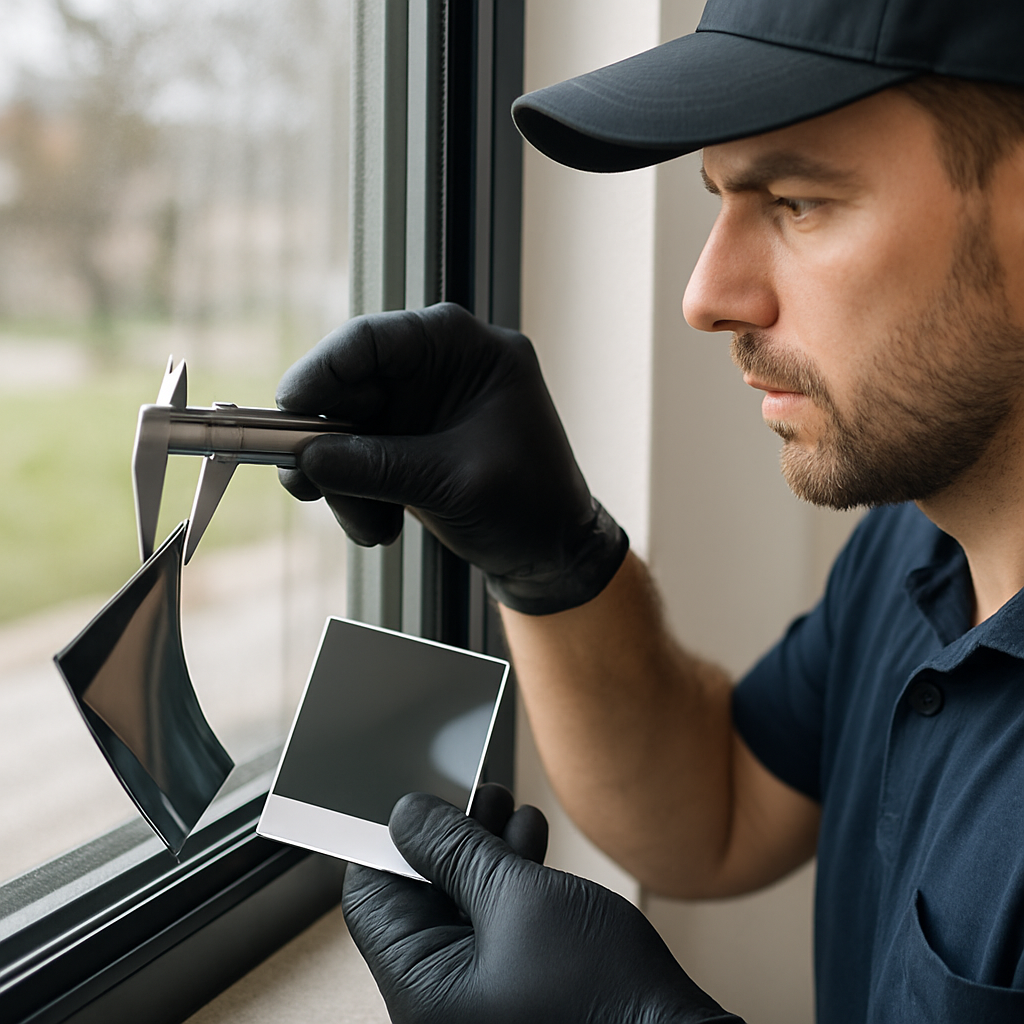
Installation quality decides longevity. A premium privacy window tint only performs if the substrate, edge treatment, and adhesive cure are right — otherwise you get bubbles, edge lift, optical haze, and a voided warranty. Treat installation as a technical step, not a weekend project, when the windows are large, tempered, or part of an insulated glass unit (IGU).
Pre-install checks professionals run (and why they matter)
- Glass inspection: confirm IGU seals, low-e coatings, tempering, and any prior coatings. A failed IGU needs replacement rather than film.
- Frame and reveal check: measure frame depth and reveal before choosing security anchoring or edge-seal methods; shallow frames limit mechanical attachment options.
- Thermal risk assessment: evaluate whether a dark film will raise thermal stresses on annealed glass — if so, pick a low-heat film or consult the glass manufacturer.
- Environmental window: schedule install during a dry, moderate-temperature period so adhesives flow and cure correctly; excess humidity or cold slows proper bonding.
Trade-off to accept: if your windows already show seal failure or haven’t been inspected for a decade, applying film is a band-aid. Expect pros to recommend IGU repair first; otherwise you risk trapping moisture and accelerating failure.
Warranties and what to insist on before signing
- Get the film code and data sheet: warranties are tied to specific film SKUs; do not accept generic descriptions.
- Ask who warrants what: manufacturers typically cover discoloration, delamination, and adhesive failure; installers warrant workmanship and edge sealing — both are needed.
- Confirm installer certification: many manufacturer warranties require certified installers for coverage to be valid.
- Get exclusions in writing: common exclusions include IGU failure, harsh chemical cleaners, coastal salt corrosion, and damage from post-install modifications.
Important limitation: warranties rarely cover pre-existing glass problems or improper homeowner maintenance. For example, condensation between panes or trapped sealant lines are not film defects — they void most claims.
Maintenance that keeps film performing and appearing right
- Initial cure period: wait at least 30 days before aggressive cleaning so adhesives finish bonding.
- Cleaning method: use a soft microfibre, mild dish soap, and water. Avoid ammonia, acetone, abrasive pads, and metal scrapers unless the film manufacturer explicitly allows them.
- Edge care: inspect edges annually for lifting; small lifts should be resealed quickly to prevent water ingress and adhesive failure.
- Avoid high-pressure washers and direct heat on newly installed films as these force moisture under edges and can blister adhesive.
Practical maintenance trade-off: static-cling and DIY films are convenient for renters but demand more frequent replacement and gentler cleaning. Professionally laminated films tolerate normal household cleaning and less fuss over the long run.
Professional versus DIY — when each makes sense. DIY kits are reasonable for small, non-critical windows, testing styles, or short-term privacy needs in rentals. They save money up front but commonly show edge lift, trapped microbubbles, and inconsistent optical quality after a season of cold, wet weather. Professional installation costs more initially but buys correct on-glass cutting, verified film codes, edge sealing, performance documentation, and warranty coverage — critical for large glazed walls, picture windows, or security upgrades.
Concrete example: A Portland renter applied a static-cling frosted film in a small bathroom; within nine months the edges clouded and pieces began peeling from the shower splash zone. The landlord hired a pro to install an adhesive frosted film with sealed edges and a moisture-rated adhesive; the result resisted steam, kept diffuse daylight, and avoided two replacements in three years.
Judgment that matters: if appearance, optical clarity, or warranty-backed performance matter even a little, hire a certified installer. The small extra cost prevents the common regret of replacing a DIY job after it degrades and losing any manufacturer protection.
Costs, estimated energy and UV protection benefits, and next steps for homeowners
Straight numbers first: expect installed prices to vary by film performance, window complexity, and installer. Budget roughly $8–$15 per square foot for premium ceramic or multi-layer solar-control films, $6–$12 per square foot for frosted/decorative adhesive films, and $10–$20 per square foot for safety/security films (thickness and anchoring drive the top end). Small jobs have fixed costs: a 2–4 window job commonly carries a higher per-window markup than a larger whole-house quote.
| Film Type | Installed cost range (per sq ft) | Energy / UV impact (practical) | Best use case |
|---|---|---|---|
| Ceramic / Multi-layer | $8–$15 | High solar infrared rejection with low exterior reflectance; strong UV protection; preserves color and view | Large living rooms, south/southwest glazing where daylight matters |
| Frosted / Decorative | $6–$12 | Diffuses daylight, blocks sightlines, provides UV protection comparable to clear films but reduces direct view | Bathrooms, sidelights, entryways, rentals |
| Security / Safety | $10–$20 | Improves glass retention and impact resistance while remaining optically clear; similar UV benefits to other quality films | Street-level doors, vulnerable ground-floor windows |
Energy and UV realities: film cuts the portion of solar energy that enters your house and blocks the majority of UV that causes fading, but total utility savings depend on how your house is heated and cooled and which façades get the sun. In the Pacific Northwest, where heating-season gains matter, a high-rejection film on a south window reduces summer cooling but can slightly reduce passive winter heat — that trade-off should influence the SHGC you pick.
Practical limitation you must accept: film performance is measured on specific glass assemblies. Installer claims are only meaningful if tied to the exact film SKU and your glass type. Don’t buy on marketing language; insist on a lab data sheet showing tested solar control and UV performance for the film code proposed for your windows.
Concrete example: a Portland home with a 120 sq ft west-facing living-room glazing had 3M Prestige-style ceramic film installed for about $1,000–$1,400. The owners reported noticeably cooler late afternoons and lower glare on the sofa; they also received a manufacturer data sheet and a five-year limited installation warranty from the contractor.
- Step 1: Book an on-site assessment so the installer can read your glass type, frame reveal, and orientation — remote quotes miss these variables.
- Step 2: Request the exact film code and its lab data sheet (measured solar performance and UV block) and compare at least two SKUs on-glass swatches.
- Step 3: Ask for a nighttime mockup or temporary sample so you can judge evening privacy before committing.
- Step 4: Get a written estimate that lists film SKU, installed price per square foot, warranty terms (manufacturer and installer), and an estimated install window.
Takeaway: treat cost estimates and energy claims as conditional — demand the film SKU, test data, and an on-glass sample, then make the choice that balances daylight, night privacy strategy, and winter heating trade-offs for your home.