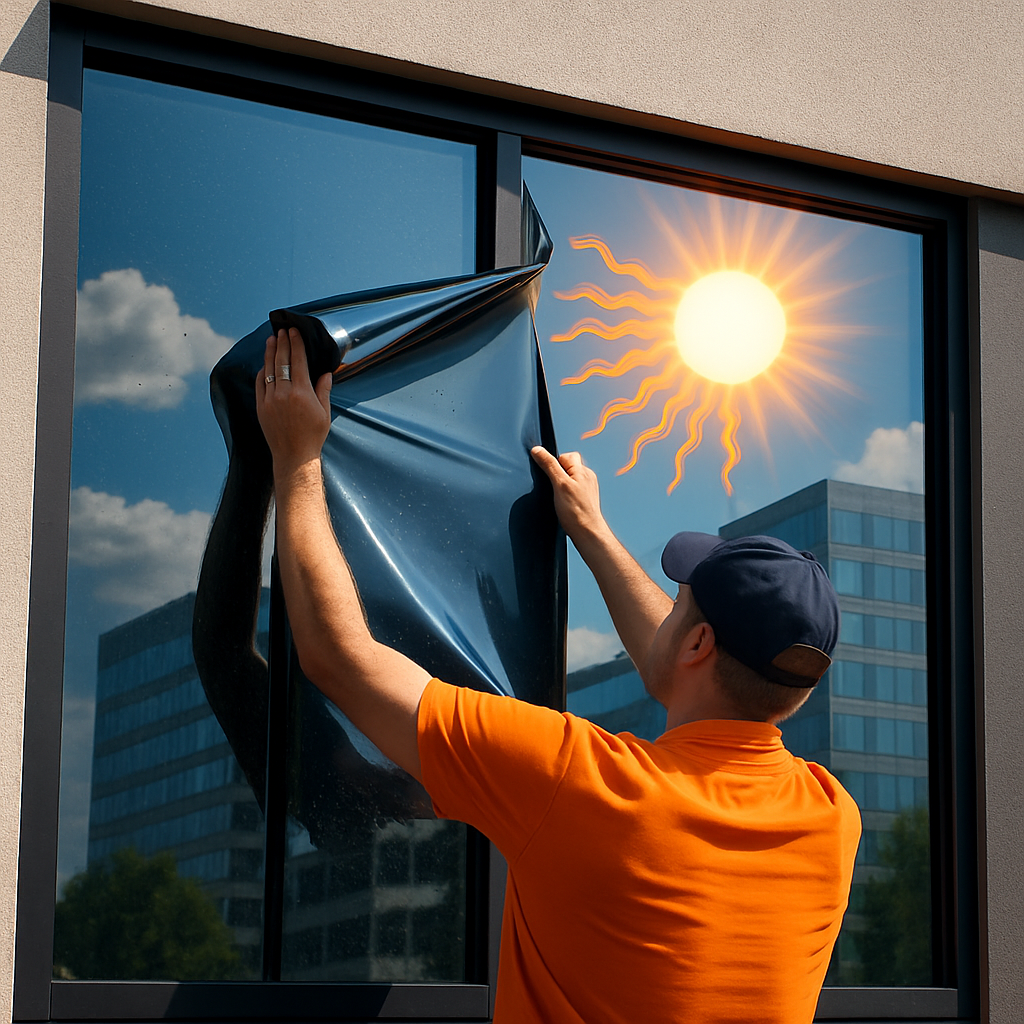
If west- and south-facing glass is turning your building into an oven every summer, heat reflective window film is one of the fastest, least disruptive retrofits to cut solar heat gain, reduce glare, and lower AC bills. This practical guide walks Portland, Salem, Eugene, and Bend building owners through how the films work, which metrics matter, and a clear ROI method you can use to evaluate products and installers.
How heat reflective window film reduces solar heat gain
Key point: heat reflective window film reduces the portion of incoming solar energy that passes through glass by changing how the window handles visible and infrared wavelengths. Films do this through a mix of reflection and absorption with controlled re-emission, and the practical result is a measurable drop in the glass assembly solar heat gain coefficient or SHGC.
Metrics that matter: SHGC tells you the fraction of incident solar energy that becomes interior heat, VLT indicates how much daylight you keep, and solar heat gain reduction or SHGR is the percent change you get when you add film. Ask for those three numbers on each film data sheet and compare them to your existing glazing before you buy.
How it works, practically: metalized and sputter-coated films reflect a lot of near-infrared back outside immediately, cutting transmitted heat. Ceramic and spectrally selective films instead reject infrared while allowing visible light through, which preserves daylight and view. In both cases some solar energy is absorbed by the film and the glass; that energy will reradiate and conduct, so proper selection and edge sealing are important to avoid creating hotter glass surfaces that increase thermal stress.
Trade-off to plan for: darker, heavily reflective films reduce SHGC the most but also lower VLT and change facade appearance. For homes and offices in Oregon where preserving daylight and view matters, spectrally selective or ceramic films are usually a better trade-off than highly metalized films that look mirrored from outside.
Concrete Example: A west-facing storefront with 400 square feet of glass that currently admits a large afternoon solar load can be fitted with a spectrally selective film that lowers SHGC by about 25 to 35 percent. That percentage reduction applies directly to the solar heat flowing through that glass area, so peak afternoon heat gain falls proportionally, reducing zone peak cooling demand and runtime. Request the film and existing-glass SHGC numbers on your proposal so you can calculate expected peak reductions precisely.
Practical limitation: films cannot fix poor insulation or air leaks and their value falls if most heat enters through roofs or poorly insulated walls rather than glass. Also, films applied to heat-treated or laminated glass need an installer who understands thermal compatibility to avoid film-induced cracking.
Where to go next
If you want numbers: ask an installer for a side-by-side comparison of current SHGC and projected post-film SHGC, plus VLT and UV blocking values. For manufacturer guidance on window film performance see Energy.gov and for a local survey book a site assessment at Tinting Oregon commercial or Tinting Oregon residential.
Reducing SHGC is proportional: a 30 percent SHGC reduction on a given glazed area cuts that window's solar heat contribution by about 30 percent at the same sun angle.
Film technologies and real product examples
Direct point: choose film by what you are willing to trade: maximum heat rejection, optical clarity, exterior appearance, or connectivity. Different film chemistries deliver different mixes of near-infrared rejection, visible light retention, and external reflectance — and those trade-offs determine whether a product fits a Portland bungalow, a Salem storefront, or a Bend vacation home.
Technology breakdown
| Technology | Best for | Strengths | Trade-offs |
|---|---|---|---|
| Metalized films | Commercial facades, budgets with less concern for appearance | Strong near-IR reflection, cost-effective | Can look mirrored from outside; may interfere with radio/Wi Fi; higher exterior glare |
| Ceramic / nano-ceramic | Homes and offices that need daylight with heat control | High clarity, stable color, minimal signal interference | Costlier per sq ft; premium installation required |
| Spectrally selective (sputter-coated) | Residential where view and daylight matter | Targets IR while keeping VLT high; good balance of comfort and appearance | Performance varies by sun angle; pricier than simple dyed films |
| Safety / security films | Locations needing impact resistance plus some solar control | Adds fragmentation protection and can be combined with heat control | Thicker films change window feel; may reduce VLT and raise installed cost |
Product examples with judgment: 3M Ceramic IR and Huper Optik ceramic lines perform well where occupants demand daylight and accurate color rendering; expect higher installed cost but fewer complaints about darker interiors. Solar Gard spectrally selective films are useful for residential projects that need visible light without carrying a mirrored look. Older metalized options still reject heat effectively at a lower price, but in practice they raise neighbor complaints and sometimes disrupt cell or Wi Fi signals — avoid them where connectivity matters.
- What to demand on a proposal: film data sheet with SHGC, VLT, IR rejection, and a clear warranty window length and coverage.
- Site test: insist on a small trial panel or sample on your actual glass before committing to a full install.
- Compatibility check: confirm compatibility with low-e, tempered, and laminated glass to avoid thermal stress or warranty denial.
Real-world example: A southeast Portland homeowner with a sunroom chose Huper Optik ceramic film to stop afternoon heat while keeping the room bright. After installation the room stayed noticeably cooler in late afternoon, occupants kept blinds open more often, and the installer supplied the pre- and post-film SHGC figures for the exact glazing so the owner could compare expected versus observed comfort gains.
Practical constraint to note: aesthetics and local rules matter as much as performance. Highly reflective films can run afoul of historic district or HOA guidelines and may create glare for neighbors or drivers — check approvals before ordering. For technical background on film performance metrics see IWFA technical or request a datasheet from your installer.
Next consideration: get the specific film datasheet and an on-site sample; if the installer cannot provide both, pause the project until they can. For a local site survey and brand comparisons, see Tinting Oregon residential.
Estimating energy and cost savings: a step by step method
You can produce a useful project-level savings estimate with five local inputs and simple arithmetic; you do not need a full building energy model to decide if a film retrofit is worth pursuing.
Stepwise inputs you need
- Glazed area by orientation: square feet for west, south, east, north separately.
- Baseline SHGC of existing glazing: get this from manufacturer, sticker, or measured datasheet; if unknown use conservative estimates (for single-pane ~0.7, for older double-pane ~0.5).
- Post-film SHGC: the value on the film datasheet when applied to your glass type (ask installer to provide this pairing).
- Local solar exposure hours: estimate hours of strong direct sun for each orientation (practical rule: west gets late-afternoon peaks in Oregon).
- Energy price or cooling cost: $/kWh for electric AC or your marginal cost for cooling energy.
Calculation template (practical, not academic)
Follow these calculations in order. Use consistent units (watts and kWh) and conservative assumptions for sun hours.
- Step 1 – Peak instantaneous reduction: DeltaSHGC = SHGCcurrent – SHGCpost. Peak power saved (W) = Areaft2 IrradianceWperft2 DeltaSHGC. Use 74 W/ft2 for strong afternoon sun as a practical on-glass peak for late-afternoon sun in Oregon.
- Step 2 – Daily energy: Multiply peak power by estimated effective sun hours per day on that facade to get kWh/day saved (divide watts by 1000).
- Step 3 – Seasonal energy: Multiply by the number of cooling-season days where that facade sees strong sun to get seasonal kWh saved.
- Step 4 – Dollar savings and payback: Annual $ saved = seasonal kWh priceperkWh. Installed cost estimate = Areaft2 installedcostperft2. Payback years = installedcost / annualsavings.
Practical limitation: this method captures solar-driven cooling reductions but does not account for internal gains, ventilation changes, or whole-building HVAC efficiencies; treat the result as a screening estimate, not a final design.
Concrete example — a modest west-facing living room
Concrete Example: A homeowner has 180 ft2 of west-facing glass with existing SHGC of 0.55. They select a film that drops SHGC to 0.32 (Delta_SHGC = 0.23). Using 74 W/ft2 peak irradiance, peak saved power = 180 74 0.23 ≈ 3.1 kW. If that facade gets 4 effective high-sun hours on hot afternoons and 90 cooling days, seasonal savings ≈ 3.1 kW 4 h/day 90 days = 1,116 kWh. At $0.16/kWh that is roughly $178/year. If installed at $8/ft2 the retrofit costs $1,440 and simple payback is about 8 years.
Judgment: in Oregon homes where west glazing is the dominant uncontrolled solar source, this level of payback is realistic and often acceptable. If your glazed area is small or heavily shaded, expect payback to lengthen substantially — prioritize large, unshaded orientations first.
Sensitivity to two factors: doubling your electric rate or increasing effective sun hours halves the payback. Conversely, if the film chosen preserves more visible light but has a smaller SHGC reduction, you will pay more for daylight at the expense of slower ROI.
For a quick reference on film performance metrics and expectations see the Department of Energy guidance at Energy.gov, and when you want a site-specific projection book a survey with Tinting Oregon.

Residential and commercial use cases with local examples
Straight to the point: where you put heat reflective window film depends on the building function and the local sun pattern, not on a single best product. In Oregon a film that works for a shaded Portland bungalow will behave very differently on a sun-exposed Bend vacation rental or a downtown Salem storefront, so match objective to site before selecting chemistry.
Residential priorities: homeowners usually want daylight retention, view preservation, UV protection, and lower afternoon heat without a mirrored look. In rooms where occupants value natural light — living rooms, sunrooms, and kitchen-facing glazing — spectrally selective or ceramic films are the practical choice because they reject infrared while keeping VLT high. Limitation: in high‑sun/high‑cold places like Bend, thermal cycling can increase glass stress after film application; pick an installer who checks glass tempering and can recommend exterior vs interior solutions.
Commercial priorities: stores, offices, and healthcare spaces care about glare control, consistent interior lighting for merchandising or screens, and reducing peak cooling load (which affects demand charges). For storefronts you must also manage appearance and visibility of displays — avoid highly reflective metalized films that make windows look mirrored. Security and solar control can be combined, but expect higher cost and thicker film profiles.
Concrete example — Bend vacation rental: a small property manager replaced thin, single-pane south glazing with a spectrally selective film to keep the living area usable on hot afternoons while preserving the mountain view. After installation guests reported the room stayed comfortable later into the afternoon and the manager kept blinds open more often, improving perceived space and reducing AC runtime on peak days.
Concrete example — Salem downtown office: a two-story office with west-facing glazing installed a ceramic film because staff complained about monitor glare and hotspots. The film kept daylight levels acceptable, reduced glare complaints, and allowed the facilities team to raise thermostat setpoints on warm afternoons without harming comfort.
- When to prioritize maximum SHGC reduction: large unshaded glass areas where cooling dominates and appearance is secondary (industrial bays, some commercial facades).
- When to prioritize VLT and view: residential living spaces, galleries, or leased retail where merchandise visibility matters — choose ceramic or spectrally selective options.
- When to prioritize privacy or safety: combine tinted or security films for ground-floor units and storefronts with high foot traffic.
- When to prioritize signal integrity: avoid metalized films in locations that need reliable Wi Fi or cell service; prefer ceramic alternatives.
Practical trade-off: the best film for comfort is rarely the cheapest. Expect to pay more for clarity and low external reflectance — but you will avoid complaints about dark interiors or mirrored facades.
Next consideration: schedule a short on-site trial patch during a hot afternoon and observe both thermal comfort and appearance. If the film passes that real-world check, request the installer’s paired glass-and-film performance data and a written recommendation specific to your building orientation before moving forward. For a local site assessment book a visit with Tinting Oregon.
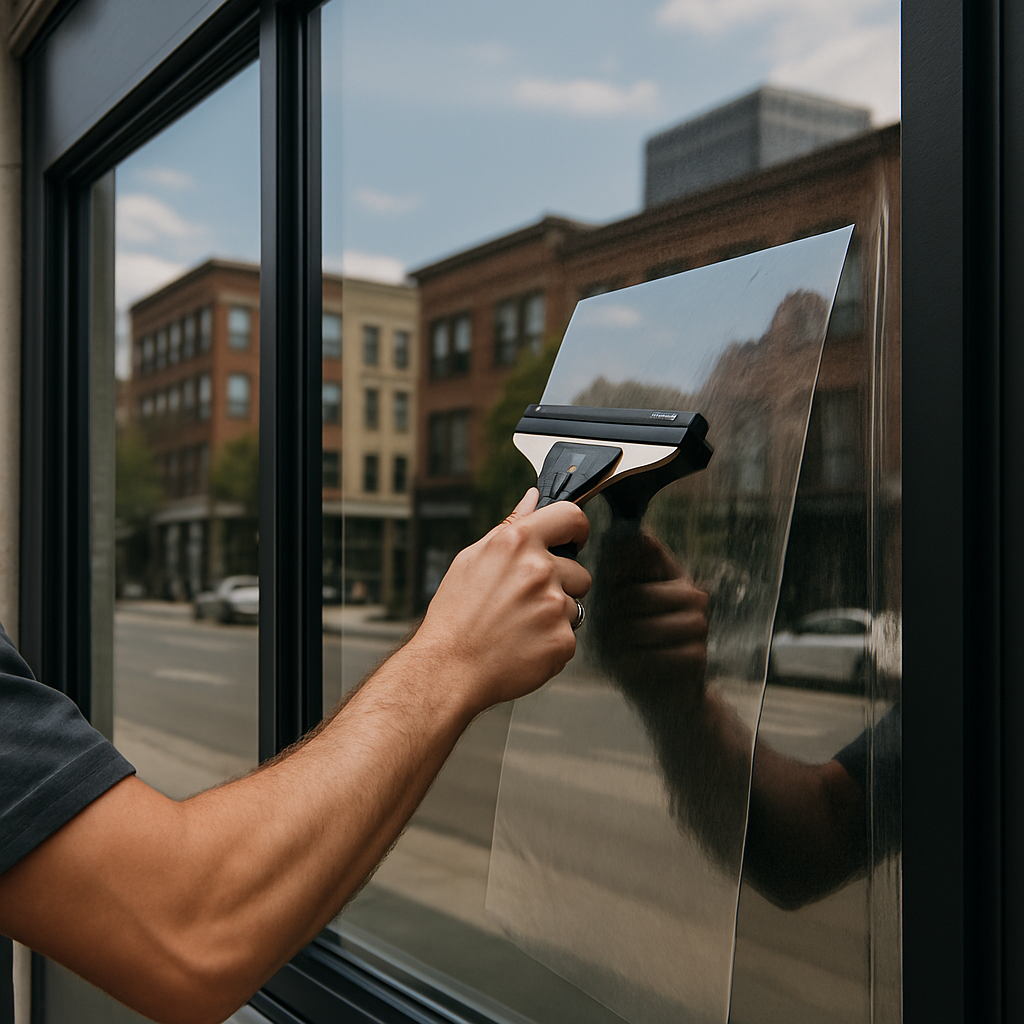
Installation process, expected disruption, and timeline
Straight fact: installation is usually a low-disruption, wet-squeegee interior job — but the logistics around access, weather, and glass type determine whether it finishes in hours or takes weeks. Treat the schedule as a coordination task, not a simple service call.
Pre-install checks and scheduling
What installers do before arrival: measure glass, confirm the exact film code and paired performance for your glass, and assess whether any panes are heat-treated, laminated, or already coated. If glass tempering is unclear, expect a brief thermal-compatibility test or a recommendation to skip film on that pane. For commercial façades anticipate permit checks, lift bookings, and building management signoffs.
Practical timeline guide: small residential jobs (a handful of windows on one level) commonly finish the same day — plan for 3–8 hours. Whole-house retrofits or denser multi-room jobs usually span 1–3 days. Single-storefront installations often take 1–3 days; multi-floor commercial jobs that need lifts, permits, or scaffold access commonly require 1–3 weeks of planning plus multiple on-site days.
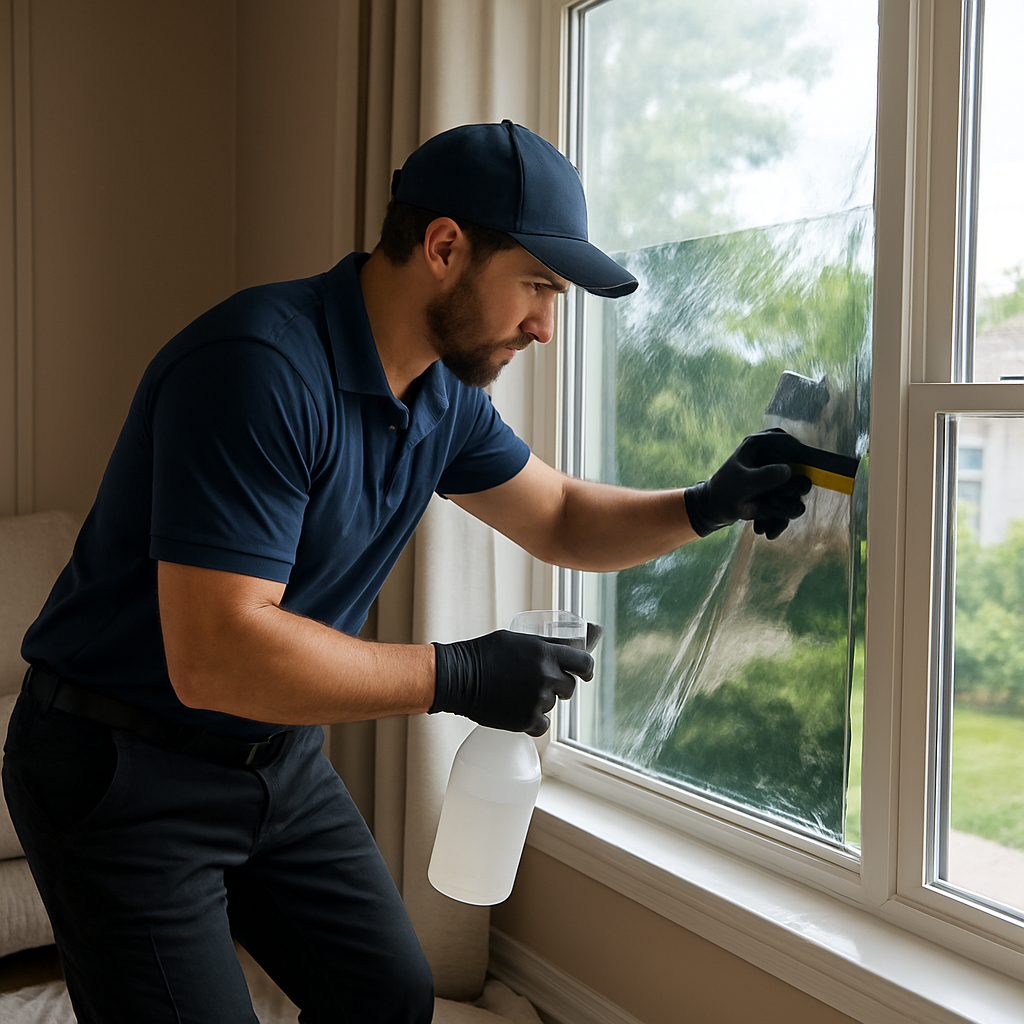
Day-of expectations: installers will move blinds/obstructions, protect floors and furniture, work wet (expect runoff), and squeegee excess water away. Noise is minimal; you will see ladders, squeegees, knives, and roll stock. Access to power and a water source speeds the job but is not always necessary.
Curing, cleaning, and short-term care: most modern films use water-based adhesives that visibly settle within 24–72 hours. Avoid aggressive cleaning and rubbing for the first 7–30 days depending on manufacturer instructions. Some specialized adhesive systems or exterior film work require different cure windows; get the film-specific guidance in writing.
Limits and trade-offs to plan for: exterior-film options and work on insulated glass units increase schedule risk — exterior work is weather-dependent and may need scaffolding, while certain heat-treated or laminated glazing requires a compatibility review that can delay or rule out film. Also expect marginal cosmetic changes: some films accentuate existing glass blemishes or edge seal imperfections that were previously unnoticeable.
Concrete example: a Portland bungalow with 10 main-level windows booked a morning appointment. The crew completed measurement verification, installed film on all ten panes, and left by late afternoon; the homeowner was asked not to clean the glass for two weeks. By contrast, a downtown Salem office with a two-story storefront required a lift, a city work permit, and two on-site days spaced a week apart for staging and final finish — the overall project took three weeks from first site survey to completion because of logistics.
Installer accountability: demand a clear day-of schedule, a list of building access needs (keys, floor protection, elevator reservations), and a documented cure/cleaning window. Ask the installer to photograph problematic panes before applying film so cosmetic issues are documented and not blamed on the film.
Next practical step: schedule a timed site visit and confirm any permit or access needs before committing to dates. If you want local help coordinating permits and scheduling, request a site assessment through Tinting Oregon contact or review general installation guidance at Energy.gov.
Maintenance, durability, and warranty considerations
Straight fact: proper maintenance and an installer who documents preexisting glass condition are what determine whether a heat reflective window film stays clear and bonded for a decade or gets blamed for problems it did not cause. Do not treat film as a no-service product.
Routine care that actually extends life
Basic maintenance: clean gently with a mild detergent and soft microfiber; rinse with clean water and pat dry. Avoid ammonia, abrasive pads, or solvent-based cleaners because they attack adhesives and surface coatings over time.
When to wait: allow the adhesive full cure before regular cleaning. Manufacturer instructions usually call out a curing window; aggressive wiping inside the first days can lift edges or leave micro-scratches that spread under thermal cycling.
Durability trade-off: higher-performance ceramic and spectrally selective films cost more but resist discoloration and edge degradation better in Oregon climates. Lower-cost dyed films may look fine initially but tend to haze, shrink, or delaminate sooner when exposed to strong sun or repeated thermal shock.
- Quick checklist: Use only pH-neutral cleaners; never scrape film with blades; dry with a lint-free cloth.
- Don’t: use pressure washers on exterior films or glass with compromised edge seals.
- Watch for: edge lifting, bubbling, or a change in tint uniformity—these are early signs of adhesion failure or glass compatibility issues.
Concrete example: a Eugene homeowner noticed lifting along the bottom edge after a roof gutter overflow. Because the installer photographed every pane pre-install and used an edge seal on exterior-exposed glass, the repair was covered under the workmanship warranty and the installer replaced the affected panels within two weeks.
Warranty reality check: manufacturer warranties vary widely in scope and duration. Some cover adhesive and optical integrity for 10 to 15 years, others are pro-rated or exclude certain exposures. Installer workmanship warranties are separate and often short; insist that the proposal states both clearly and details who handles manufacturer claims.
Practical judgment: do not buy solely on the longest warranty term. Read the exclusions: thermal breakage, preexisting glass defects, and damage from improper cleaning are common carve-outs. The most useful warranty is one where the installer documents glass condition, commits to onsite remediation, and acts as the warranty liaison with the manufacturer.
Where to learn more and get help locally: for general maintenance guidance see the Department of Energy summary at Energy.gov. For a documented pre-install inspection and warranty coordination in Oregon contact Tinting Oregon.
Regulatory, aesthetic, and technical constraints in Oregon
Direct point: local rules and glass physics often set the real limits on which heat reflective window film you can install and how quickly a project moves. Don’t assume every pane is a candidate; assume instead you will need approvals, compatibility checks, and possibly aesthetic concessions.
Where approvals and appearance matter most
Historic districts and HOAs: many Portland neighborhoods and smaller Oregon cities restrict exterior appearance. Highly reflective or mirrored films are commonly declined because they alter historic fabric or create glare for neighbors and drivers. Practical rule: present a physical sample, full film data sheet (SHGC, VLT, exterior reflectance), and a photo mockup when you apply for permission.
- Signage and storefront rules: municipal sign codes sometimes treat reflective films as signage because they change storefront visibility; check downtown planning rules before ordering.
- Safety and egress glazing: building codes and insurers may require minimum visible light or clarity for doors and exit glazing; replacing VLT with a very dark film can trigger re-inspection.
- HOA covenants: expect written approval and keep records of ballots or design review minutes; verbal approvals do not protect you.
Technical constraints to verify on-site: not all glass tolerates film. Tempered, heat-strengthened, laminated, leaded, and stained glass each present unique risks. Tempered glass under high solar load is vulnerable to thermal stress cracking after film reduces outgoing IR. Installers need to document glass type and either run a thermal-compatibility procedure or advise against film on that pane.
Trade-off to accept: metalized films reject heat well but can cause radio frequency interference and strong external glare. Ceramic and spectrally selective films cost more but avoid signal issues and usually pass aesthetic review in conservation areas. Choose by the constraint that matters more: regulatory approval and appearance, or lowest installed cost.
A practical approval workflow for Oregon projects
- Collect film datasheet with SHGC, VLT, UV blocking percent, and exterior reflectance.
- Document existing glass with photos and glazing type notes; get the installer to sign that record.
- Submit sample panel and datasheet to your city planner, historic preservation board, or HOA design review.
- Schedule an on-glass trial patch on a non-critical pane and inspect for glare, view change, and thermal reaction during a sunny afternoon.
Concrete example: A Portland business in a registered historic block proposed a metalized film and was turned down by the preservation board. They reissued the application with a spectrally selective film datasheet, a 12 in by 12 in trial patch on a secondary window, and pre-install photos; approval took five weeks but avoided a forced removal and penalty that would have cost more than the film itself.
Judgment: the most expensive rework is regulatory or compatibility failure after installation. Expect 2 to 8 weeks of lead time in constrained urban parcels and budget a 10 to 20 percent contingency for mockups, permit fees, or replacing incompatible panes. Installer experience with local boards is a real value, not a marketing line.
Before you sign: require the installer to supply a datasheet, pre-install glass photos, and a written permit/approval plan. If they cannot, pause the project.

How to choose an installer and next steps with Tinting Oregon
Direct point: the film matters, but the installer determines whether that film delivers years of heat rejection or a short-lived cosmetic job. Choose a contractor who demonstrates technical checks, documented procedures, and a clear warranty workflow before you sign anything.
Practical selection steps
- Verify technical competence: ask for recent project photos, manufacturer training or certification, and proof of insurance. Prefer installers who reference specific film codes and paired glass performance rather than vague product names.
- Demand an on-glass trial and observation window: require a sample patch on a representative pane and observe it during a hot afternoon for at least 24–48 hours to check glare, appearance, and any thermal reactions.
- Insist on measurement-based verification: request pre- and post-install surface-temperature scans or interior-zone measurements (handheld IR or datalogger) alongside the quoted SHGC/VLT figures so the performance claim is testable.
- Get warranty responsibilities in writing: the contract should state which entity handles manufacturer claims, what workmanship is covered, and a simple escalation path — do not accept vague promises.
- Confirm logistics and approvals: have the installer outline permit needs, mockup submissions for HOAs/historic boards, lift or scaffold requirements, and a firm timeline with contingency days.
- Holdback and acceptance criteria: negotiate staged payment with a small final holdback until you accept the job based on visual and instrumented checks.
Practical trade-off: low bids skip tests. If you choose the cheapest quote without an on-glass trial or measurement plan, expect higher risk of delamination, unseen optical defects, or denied warranty claims later — saving money upfront often creates more cost and hassle down the line.
Concrete example: a Salem storefront owner required a 48-hour trial patch and thermal scans after installation. The initial film caused a hotspot on one tempered pane; because the installer had documented the issue and paused work, they swapped to a different film chemistry and resolved the compatibility problem before full rollout. That prevented a broken pane and an expensive rework.
What Tinting Oregon does next: during a site survey Tinting Oregon measures glazing, brings physical swatches, models expected SHGC/VLT changes for your specific panes, and issues a written proposal with estimated seasonal savings and proposed acceptance tests. If you want a local walkthrough, schedule a survey at Tinting Oregon residential or Tinting Oregon commercial.
Must-have minimums on any proposal: a named film code, paired glass performance numbers, a trial-patch plan, and explicit warranty handling.