Choosing the right window tint film matters more than picking a darker shade – it controls glare, blocks UV, reduces heat gain, and shapes privacy and comfort for homes and businesses across Oregon. This guide explains the common film families you will encounter – dyed, metalized, ceramic, spectrally selective, low-e, security and decorative options – how to read VLT, SHGC and TSER specs, and which choices make sense for Portland, Salem, Eugene and Bend. You will also get realistic cost and ROI ranges, an installer checklist, and practical maintenance advice so you can decide with confidence and arrange a site assessment.
Why choose window tint film in the Pacific Northwest
Clear value: window tint film delivers the biggest comfort improvement for existing windows without replacing glazing. In Oregon the payoff is practical: reduce afternoon heat through west-facing glass, cut low-angle winter glare in living rooms and home offices, and stop sunlight from fading fabrics. Quality films also give near-complete UV protection, which is important because cloudy skies do not eliminate UV exposure.
Regional conditions that change the choice
Coastal and Willamette Valley: Portland, Salem and Eugene get strong late-afternoon sun in summer and long low-angle light in winter. That makes glare reduction and solar control film valuable even though peak cooling loads are modest. High desert: Bend sees stronger solar intensity, higher UV, and bigger day-night temperature swings, so prioritize films that reject infrared and improve U-factor performance. Older single-pane windows: be cautious – some films can increase condensation or stress old glass; inspect framing and seals before committing.
- Tradeoff – light vs performance: Darker films reduce heat and glare but also cut daylight and views; spectrally selective or ceramic films buy heat rejection with higher visible light transmittance.
- Tradeoff – reflectivity vs approvals: Reflective films perform well on heat but trigger HOA or historic commission pushback because they change exterior appearance.
- Signal interference: Metalized films reject infrared well but can cause cell, GPS or antenna issues; choose non-metallized ceramic films where signal integrity matters.
Concrete example: A west-facing living room in inner Portland was overheating each August afternoon. Replacing blinds with a mid-VLT ceramic film gave noticeable comfort improvement without making the room feel dim. The family kept their view, UV fading stopped on upholstery, and AC runtime dropped during hot spells, which made the upfront premium payback more realistic.
What most people misunderstand: Cost alone drives many buyers to dyed films, but dyed options trade long-term heat rejection and color stability for a low upfront price. In practice, the small premium for ceramic or spectrally selective film often avoids a second install and preserves resale value and tenant comfort — especially for commercial spaces or primary living areas.
Actionable point: Before you pick a film, check local incentives and schedule a site assessment. Programs like Energy Trust of Oregon occasionally affect ROI, and an on-site survey identifies orientations and windows where film returns the most value. For installation and local experience, consider a provider with a residential portfolio in Oregon such as Tinting Oregon residential services.
Types of window tint film and where each is best used
Direct point: Pick film by the problem you need to solve, not by appearance. Different chemistries handle heat, UV, glare, privacy, and security in materially different ways, and the cheapest option often fails the moment occupants or tenants demand comfort.
Dyed film: Low upfront cost and good for basic glare reduction and privacy. It is the least effective at long term heat rejection and color stability – expect some fading and reduced performance after several years. Best used in secondary rooms, rental units, or where budget trumps energy performance.
Metalized film: Strong infrared and heat rejection, durable, and usually lower cost than ceramic. Tradeoff – reflective finish can alter exterior appearance and metal content can interfere with antennas or Wi Fi on sensitive commercial façades. Use on storefronts or industrial buildings where signal interference is not an issue and exterior reflectivity is acceptable.
Ceramic and nano-ceramic film: High heat and infrared rejection, color neutral, and no signal interference. They carry a premium price but preserve daylight and views while delivering consistent performance – the practical choice for primary living spaces, offices, and upper-end retail where appearance matters.
Spectrally selective and low-e films: Engineered to block IR while keeping VLT high – ideal for historic storefronts, conservations, or rooms where preserving daylight and view is essential. These films can substitute for full window replacement when U-factor improvement and precise solar control are required.
Security and safety films: Offered in thickness bands from 4 mil to 20 mil and beyond, these films increase glazing retention and can meet glazing code upgrades. They do not replace laminated safety glass for all applications, so verify code and insurance requirements before assuming a film alone will satisfy mandates.
Decorative, frosted and blackout films: Excellent for privacy, wayfinding, and branding. Decorative films trade solar performance for appearance – use them where privacy and aesthetics are primary and consider pairing with a high-performance solar film when heat control is also needed.
Practical tradeoffs that matter
Key tradeoff: Appearance versus performance. Reflective or metalized films outperform dyed options on heat rejection but are more likely to trigger HOA or historic commission objections. Ceramic and spectrally selective films minimize that tradeoff but cost more up front.
| Film family | Primary benefit | Typical cost tier | Common tradeoff |
|---|---|---|---|
| Dyed | Privacy and glare reduction | Low | Poor long term heat rejection and color fade |
| Metalized | Strong IR rejection and durability | Low-Medium | Reflectivity and possible signal interference |
| Ceramic / Nano-ceramic | High heat rejection, neutral look | High | Higher initial cost |
| Spectrally selective / Low-E | Targeted IR block with high VLT | High | More limited color/appearance options |
| Security / Safety | Glazing retention and forced-entry resistance | Medium-High | May require thicker glass or frame reinforcement |
| Decorative / Frosted | Privacy and design | Low-Medium | Limited solar performance unless combined |
Concrete example: A Bend dental clinic with large south-facing windows needed patient comfort without losing daylight. The team selected a spectrally selective film that rejected infrared while keeping VLT high; staff reported lower afternoon glare and the clinic avoided a reflective finish that would have conflicted with the neighborhood design review.
Further reading: See technical classifications at IWFA and check local incentive opportunities with Energy Trust of Oregon. For examples of installed options in homes, consult Tinting Oregon residential services.
How to read film performance metrics and which ones matter most
Start with purpose, not numbers. When you open a manufacturer datasheet the first question is what problem are you solving: reducing cooling load, preserving daylight, increasing privacy, or protecting interiors from UV. The same numeric spec can be ideal for one goal and useless for another.
Core metrics and plain-language interpretation
Visible Light Transmittance (VLT): the percentage of visible light the film lets through. Lower VLT = darker room and better glare control; higher VLT = preserves view and daylight.
Solar Heat Gain Coefficient (SHGC): the fraction of solar radiation that passes through as heat. Lower SHGC reduces cooling demand; prioritize this for west and south exposures in hot, sunny locations.
Total Solar Energy Rejected (TSER): percent of incident solar energy blocked. Good shorthand for overall solar control, but watch the test conditions behind the number.
U-factor: rate of heat transfer through the window assembly. A lower U-factor helps in heating-dominated months; low-e or certain spectrally selective films can modestly improve it, but film is not a substitute for insulated glazing.
UV rejection: usually given as a percent; anything near 99 percent is standard on quality films and is what protects fabrics and artwork. This is non-negotiable if interior fading is a priority.
How to prioritize metrics — practical rules
- Cooling priority (hot exposures, west/south): target low SHGC and high TSER. Accept some drop in VLT if glare control is a must.
- Daylight and view priority (living rooms, galleries): favor higher VLT while seeking spectrally selective or ceramic films that keep SHGC low without darkening the room.
- Winter comfort (heating-dominant needs): focus on U-factor improvement and choose low-e films; extreme emphasis on low SHGC can increase heating load in cold months.
- Signal-sensitive sites (offices with antennas): avoid metalized films; pick ceramic or non-metal films and verify compatibility with building systems.
- Aesthetic or regulatory constraints (HOA/historic): use films with low visible reflectance and high VLT, typically spectrally selective options.
Practical limitation: Datasheet numbers are lab results measured on specific glass assemblies. Field performance shifts when applied to single-pane vs double-pane units, or on glass with tints, coatings, or low-e. Always confirm whether the datasheet numbers are for the film alone or the film-plus-glass assembly.
Concrete example: Film A: VLT 30%, SHGC 0.25, TSER 68%, UV 99% (ceramic). Film B: VLT 50%, SHGC 0.40, TSER 54%, UV 99% (spectrally selective). For a south-facing retail storefront in Bend where daylight and product visibility matter, Film B keeps the interior bright while still providing moderate heat control. For a small Salem bedroom that overheats in late afternoon, Film A gives stronger cooling and glare control but will noticeably darken the room.
What people miss in practice: Buyers obsess over a single headline number like TSER. That hides tradeoffs: a high TSER achieved by heavy visible tint sacrifices daylight and may trigger approvals. In Oregon, spectrally selective and ceramic films usually hit the best balance — less obvious on a datasheet, but better in day-to-day use.
When comparing quotes, ask for the film-plus-glass assembly SHGC and VLT, not just the film-only figures. That single request eliminates a lot of confusion.

Next consideration: After you understand the metrics, verify the numbers against installed examples and request manufacturer datasheets for your specific glazing; then decide whether aesthetics or maximum solar control drives the final selection. For local installs and on-site measurement, consider scheduling an assessment with Tinting Oregon.
Match recommendations to property types and specific goals
Direct rule: pick the film that solves the single biggest problem for the space, then optimize for secondary goals. Matching by property type reduces mistakes installers see all the time – wrong film choices lead to tenant complaints, repeated jobs, and wasted budget.
Residential: rooms where comfort, view, and privacy differ
Living rooms and home offices: favor films that block heat and glare while keeping natural light. Aim for moderate VLT with a low SHGC – that keeps rooms bright but cuts afternoon gains. In practice, non-metalized ceramic or spectrally selective films are the fastest way to preserve view while reducing AC runtime.
Bedrooms and bathrooms: make privacy the priority. Use frosted or decorative films for bathrooms and consider a darker, higher-privacy film for bedrooms where you want blackout-level performance. Remember: darker is not always better – if daylight is desirable, choose a film that balances privacy with at least modest VLT to avoid a cave-like room.
Commercial: tenant comfort, branding, and operations
Open-plan offices and conference rooms: pick films that control solar heat without creating glare hotspots on monitors. Spectrally selective or premium ceramic films usually give the right balance for tenant satisfaction. Avoid metalized films where Wi Fi, mobile signal, or building antenna systems are critical – signal disruption is an operational headache that is expensive to fix.
Retail storefronts and historic facades: prioritize appearance and visible light. Choose low-reflectance films that keep product visibility and comply with design reviews. For historic buildings, insist on manufacturer datasheets showing near-transparent appearance and check local permit requirements before ordering.
Security-sensitive locations: thicker safety films improve glazing retention but add visible edge thickness and may require frame or glass reinforcement. If forced entry resistance is a hard requirement, plan for glazing upgrades rather than assuming film alone will meet code – coordinate with your architect or insurer during scoping.
Tradeoff to accept: budget films deliver quick cosmetic improvement and privacy but usually underperform on long-term heat control. If the project is intended to reduce HVAC energy or protect high-value interiors, spend on a higher-performance film once and avoid repeat work.
Concrete example: A Salem duplex with a sunroom used to overheat on summer afternoons. The owner selected a mid-VLT spectrally selective film for the sunroom and a frosted film for the adjacent bathroom. Results: the sunroom stayed usable during heat waves without losing the view, and the bathroom gained full daytime privacy without adding blinds.
Final judgment: for mixed-goal properties, segment windows and use different films by elevation or room rather than forcing one compromise across the whole building. That targeted approach delivers the best comfort and the clearest ROI.
Cost, ROI, rebates, and how to estimate savings
Straight answer: installed window tint film for meaningful solar control is a midrange capital expense, not a free efficiency hack. Expect upfront cost to vary by film chemistry, window condition, and access issues; estimate lifetime value by combining measured energy impact with comfort, interior preservation, and avoided replacement work.
Installed cost bands and what moves the price
Typical installed ranges: low end dyed films often run about $4 to $7 per square foot, metalized options about $6 to $10/sq ft, and ceramic or spectrally selective films typically $9 to $16/sq ft. Security and thick safety films can be $12 to $30/sq ft depending on thickness and framing work. These are installed prices, not sticker prices for film only.
Cost drivers to watch: glass condition and frame integrity, window size and number of small panes, job accessibility (ladders, lifts, scaffolding), curved or laminated glass, and whether the installer must remove existing hardware or handles. A cheap film on poor framing is a false economy because rework and warranty claims add cost later.
Quick worksheet to estimate payback
| Input | Sample value | Explanation |
|---|---|---|
| Window area | 200 sq ft | Measured glazing area you plan to treat |
| Installed cost per sq ft | $12 | Premium ceramic example |
| Total installed cost | $2,400 | Window area x cost per sq ft |
| Estimated annual energy savings | $180 | Conservative estimate based on modest cooling reduction for a west exposure in Portland |
| Simple payback | 13.3 years | Total cost divided by annual energy savings |
How to get the estimated annual energy savings: do not rely on a single percent claim. Start with annual energy bills to find your total cooling cost or use a baseline estimate for the conditioned area. Multiply the portion of cooling attributable to the treated glazing by the expected reduction in solar heat gain based on film-plus-glass SHGC improvement. When in doubt schedule a site audit or use Energy Saver guidance to convert SHGC changes to energy use.
Real world example: a 1,200 sq ft small office with 300 sq ft of west glazing installed spectrally selective film at about $10/sq ft for a $3,000 installed cost. The owner tracked lower AC runtime and reduced complaints about late-afternoon heat; measured utility savings were modest, about $250 to $400 the first year, but landlord justified the project because tenant comfort reduced vacancy risk and improved sales conversion in the ground floor retail space.
Practical tradeoff and judgment: in Oregon many homes are heating-dominant over the year, so energy payback purely from reduced cooling can be slow. That is normal. For residential owners expect a mix of benefits: comfort, reduced fading of interiors, and lower AC demand on hot spells. For commercial owners, factor in non-energy returns such as tenant satisfaction, productivity, and retail visibility which often justify higher-performance films faster than raw energy savings would.

Final consideration: treat the ROI exercise as a decision tool not a guarantee. Get a site assessment that measures orientation, existing glazing type, and HVAC interactions. That step reveals the windows where film gives the most bang for buck and prevents spending on areas with negligible return. For local site audits see Tinting Oregon contact.
Selecting an installer and what to expect during installation
Hire the installer, not the lowest bid. A competent installation is the difference between a film that performs for a decade and one that bubbles, delaminates, or voids the warranty within a few years. Focus your selection on documented skill with the specific film chemistry you want, local experience with Oregon exposures, and clear written terms.
Vetting steps you can use today
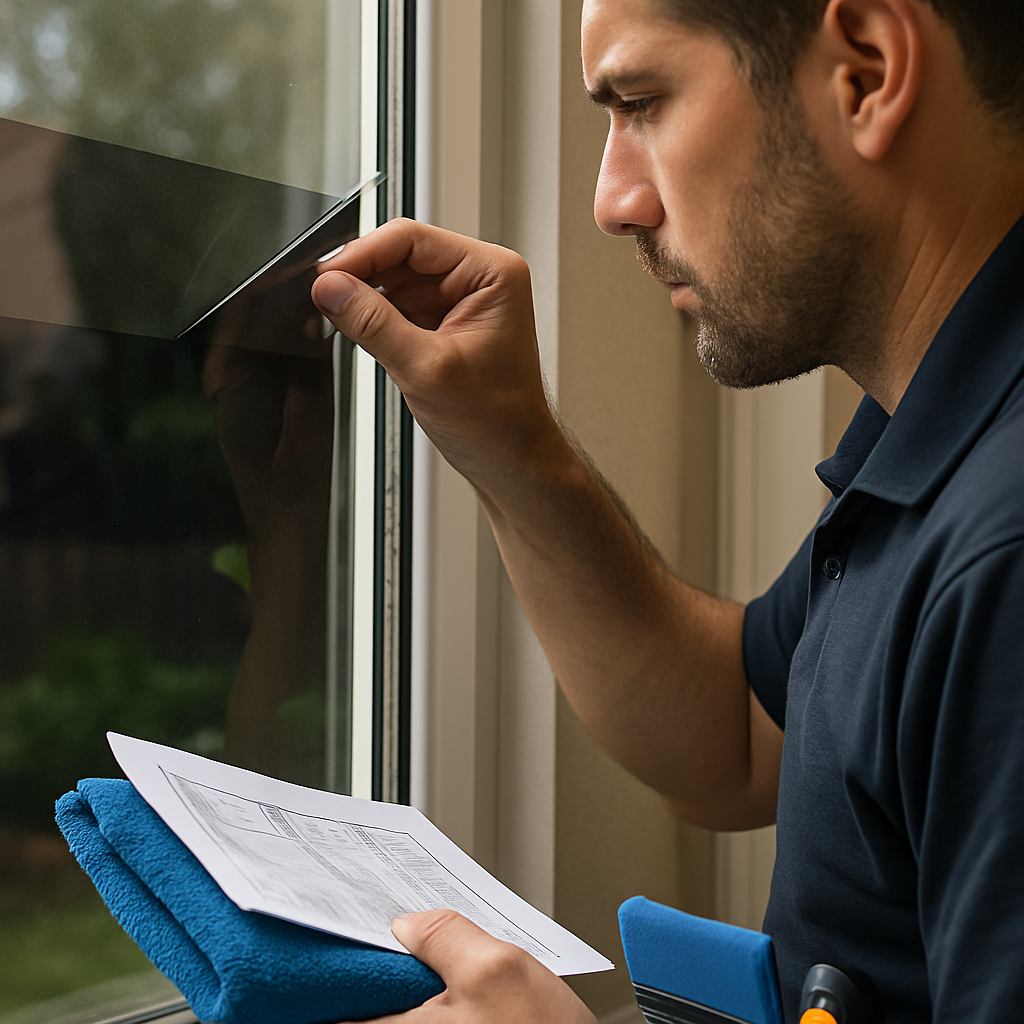
- Require a written site survey: insist on measurements, photos of frames and seals, and a note about glass condition. An honest installer flags problematic sashes or seal failures up front.
- Ask for manufacturer certification: confirm the installer is authorized for the exact film model and can provide manufacturer-backed warranty paperwork.
- Demand film-plus-glass specs on the quote: the estimate should list the film model and the expected VLT/SHGC for your glazing assembly, not just film-only numbers.
- Check local references and portfolio: review jobs in Portland or your city, ideally with windows and orientations similar to yours.
- Clarify scope and access charges: stairs, lifts, traffic control, or removal of blinds/hardware often appear as change orders on-site—get these priced up front.
- Confirm insurance and permitting: contractor liability and workers compensation should be current; if your windows are in a historic district, verify who pulls permits.
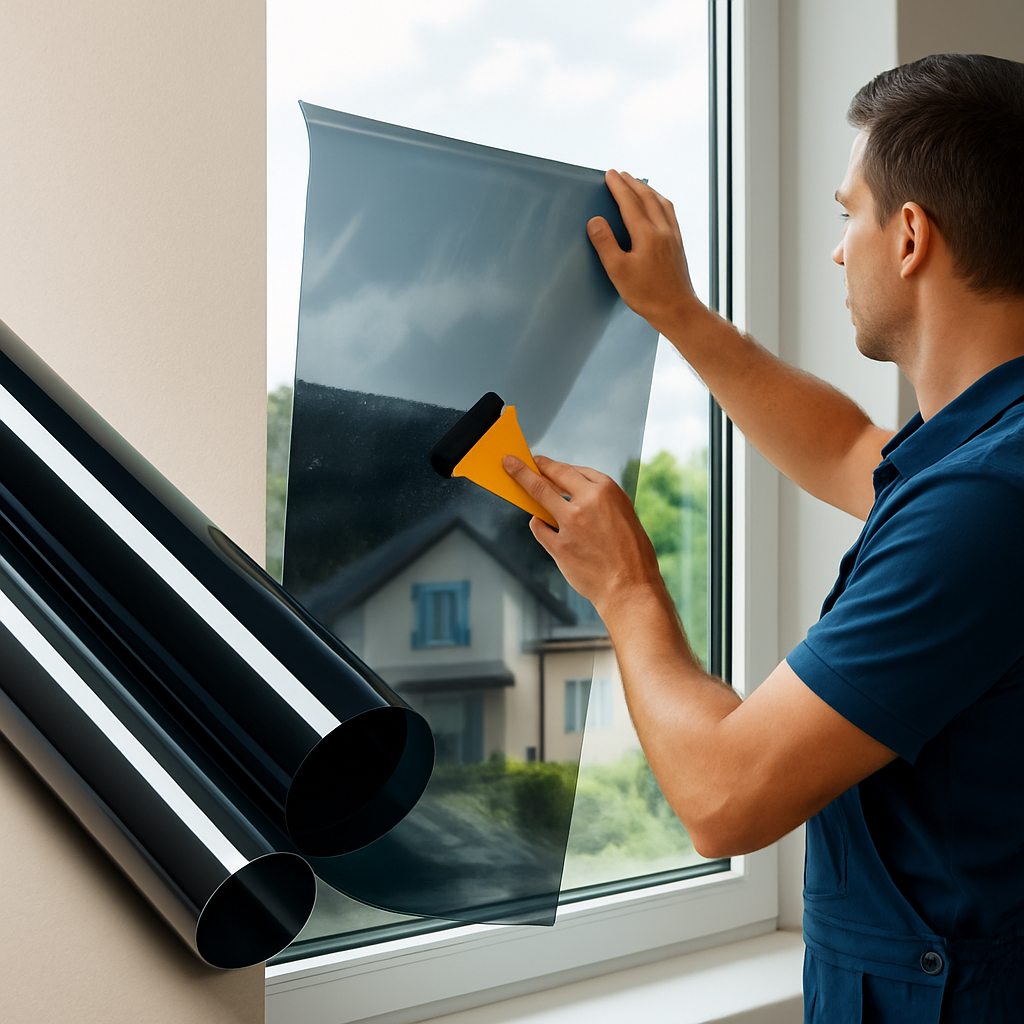
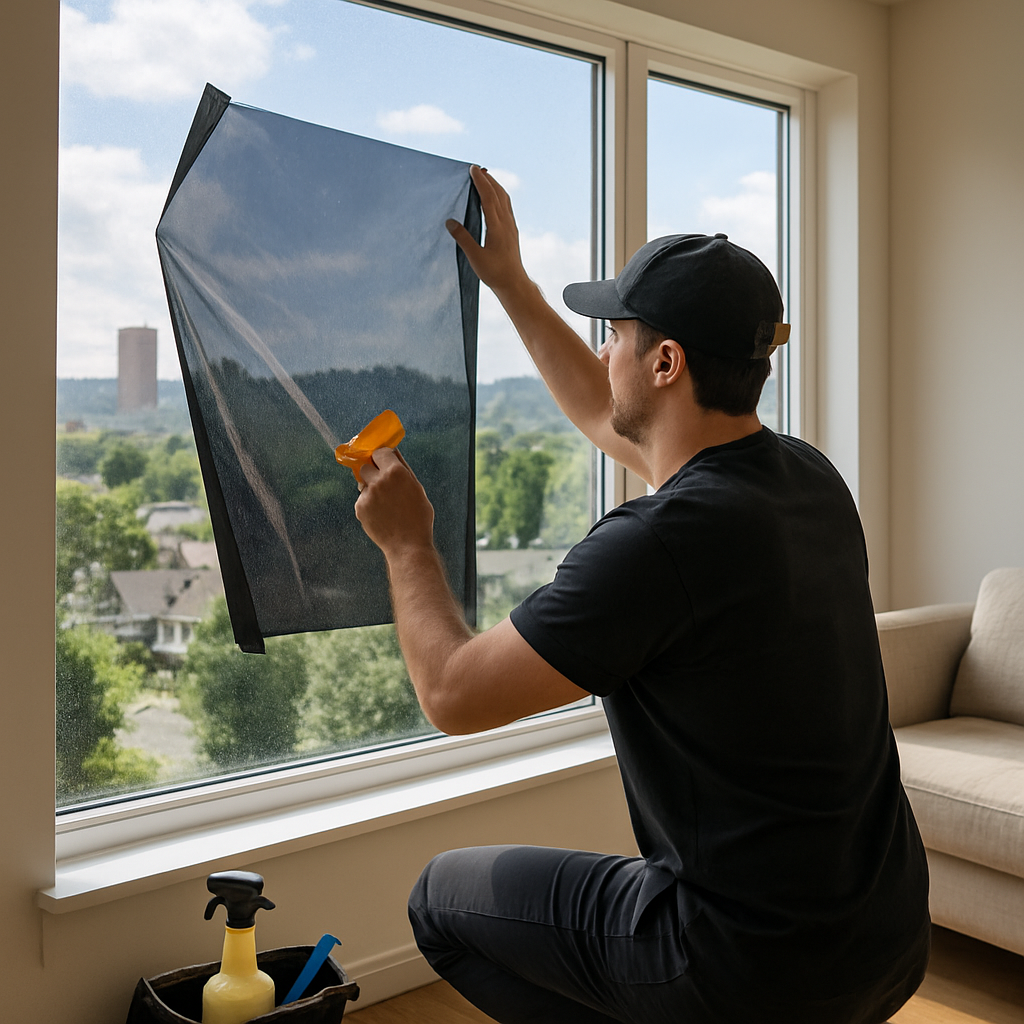
What installation looks like and why it matters. Install day starts with thorough cleaning and a dry-fit template, then wet application, squeegeeing, and precise edge trimming. Expect the crew to protect floors and hardware, and to tape up the perimeter; quality installers also do a small test panel on an inconspicuous window if conditions are marginal.
Practical limitation and tradeoff: film needs time to bond and for moisture to clear. Avoid cleaning or applying adhesive treatments for at least 30 days on most solvent-based films; some high-performance films show minor hazing that clears in weeks. If you need immediate spotless clarity for a retail opening, schedule install well before the event or accept a short visual settling period.
Warranty realities: manufacturer warranties cover product defects; installer warranties cover workmanship. Short warranties or vague coverage are red flags—insist on written terms that specify remedies, pro-rated coverage, and who pays for removal if the film fails. See the installer warranty in writing before payment.
Concrete example: A downtown Portland café hired the cheapest bidder and got fast installation but no manufacturer certification. Within two years the metalized film began to show edge lifting and the café discovered the manufacturer refused to honor the warranty because the installer lacked certification. The owner then contracted a certified installer to replace the film under a proper warranty—doubling the project cost in practice.
Expect at least one follow-up within 30–90 days for final inspection and minor adjustments; a return visit is normal and should be included in your contract.
Maintenance, common problems, and when to replace film
No maintenance is not maintenance. Proper cleaning and timely troubleshooting are the single biggest factors that determine whether a professionally installed window tint film lasts its warranty term or becomes a replacement job within a few years.
Cleaning that actually protects film
Use gentle materials and predictable routines. Clean with a soft microfiber, a squeegee, and a mild solution of water with a few drops of dish soap or a manufacturer-approved cleaner. Avoid ammonia, bleach, or abrasive pads — those attack adhesives and can cause hazing or edge staining over time.
- Step 1: Rinse loose dirt with water to avoid scratches.
- Step 2: Apply a mild soap solution with a soft cloth; work top to bottom.
- Step 3: Squeegee off excess liquid and dry with a clean microfiber.
- Step 4: Do not use razor blades on adhesive-backed films; use a plastic scraper only if recommended by the film maker.
Timing matters. New adhesive-based films need time for solvents to evaporate and for edges to cure. Wait several weeks before aggressive cleaning and keep humidity in mind — high-moisture environments cause longer cure times and more risk of temporary hazing.
Common failures and how to tell them apart
Early issues usually point to installation problems. Bubbles, straight-line edge lifts, or visible sealer residue appearing in the first months are almost always due to poor edge preparation, trapped contaminants, or improper squeegeeing. These are warranty work if the installer was certified and performed a proper site survey.
Long-term degradation looks different. Yellowing, overall loss of optical clarity, or peeling that starts away from seams generally indicates adhesive or pigment breakdown from UV, heat cycling, or poor film chemistry — that is film aging and a replacement candidate.
Practical tradeoff: metalized films can speckle or blacken at edges where moisture reaches metal layers; ceramic films resist that but cost more. Choose what you can live with visually and what your building conditions (high UV, frequent condensation) will demand over a decade.
Real-world case: A Bend homeowner reported patchy hazing across several south-facing panes after a cold snap and a humid week. Inspection showed moisture trapped behind the edge due to improperly sealed trim and marginally compatible double-pane units. The installer replaced the affected panes of film under workmanship warranty and added a perimeter seal; the owner avoided a full replacement because the warranty and site diagnosis were handled promptly.
What to do when you see a problem. Photograph the issue, note installation date and film model (keep the datasheet), and contact the installer before attempting repairs. If the installer is uncertified or unresponsive, ask for manufacturer support using the film model number. Patching rarely fixes systemic adhesive failure; replacement is often more economical than repeated spot repairs.
If comfort or energy performance is your reason for tinting, consider upgrading to spectrally selective or ceramic film at replacement time — it avoids repeat work and preserves daylight while improving solar control.
Next consideration: schedule a brief annual inspection with your installer or an authorized technician to catch edge failures, seal problems, or early discoloration before they require full-pane replacement; for local service, see Tinting Oregon contact.
Decision checklist and next steps for property owners
Start here: Treat the purchase as a set of linked choices, not a single selection. Decide what matters most up front — comfort, daylight, privacy, security, or appearance — and let that prioritized goal rule the rest of the scope and budget decisions.
Owner decision checklist
Primary objective: State one dominant problem per window group. If comfort is primary, target low SHGC; if view matters, target higher VLT and pick spectrally selective or ceramic films.
Window grouping: Map which windows share a goal and treat them as groups. Segmentation — using different films by orientation or room — costs a little more in project management but avoids the common mistake of a single compromise that satisfies no one.
Appearance and approvals: Record allowable exterior reflectance and darkness for HOAs or historic reviews. Reflective or very dark films often trigger rejections; get written approval before ordering film.
Site constraints and tech risks: Note signal-sensitive equipment, curved or laminated glass, and existing seal condition. Metalized films can disrupt antennas; old or compromised IGUs may need frame or glass work first.
Budget vs lifespan expectation: Set a realistic installed budget per square foot and a minimum warranty expectation. Paying a modest premium for ceramic or spectrally selective film often avoids repeated replacements and hidden costs down the road.
Permits, timing, and events: If you have a deadline (retail opening, listing, move-in), schedule with cure and inspection windows in mind. High-performance films can show temporary hazing — allow a settling window after install.
Rebates and documentation: Verify local incentives with Energy Trust of Oregon before you finalize scope. Plan to collect film model datasheets, film-plus-glass SHGC/VLT, installer certs, and warranty paperwork into one project folder.
Next steps — a practical sequence
Step 1: Book a site visit with a certified installer who measures glazing, photographs frames, and notes access issues. A proper survey reduces surprises on install day.
Step 2: Request 2 to 3 written quotes that include film model numbers, expected film-plus-glass VLT/SHGC, labor breakdown, and warranty text. Quotes without film-plus-glass specs are incomplete.
Step 3: Confirm installer manufacturer authorization for the exact film and ask to see recent local projects with similar glass and exposures.
Step 4: Check permits and HOA/historic approvals. If approvals are required, get them before ordering material to avoid change-order delays.
Step 5: Sign a contract that lists film model, performance targets, cure/inspection window, and explicit remedies for workmanship and product failures. Hold a portion of payment until the final inspection is complete.
Step 6: After installation, photograph panels, keep the datasheet, and schedule a 30–90 day follow-up inspection as part of the contract. Early checks prevent small issues from becoming replacements.
Important: insist on the film-plus-glass SHGC and VLT on your quote and on written installer certification for the film model you selected. That single demand separates a durable job from an expensive mistake.
Real-world use case: A Salem homeowner prioritized preserving a valley view while reducing afternoon heat. They grouped west-facing living room windows separately, requested spectrally selective datasheets, and scheduled install three weeks before a planned family event to allow curing. The result: cooler afternoons, retained daylight, and no last-minute appearance issues that would have forced replacements.
Next consideration: If you want help turning this checklist into a site-specific plan, schedule a local assessment with Tinting Oregon contact. The right survey reveals which windows return value and which are likely to cause hidden costs.