How Local Businesses Save Money with Professional Window Tinting Near You
If you are searching for business window tinting near me to cut operating costs and improve occupant comfort, professional commercial window film is one of the lowest-disruption, highest-impact retrofits available. This article shows how films reduce solar heat gain and HVAC runtime, lowers glare and fading, and translates those effects into simple ROI math with two local example scenarios and rebate pathways. Read on for a procurement checklist, film recommendations by use case, and the questions to ask installers before you commit.
How Window Film Reduces Operating Costs for Commercial Buildings
Direct effect on cooling loads: Properly selected commercial window film cuts the amount of solar energy entering glazing, which lowers peak cooling demand and shortens AC runtime. That translates into real operating savings because HVAC runtime and peak demand charges are the pieces of the bill most sensitive to solar gain, not the constant base load of lighting or equipment.
How the technical metrics map to dollars
Key metrics explained for decision making: SHGC (solar heat gain coefficient) tells you how much solar heat gets through the glass; U factor indicates insulating performance; Visible Light Transmittance (VLT) shows daylight retained. When you specify film, focus on the percent SHGC reduction for energy estimates and the VLT for daylighting and retail display decisions. Use SHGC change to model cooling savings and VLT to anticipate lighting adjustments.
| Typical film SHGC reduction | Practical HVAC runtime change | Business impact to expect |
|---|---|---|
| About 30% SHGC reduction | 10–15% shorter peak AC runtime | Noticeably less glare; minor change to daylighting |
| About 50% SHGC reduction | 15–30% shorter peak AC runtime | Improved occupant comfort; fewer tenant complaints during summer |
| About 70% SHGC reduction | 25–45% shorter peak AC runtime | Strong heat control but lower VLT — consider for window walls and west exposures |
Trade-off to manage: Higher heat rejection films often reduce visible light. For retail or showrooms that rely on natural light for merchandise presentation, choosing a mid-range solar control film or a high-VLT reflective film is usually the right compromise. Also note that in mixed heating-cooling climates, aggressive solar control can reduce beneficial winter solar gain; pair films with low-e retrofit films where insulating performance is important.
Concrete example: A mid-size Portland office with roughly 1,200 sq ft of glazed façade installed a mid-range solar control film at about $8 per sq ft (typical commercial range). In practice the owner saw peak AC runtime drop roughly 15–25 percent during summer afternoons, which eliminated several tenant complaints about hot zones and reduced simultaneous HVAC staging on multi-zone systems.
Practical limitation and installer judgment: Film is effective when solar gain is the main problem. If a building suffers from poor envelope insulation or leaky HVAC, film will help but will not replace those fixes. In my experience, the single biggest failure mode is under-specifying film for the exposure or accepting low-cost, unbranded materials that have poor long-term adhesion and color stability—hire an installer who provides material data sheets and a clear warranty.
- Where film delivers the most value: West- and east-facing storefronts, full-height glazed office façades, and south-facing atriums.
- Where to be cautious: North-facing glass and spaces that need high daylight for displays — choose higher VLT films or selective reflective films.
- How to quantify savings: Model using expected SHGC change, window area, local cooling load profile and your commercial electricity rate; include potential rebates from Energy Trust of Oregon to shorten payback.

Next consideration: After you confirm film selection, get a glazing-specific performance sheet and a simple payback model from your installer; that is the document your CFO will actually sign off on.
Realistic ROI and Payback Template with Two Local Example Scenarios
Practical point: do the math with kWh and dollars, not promises. A simple template turns vendor estimates into a decision you can justify to a CFO or landlord.
ROI inputs and how to use them
| Input | Why it matters | Example value to collect |
|---|---|---|
| Window area (sq ft) | Determines installed cost and the surface that transmits solar heat | Measure glazing surface for the project zone |
| Baseline annual cooling kWh (or modeled kWh attributable to glazing) | Directly sets potential energy savings | Use recent 12 month bills or installer model |
| Expected percent cooling reduction from chosen film | Translates to kWh saved; ask for film performance sheets | Installer model or manufacturer data |
| Commercial electricity rate ($/kWh) and any demand charges | Converts kWh saved to dollar savings; include demand impacts if relevant | Your utility tariff or recent bill |
| Installed cost per sq ft and available incentive | Gives gross and net project cost for payback math | Get written quote and verify Energy Trust of Oregon eligibility |
How to calculate: annual kWh saved = baseline kWh percent reduction. Annual dollar savings = kWh saved rate. Net project cost = area * installed cost per sq ft – incentive. Simple payback = net project cost / annual dollar savings.
Scenario A – Portland midrise office (conservative energy case): 1,400 sq ft glazing, installer quote $11 per sq ft, incentive $3,000, baseline cooling use attributable to that façade 30,000 kWh/year, expected reduction 18 percent, electricity rate $0.14/kWh. Result: kWh saved = 5,400; annual savings = $756; net cost = $12,400; simple payback = ~16 years. Judgment: this looks long on energy alone but still makes sense if the project avoids tenant churn, reduces peak demand costs, or defers HVAC upgrades.
Scenario B – Bend high-exposure retail warehouse (high-value energy case): 2,200 sq ft glazing, quote $9 per sq ft, incentive $6,000, baseline cooling 60,000 kWh/year, expected reduction 32 percent, electricity rate $0.16/kWh. Result: kWh saved = 19,200; annual savings = $3,072; net cost = $13,800; simple payback = ~4.5 years. Judgment: this is the type of project that reliably pays back when solar exposure and HVAC load are high.
- Key tradeoff: conservative estimates produce long paybacks; use measured or modeled kWh tied to the glazing zone to avoid underestimating benefits.
- Measurement tip: if your bills do not isolate cooling, request a short-term submeter or ask the installer for a modeled savings report that uses local weather and building use profiles.
If your modeled payback is over 10 years, factor in non-energy benefits – tenant comfort, reduced fading, insurance risk reduction for security films – before rejecting the project.

Which Film Types Deliver the Best Savings and Business Outcomes
Direct answer: For most commercial retrofit goals the highest return comes from choosing the film family that matches the primary problem: solar control films for cooling and glare, low-e retrofit films for insulation and mixed heating-cooling benefit, and security films where glass breakage and replacement costs are material.
Practical tradeoff: High heat-rejecting metalized and reflective films deliver the largest cooling savings but reduce visible light transmittance and change storefront appearance. Ceramic films cost more up front but keep VLT higher while providing durable, stable heat rejection without metal interference – in my experience they pay back faster in premium retail and corporate office applications where daylight matters.
How film families map to business outcomes
| Film family | Primary business outcome | Key implementation consideration |
|---|---|---|
| Solar control – ceramic and metalized | Largest cooling and glare reduction for west and south facades | Pick a VLT target to protect daylighting; test aesthetic on your storefront |
| Low-e retrofit films | Improved insulation – reduces heating losses and night-time U factor | Best used where winter heat retention matters or to complement aggressive solar films |
| Security and safety films | Reduces glass fragmentation, lowers repair and vandalism costs | Specify thickness and anchoring method to meet insurance or code standards |
| Anti-graffiti films | Saves recurring storefront repair costs in high foot traffic zones | Consumable surface – plan replacement intervals and factor lifecycle cost |
| Decorative and privacy films | Branding, privacy, signage replacement savings – minimal direct energy benefit | Combine decorative film with solar or low-e options when possible |
Common implementation pitfall: Do not assume every film will adhere or perform the same on every glazing type. Coated low-e IGUs, laminated safety glass, and tinted factory glass interact differently with film. Require manufacturer glazing compatibility data and insist on a small sample patch before full installation.
Concrete example: A downtown Portland retailer with a west-facing storefront chose a mid-VLT ceramic solar control film. The film reduced afternoon glare enough to eliminate window-mounted shades, cut peak cooling demand during summer, and meaningfully slowed merchandise fading. The owner accepted a higher per-square-foot price because the store retained daylight quality and avoided recurring shade maintenance costs.
Judgment you will not hear from vendors often: Cheap dyed films are a false economy. They show good numbers on day one but degrade, bubble, and yellow in a few years. For commercial projects buy proven product lines, NFRC or manufacturer performance sheets, and an installer who will back both material and labor warranties.
Choosing a Commercial Window Film Installer: Checklist and Red Flags
Straight to the point: the installer, not the film, is the single biggest determinant of long term savings and appearance. A competent crew matches product to glazing and documents performance; a poor one hands you short lived dye films, bubbling, and a hidden replacement bill.
Installer vetting checklist
- On site glazing audit: require a written glazing compatibility report that identifies IGU coatings, laminated layers, and factory tints. Films behave differently on each surface – this is non negotiable.
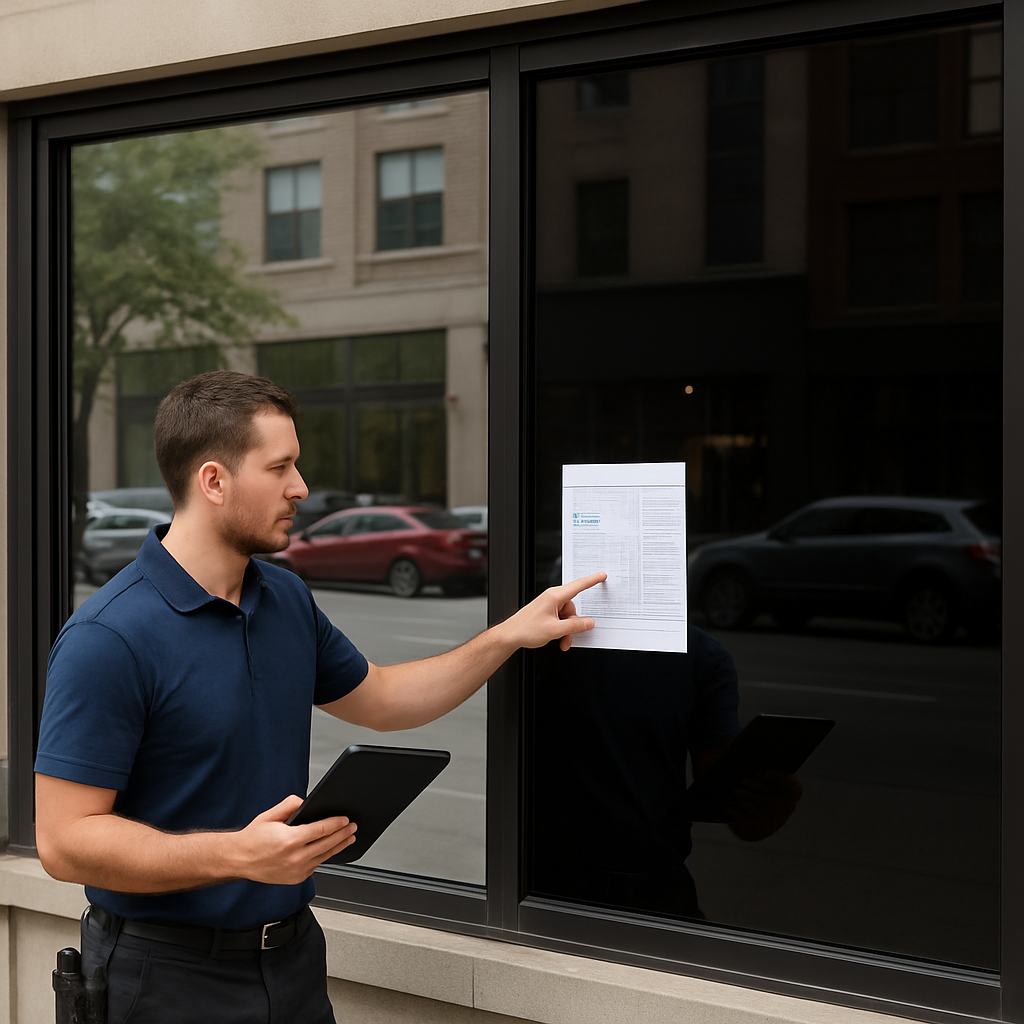
- Material specs up front: ask for manufacturer performance sheets or NFRC equivalent showing SHGC, VLT, and warranty length for the exact film SKU proposed.
- Sample patch or mockup: insist on a 2 x 2 foot patch on a representative pane before full install to check adhesion, appearance, and VLT in your lighting.
- Detailed written quote: line item materials, labor, warranty periods, travel or scaffolding costs, and estimated start and cure dates – no ambiguous lump sums.
- Warranty and remedy clarity: get both material and labor warranty in writing, including who pays for removal if a film fails prematurely.
- Insurance and scope of work: request COI with general liability and workers compensation plus a statement of who pulls permits if required by local authorities.
- References from similar commercial projects: two recent jobs in the same building type and exposure; call the owners and ask about punchlist completion and aftercare.
- Installation plan to reduce disruption: night or weekend scheduling, staging, protection of interior finishes, and a clean up/inspection checklist.
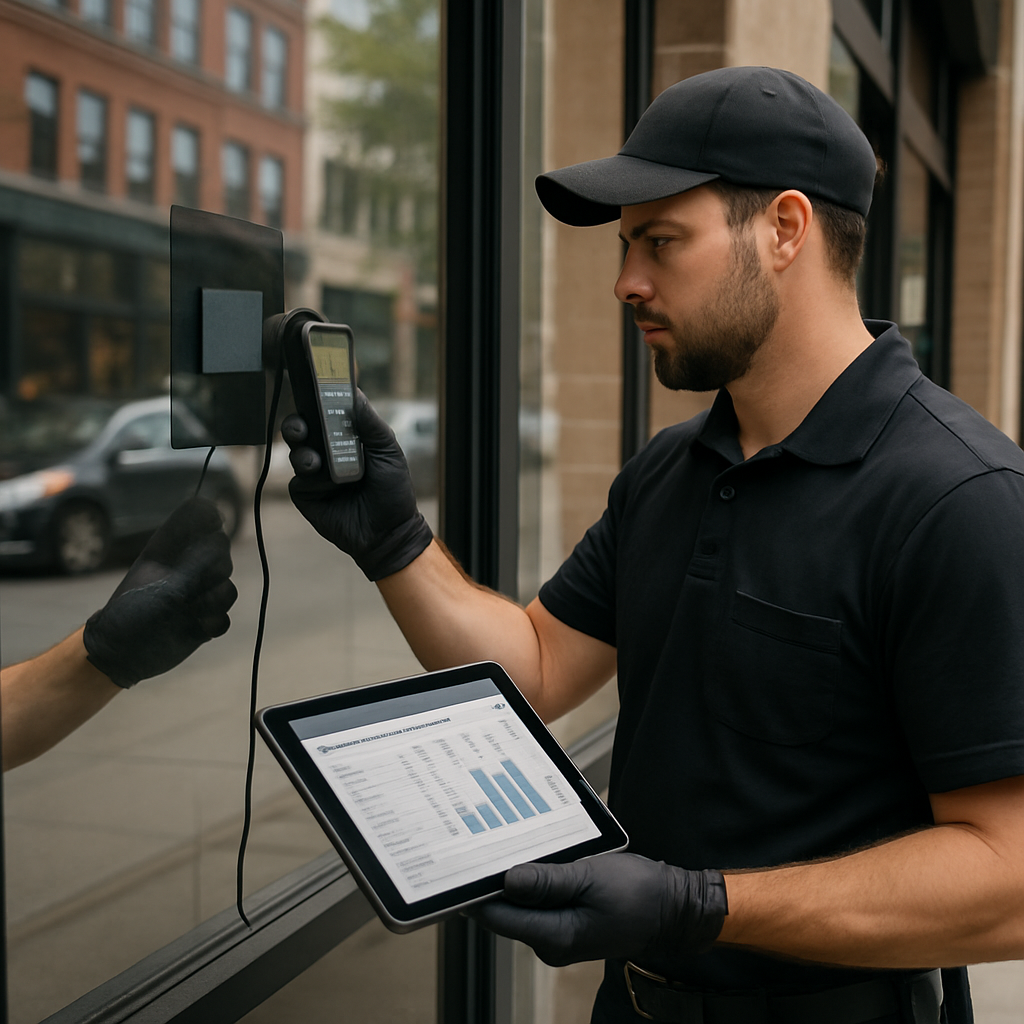
- Post install verification: procedure to measure VLT/SHGC or compare consumption via short term metering or modeled savings report.
- Authorized installer status: preference for installers authorized by known manufacturers such as 3M, Llumar, or Eastman Vista.
Practical tradeoff: lower bids often come from installers cutting corner on prep, using non branded films, or skipping sample patches. That lowers upfront cost but raises lifecycle cost through early failure, aesthetic loss, or higher maintenance. Spend a little more on documented performance and you avoid a refund fight two years from now.
Concrete example: A small Portland bakery engaged a local crew that refused a patch test. After install the film developed edge lifting on low e coated glass, causing haze and vendor callbacks during peak season. The owner paid to remove and reinstall under a different contractor – the avoided downtime and extra cost exceeded the initial savings from choosing the cheapest quote.
Red flags: no written performance specs, refusal to do a sample patch, no commercial references, missing COI, or vague warranty language that covers product but not labor.
Installation Process, Disruption Management, and Maintenance
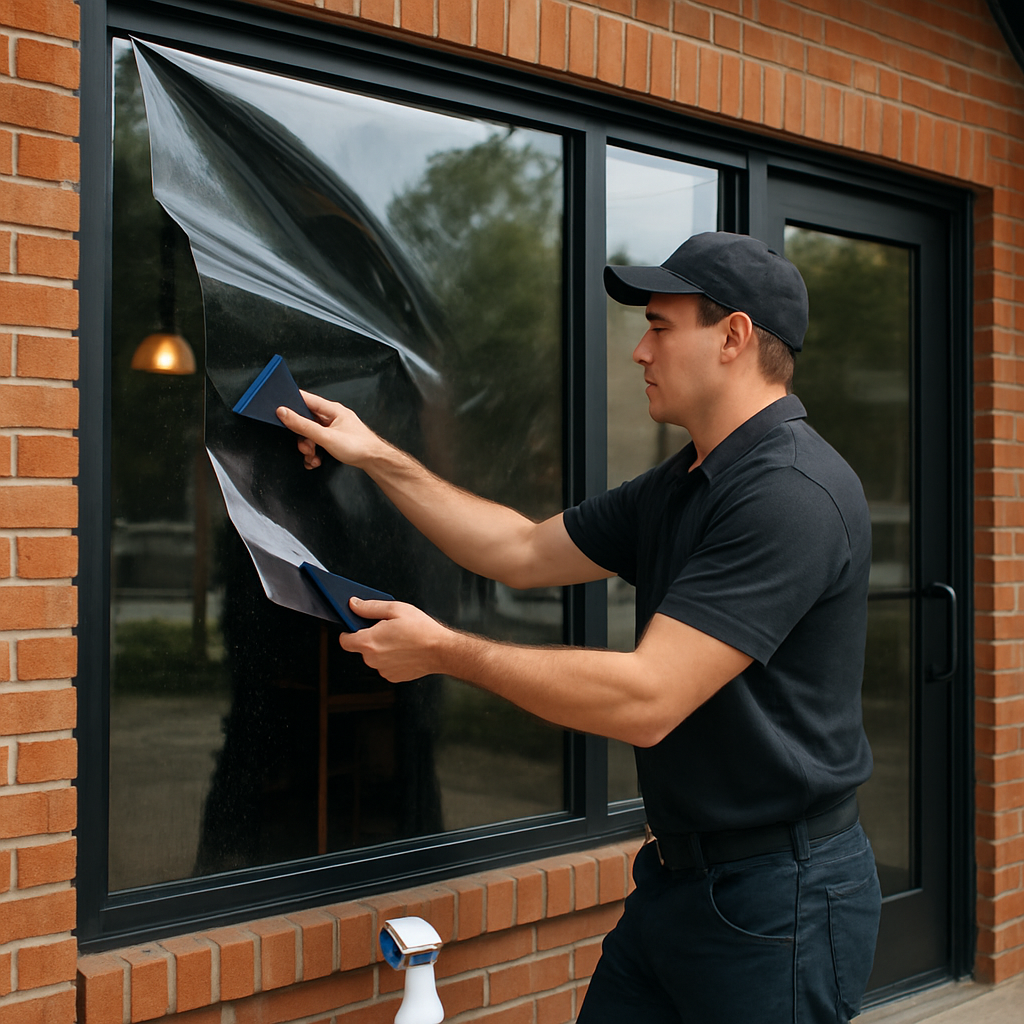
Practical schedule note: commercial installations are a sequence of predictable activities, not an all-day surprise. Expect crews to stage, mask, apply, trim, and clean in that order; the work is wet, requires controlled drying, and often benefits from off-hours scheduling to avoid customer and tenant impact.
Typical day-of-install workflow
- Staging and protection: crew places floor protection, moves fragile fixtures, and sets signage to route customers away from work zones.
- Glass prep: glass is measured, cleaned with contractor-grade nonabrasive solutions, and taped at edges to control runoff – thorough prep prevents edge failures later.
- Wet application: film is applied with a slip solution; installers squeegee from center to edge, trim excess, and set edge seals when required.
- Immediate cleanup and protection: crews remove tools, reapply protective covers, and mark panes not to be touched during cure to prevent accidental damage.
- Cure monitoring and sign-off: installers inspect for bubbles and edge lift; final acceptance usually happens after a short visual check, with a documented punchlist for any follow up.
Disruption tradeoff: scheduling nights or weekends reduces business interruption but typically raises labor costs by 10 to 40 percent. In my experience the premium is usually worth it where daytime sales or customer flow are sensitive – for restaurants and retail it pays to preserve operating hours and accept slightly higher install charges.
Maintenance and cure considerations: films need a controlled cure window before aggressive cleaning. Wait at least 7 to 30 days depending on film family and local humidity before using ammonia based cleaners or high-pressure water. Use pH neutral cleaners and soft microfiber cloths; abrasive pads and strong solvents shorten film life and void many warranties.
Measurement and verification: do not rely on anecdotes. If energy savings matter to your payback, arrange short-term submetering or a before/after HVAC runtime comparison. Installers who offer a simple meter baseline and post-install comparison are more credible than those who only promise percentage savings.
Concrete example: A medium restaurant in Salem closed after service for three consecutive evenings to let a crew work on its full-height storefront. The installer used full interior protection, staggered the panes so seating remained usable in the morning, and scheduled a follow-up visit ten days later to inspect edges and advise on cleaning. The owner paid a small premium for nights but avoided two days of lost lunch revenue.
Important – insist on a written cure and cleaning instruction sheet at handover and schedule the warranty inspection before closeout so small issues are caught while the crew is still on site.
Local Incentives, Rebates, and Financing That Improve Payback in Oregon
Practical fact: incentives and financing change the decision from optional to near-immediate for many Oregon businesses. Energy rebates reduce upfront cost and financing options eliminate the timing barrier that keeps owners from installing commercial film, so start the incentive conversation before you sign a contract.
How Oregon programs actually work for commercial window film
Energy Trust is the first stop. The Energy Trust of Oregon runs both prescriptive offers for standard measures and custom incentives for projects that can demonstrate modeled or metered savings. For film this means two pathways: a quick prescriptive rebate for qualifying products or a custom route if your project is bundled with other efficiency measures and you can show calculated HVAC kWh reductions. See Energy Trust of Oregon for current program rules and pre-approval steps.
Key program realities: incentives usually require pre-approval, exact material SKU documentation, and an installer sign-off. If you install before pre-approval you risk ineligibility. Expect to submit manufacturer performance sheets, a signed contractor quote, and often a brief post-install verification or invoice package to collect the rebate.
- Prescriptive vs custom: Prescriptive rebates are faster but limited to listed films and sizes. Custom incentives pay more for measured or modeled savings but require a technical submission and take longer to approve.
- Documentation needs: manufacturer data sheets, NFRC-like performance numbers, itemized invoice, and proof of installer credentials are common requirements.
- Project size tradeoff: small storefronts under administrative thresholds sometimes get little financial help after paperwork and labor – combine scopes or add other efficiency measures to clear thresholds for larger incentive payments.
Financing options to remove the upfront barrier. Local commercial property owners use three practical routes: short-term vendor financing or payment plans offered by the installer, commercial PACE programs to spread repayment over the property tax roll, and conventional energy efficiency loans from community banks or credit unions. Which to pick depends on ownership structure – landlords prefer PACE or capital budgets, tenants often use tenant improvement allowances or ask landlords to fund the retrofit and recover via CAMs.
Concrete example: a downtown Salem retailer coordinated a pre-approval with Energy Trust, had the installer prepare the required performance packet, and used a 12-month vendor payment plan to avoid a lump-sum capital outlay. The combination shortened the effective payback for the owner and kept cash flow steady during a seasonal sales period.
Practical judgment: chasing the largest rebate is rarely the best move if it delays the job past the cooling season or adds onerous M&V requirements. For projects where tenant comfort and damage prevention matter now, prioritize pre-approval and a modest prescriptive rebate plus short-term financing so benefits start immediately. For large façades or campus projects, invest the time in custom incentives and measurement – the incremental rebate often outweighs the extra paperwork.
Why Local Businesses Should Consider Tinting Oregon for Commercial Window Film
Direct advantage: working with a local firm reduces long-term risk. Tinting Oregon operates across Portland, Salem, Eugene, and Bend/Central Oregon and that local footprint matters — crews that understand regional sun angles, humidity differences, and permit nuances solve problems before they appear.
What a local installer brings that changes outcomes
Climate and glazing experience: commercial glass in coastal Portland behaves differently than high‑desert glazing in Bend. Tinting Oregon matches film SKUs to those microclimates, avoids poor adhesion on certain IGU coatings, and selects high‑VLT ceramic or reflective films when daylighting is critical.
Execution and incentives: the company prepares the manufacturer performance packet and coordinates with Energy Trust of Oregon for pre‑approval when applicable. That reduces the paperwork burden on your facilities team and cuts the chance that an incentive is denied because of missing documentation.
Serviceability and warranty follow-up: local presence means faster warranty response, sample patching before full installs, and scheduled follow‑ups timed to Oregon humidity for proper curing. That matters more than a slightly lower bid from a distant vendor who won’t return quickly when edges lift.
Practical limitation to plan for: local installers can be busy during spring and early summer. If your glazing requires a specific film SKU or a custom low‑e retrofit layer, expect lead time and a modest premium for night/weekend work. Plan procurement and incentive pre‑approval at least 6–8 weeks ahead of peak cooling season.
Concrete example: a small retail operator in downtown Salem needed glare control without losing daylight for displays. Tinting Oregon performed a 2 square foot patch, proposed a mid‑VLT ceramic solar film, handled the Energy Trust prescriptive paperwork, and scheduled installs after hours. The store avoided daytime closures and had a documented warranty and cleaning brief at handover.
- Quick actions: Request an on‑site estimate that includes a small sample patch so you can judge appearance in your lighting.
- Paperwork check: Ask the installer to prepare the exact film SKU performance sheet and confirm they will submit incentive paperwork if you plan to claim rebates.
- Service window: Negotiate an installation window that minimizes revenue impact and confirm rapid warranty response times.
Search tip: when you look for business window tinting near me, filter for installers who supply a written performance packet, commit to a sample patch, and manage incentive submissions — that combination prevents most common failures.