How to Choose Residential Window Film Installers Near You: Red Flags and Rules to Watch
If you are searching for residential window film installers near me in Portland, Salem, Eugene or Bend, this guide will cut through the noise and put you on a short list of credible local options. You will get practical vetting steps, concrete red flags to avoid, the paperwork needed for Oregon rebates and warranty claims, and a day of installation checklist. Follow these rules and you will pick an installer who actually delivers durable, energy-saving results instead of short-term headaches.
Why installer selection determines long term results
Installer skill often matters more than the film name. You can buy premium 3M or Huper Optik film, but poor surface prep, wrong adhesive choices, or sloppy edge finishing will create bubbling, peeling, adhesive haze, reduced UV protection and shorter energy benefits long before the film itself fails.
What installers actually control
- Surface preparation: removing film residue, oils and silicone; testing for hard water spots or coatings before installation.
- Film selection match: choosing a film whose thermal and adhesive properties suit your glass type – single pane, insulated, or tempered.
- Cutting and patterning accuracy: correct sizing and minimizing overlaps so edges sit flush without stress points.
- Edge finishing and sealing: chamfering or proper trimming and edge management to prevent delamination and moisture intrusion.
- Curing conditions and handling: installing in correct temperature/humidity ranges and allowing adhesive to set to avoid shrinkage or permanent haze.
- Warranty registration and documentation: registering manufacturer warranties and providing performance specs required for rebates.
Practical trade-off: paying 15–30 percent more for an experienced, certified installer usually prevents a repeat job.** The trade-off is straightforward: higher up-front labor costs reduce the probability of early failure, denied warranty claims, and the downstream expense of removal and reinstallation.
Concrete Example: In a Portland bungalow the first crew used a generic film and left raw edges against the sash. Within six months the film curled and small bubbles formed at the perimeter; the installer denied the warranty because prep steps were omitted. A certified crew using 3M film, full edge finishing and manufacturer registration removed and reinstalled the film correctly; the result held for years and qualified for rebate paperwork.
A key limitation homeowners underestimate: not every reputable brand is right for every window. Thermal stress and glass type matter. Some reflective or low-e combinations can increase risk of glass cracking unless the installer selects an appropriate film or uses anti-stress edge techniques. That technical judgment is why an experienced installer is not optional on complex jobs.
Choosing the cheapest quote without verifying installer process or warranty registration is the fastest route to a short-lived result.
If you want to vet installers further, use credential and process checks recommended by the industry IWFA installer guidance and review local vetting steps in our guide Window Tinting Place Near Me: How to Vet Local Shops and Contractors.
Next consideration: when you get quotes, prioritize installers who articulate the installation steps above and who will register the manufacturer warranty and provide the product specifications needed for Oregon rebates.
Verify credentials and insurance before quoting
Do not accept a quote until you have verifiable credentials and current insurance documentation. Asking for these items up front separates professional residential window film installers near me from occasional operators who underprice risk.
Must-have documents to request
- Certificate of insurance (COI): current dates, carrier name, policy number, and specific coverage limits for general liability and product liability.
- Workers compensation: proof if the installer uses employees or subcontractors – a missing policy exposes the homeowner to liability for onsite injuries.
- Business license and local contractor registration: confirm the business name matches the COI and the estimator who shows up; check local Portland, Bend or Eugene requirements.
- Manufacturer installer certification: required by some brands to validate warranties for products from 3M, Llumar, Huper Optik and others.
- Physical address and local references: a service address reduces the risk of a fly by night operator and makes warranty followup feasible.
| Document | What to check and minimum standard |
|---|---|
| General liability COI | Policy active on job date; minimum recommended limits $1M per occurrence / $2M aggregate; includes product liability and completed operations |
| Workers compensation | Policy number and carrier if crew members will be onsite; required in most cases when workers are employees |
| Manufacturer certification | Installer listed as certified dealer or installer for the film brand used; required for many warranty registrations |
| Business license / registration | Name and address match COI; local contractor registration checked with city registrar where required |
Practical tradeoff: smaller, experienced local shops sometimes carry lower nominal limits than national chains. That can be acceptable if they have a clean track record, verifiable references, and a COI that covers product liability and completed operations. If coverage is low and they will not provide additional protections, passing on the low bid is the safer choice.
How to verify the paperwork: request the COI before any in-home estimate, then call the carrier using the phone number on the carrier website to confirm policy number and expiry date. Insist the business name on the COI exactly matches the name on the estimate and on any online listings.
Why limits matter for window film specifically: large glazing areas increase replacement and bodily injury exposure if a technician falls during access. Completed operations coverage matters because installation problems can appear weeks or months later and you want the installer policy to respond to damage claims and warranty-related failures.
Concrete example: A homeowner in Portland accepted a low quote from an unlicensed installer. During installation a technician fell from a ladder, shattering a double-pane window and getting injured. The installer had no workers compensation and limited liability – the homeowner spent months resolving claims and the film manufacturer denied warranty registration because the installer was not certified.
Insist on a current COI and confirmation from the insurer; do not proceed on verbal assurances alone.
Next consideration: after you confirm insurance, match the installer credentials to film warranty requirements and local rebate criteria. Use the vetting checklist in Window Tinting Place Near Me: How to Vet Local Shops and Contractors and consult the International Window Film Association guidance at IWFA industry resources if you need a carrier verification script.

Evaluate film brands and which properties matter to your home
Pick film by what you want to change, not by price or color. Different manufacturers build films for distinct priorities: visible clarity, solar rejection, insulation, or impact resistance. Your job when calling residential window film installers near me is to match the film family to the problem—heat, winter loss, privacy, safety, or decoration—then confirm the installer has specific experience with that product.
- 3M: Wide warranty support and proven residential lines; strong balance between appearance and performance.
- Llumar (Eastman): Broad portfolio with cost-effective solar films and security films for homes.
- Huper Optik: Ceramic-based films that give high heat rejection with low reflectivity; good where outward appearance matters.
- Solar Gard: Good mix of solar control and decorative options; commonly used on larger residential projects.
- Madico: Competitive pricing and functional solutions, but check the specific film series for long-term scratch and adhesion performance.
Key film specs to request and what they mean
| Specification | What to insist on / why it matters |
|---|---|
| Solar energy rejection or % solar rejected | Defines how much heat the film blocks; critical for west/south facing glass in Central Oregon summers. |
| Visible light transmission (VLT) | Tells you how much daylight passes; low VLT improves privacy but darkens rooms—balance carefully. |
| UV rejection (%) | UV causes fading to furnishings; ask for 99%+ if preserving wood and fabrics matters. |
| Low-E or SHGC impact | Low-E films improve insulation and winter comfort; they can help with heating season savings more than dyed solar films. |
| Film thickness / mil | Higher mil for security/anti-shatter films; thicker films are harder to install cleanly and can show more edge stress. |
Practical trade-off: Ceramic films cost more but keep glass appearance and avoid the mirror look reflective films produce. Reflective films give excellent daytime privacy and heat control but change curb appeal and can trigger HOA objections. Low-E retrofit films reduce winter heat loss but often deliver smaller summer heat reduction than high-performance solar films.
Concrete Example: In a Portland Craftsman with large west-facing living-room windows, a homeowner chose Huper Optik ceramic film to cut late-afternoon heat without introducing a reflective sheen that would alter the street view. The result preserved daylight and aesthetics while lowering peak cooling load—exactly the trade-off intended.
Installer-compatibility insight: Brand reputation matters, but so does installer experience with the specific film model. Some films require different edge-sealing, primer, or curing practice; installers unfamiliar with a product produce edge failure or adhesive haze even with a top-tier film. Ask installers for project photos showing the exact film model you plan to use.
Practical red flag tied to brands: If the quote only lists vague descriptors like light, medium, or dark without brand and model, that installer is avoiding accountability on performance. Ask for the product name and manufacturer spec sheet up front. If they resist, walk away and call another of the best window tinting near me options.

Next consideration: Narrow your shortlist to installers who can name the exact film model, show local installations using it, and provide the spec sheet you need for rebates or energy comparisons. If they can do that, you move from vendor selection into quote comparison with meaningful numbers rather than guesswork. For vetting local installers, see Window Tinting Place Near Me: How to Vet Local Shops and Contractors, and check industry guidance at IWFA.
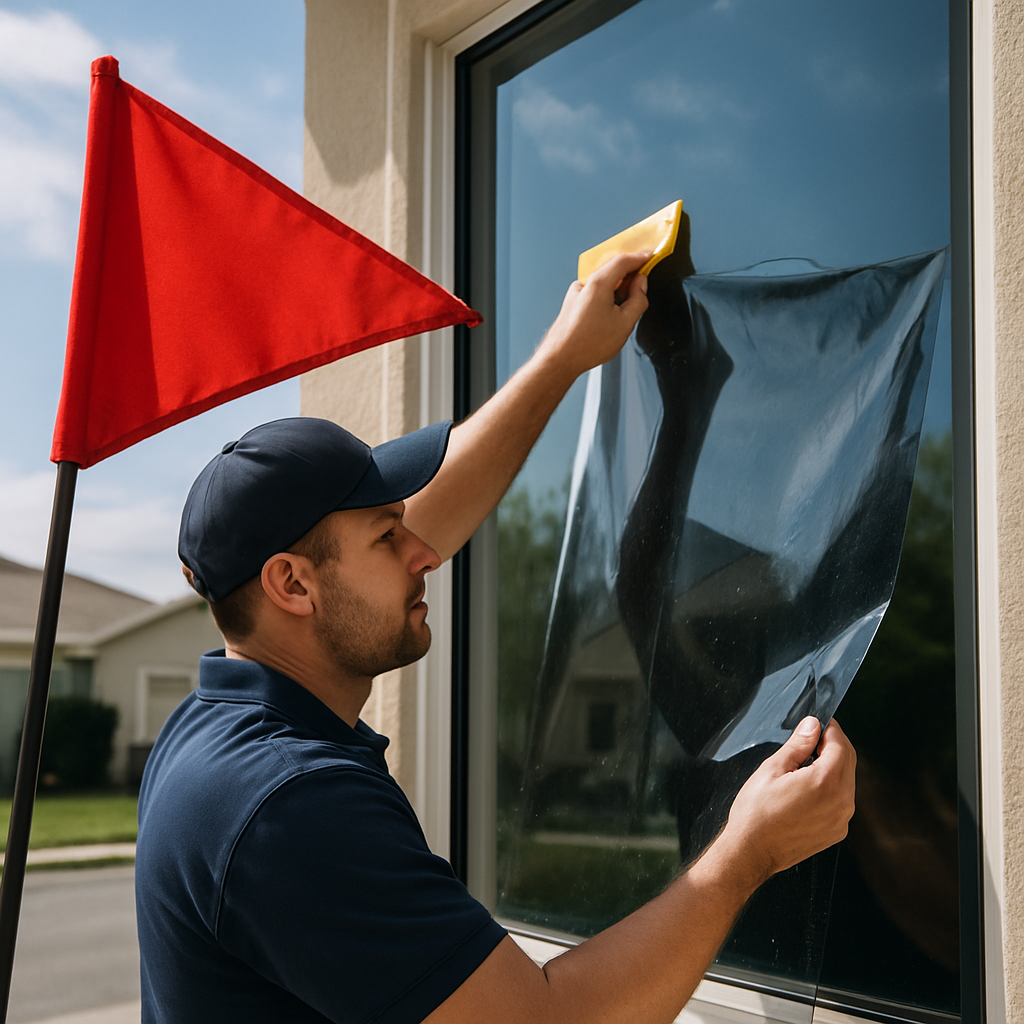
Red flags and warning signs to watch when hiring installers
Red flags show up in process details, not marketing copy. A licensed truck, a glossy website, or a low price mean nothing if the installer cannot show repeatable, documented practices for residential projects.
Process and paperwork red flags that predict trouble
- No batch or roll labels recorded. Professional installers will record the film roll label and lot number on your invoice. Missing batch numbers make warranty claims and rebate verification much harder and is a sign the crew is not tracking materials.
- Measurements quoted without an on site template or verification. If they quote from photos alone or quote per window rather than square footage, expect gaps, overhangs, and rework. Accurate templating matters for multi-pane or irregular windows.
- Cash-only, large up-front deposits, or vague payment terms. This is a liquidity risk and a common tactic by fly-by-night operations. Standard practice is modest deposit, balance on completion, and a clear invoice showing film model numbers for rebate purposes.
- Crew identity and subcontractor ambiguity. Crews that arrive without company shirts, ID, or a clear supervisor are often subcontractors who will not be on the warranty paperwork or reachable a year later.
- Unwillingness to show film samples or manufacturer spec sheets. If an installer will not produce the actual spec sheet that lists solar heat gain or UV rejection, they cannot prove the product meets energy program requirements.
- Compressed cure or inspection timelines. Some installers promise same-day cure confirmations. For larger residential jobs expect a 30 to 90 day observation period before signing off on warranty acceptance – rush timelines are a quality warning.
- No plan for glass type issues. Installers who do not ask whether you have tempered or heat-strengthened glass may apply films that raise thermal stress and cause cracking. Proper assessment is non-negotiable.
Practical tradeoff to accept. A quick weekend install with a small decorative film can be fine for a single bathroom window. For whole-house solar control or security film accept that higher quality work needs time, measurement, and documentation – which costs more but reduces the risk of callbacks and voided warranties.
Concrete Example: A homeowner in Southeast Portland hired a mobile tint shop because their price was low and they could start the same week. The crew did not record roll numbers, installed a reflective film on older tempered glass, and three windows developed thermal cracks within two months. The installer had no recorded batch numbers and the manufacturer refused warranty coverage because the film could not be traced to an approved lot.
Judgment you will not hear from every salesperson. Look beyond brand names and sales claims. The most telling signal is repeatable administrative discipline – recorded roll numbers, clear invoicing with film model, documented templating, and a plan for glass type exceptions. Installers who skimp on paperwork are the same ones who will make warranty cases impractical to pursue.
Check for recorded film roll labels, a templating process, and an installer who will provide manufacturer spec sheets and rebate paperwork before you sign.
If you want a quick primer on vetting local shops and the paperwork you should expect, see the practical checklist at Window Tinting Place Near Me: How to Vet Local Shops and Contractors. For rebate-specific documentation requirements consult Energy Trust of Oregon before you sign so the installer cannot surprise you later with missing specs – see Energy Trust of Oregon.
Questions to ask every installer and what to insist on in writing
Start with a single non-negotiable: get the film brand and model on the estimate. If the installer refuses or only says generic terms like residential film, stop the conversation. The specific product determines warranty eligibility, rebate qualification and long-term performance; vague answers hide risk.
Questions to ask on the first call
- Which film brand and model will you install and can you email the spec sheet now?
- Who registers the manufacturer warranty and will you provide proof of registration when complete?
- Do you assist with Energy Trust of Oregon or state rebate paperwork and can you show an example packet? (Energy Trust of Oregon)
- What insurance and coverage limits do you carry — general liability and workers compensation?
- What deposit do you require and what is the refund/holdback policy if the installation fails inspection?
- How long is the cure/inspection window (typical 30 days) and what are your acceptance criteria for visible defects?
Practical insight: a low deposit is not always bad; the problem is no written holdback or defined inspection period. Insist on a 7-30 day inspection window in writing so you can flag bubbles or edge lift after adhesive cures. Without that, many installers wash their hands as soon as they take final payment.
What must appear on the written estimate
| Must include | Why it matters |
|---|---|
| Film brand and model (and manufacturer spec sheet link) | Needed for warranty, rebate eligibility and comparing apples-to-apples quotes |
| Total square footage and specific windows listed by location | Prevents scope creep and hides like undisclosed extras |
| Line-item labor, materials, removal of old film, and any travel/access fees | Shows where low bids cut corners |
| Start date, estimated completion date, and daily work windows | Protects your schedule and avoids open-ended projects |
| Deposit amount, final payment terms, and written inspection/holdback period | Gives you leverage for correction after the cure period |
| Warranty details: manufacturer length, installer workmanship warranty, and registration responsibility | Clarifies who handles claims and how long you are protected |
Trade-off to understand: demanding every detail slows down casual salespeople and weeds out fly-by-night operators. Expect longer quoting times and a slightly higher price from installers who will document everything — that extra friction usually buys real protection.
Concrete example: a homeowner in southeast Portland accepted a low verbal quote that listed only labor and price. After installation, the installer refused to provide the film model; the homeowner could not get an Energy Trust rebate because the product was not on the eligible list. Insisting on the model and a sample warranty registration during quoting would have prevented that loss.
- Post-install items to insist on in writing: final invoice listing film serial/batch numbers if available, before-and-after photos, manufacturer's warranty paperwork, and proof of warranty registration
- A written punchlist and a 7-30 day inspection window with defined acceptance criteria for bubbles, haze, or edge lift
- A named contact and escalation path for warranty claims with expected response times
Next consideration: when you have written estimates in hand, use them to compare apples-to-apples. If an installer offers rebate assistance, ask to see a completed sample packet before you sign — you can use the Tinting Oregon rebate guide to verify completeness.
How to vet local shops near me in Portland, Salem, Eugene and Bend
Start local and be surgical. When you search for residential window film installers near me in Portland, Salem, Eugene or Bend, treat top search results as leads to vet—not endorsements. The right installer is the one who can demonstrate repeated, documented work in your neighborhood and explain how local climate and house styles affect film choice and installation timing.
Step-by-step local vetting checklist
- Confirm a physical service address. Use Google Maps street view and company photos to verify a shop or local office—van-only operations with no address are higher risk for warranty follow-up.
- Scan local reviews for patterns, not scores. Look for multiple recent residential projects in your city (mentions of Craftsman, bungalow, post-and-beam, or mid-century in Portland, Salem, Eugene or Bend are useful). Cross-check Yelp/Google comments and the Better Business Bureau profile for unresolved complaints. Better Business Bureau is a quick cross-check.
- Ask for nearby, specific references. Request three addresses or neighborhoods where the crew did residential window film installation in the last 12 months and follow up. Photos alone are not enough—ask homeowners whether the crew returned promptly for any warranty fixes.
- Require an on-site estimate. An accurate quote depends on access, glass condition, and shade patterns at the time of day you care about. Pay for a short on-site visit if necessary; it saves money and headaches later.
- Inspect the portfolio for batch numbers and finished details. Good portfolios include close-ups of edge finishing, interior views to show VLT, and images that show the film model or sample sticker. If they can show warranty registration or manufacturer paperwork for past installs, that is a positive sign.
- Confirm rebate and warranty handling. Ask whether they prepare Energy Trust or state rebate paperwork and whether they register manufacturer warranties on behalf of the homeowner. For rebate rules, consult Energy Trust of Oregon policies before you commit.
- Check for local code and HOA experience. If you live in a historic district or HOA (common in Portland and Bend), confirm the installer has navigated design review or HOA approvals and can provide samples or mockups.
- Compare two comparable written estimates. Insist each estimate names film brand/model, square footage, labor, removal of old film if applicable, cure/inspection windows, and warranty registration responsibilities.
Trade-off to keep in mind. A small local shop will usually be faster to respond to warranty claims and understands regional installation windows—winter in Oregon can affect adhesive curing—but may have higher per-job pricing than a larger chain. Mobile-only installers can undercut prices; that lower cost often reflects lower inventory, fewer backup crews, and slower warranty response.
Concrete example: In Bend a homeowner with large south-facing post-and-beam windows hired a local shop after the crew produced three nearby references and a photo set showing similar installs. The installer scheduled work for early fall when day-night temperature swings were moderate, documented film model numbers for an Energy Trust rebate, and returned within two weeks to fine-tune a corner that showed minor edge lift — all handled without dispute.
Practical judgment. Treat the on-site estimate as a filter: if an installer gives a firm price over the phone and resists visiting, they either charge a low margin and hope for change orders, or they lack experience assessing real-world complications. Pay a reasonable fee for an accurate visit; the alternative is hidden costs and poor fit.
If they can't show three recent local residential jobs or refuse an on-site visit, move on.
Pricing, rebate eligibility and the day of installation checklist
Price comes from three places: the film itself, the labor to prepare and install it, and the paperwork required for rebates. Understanding which part of the quote covers which cost prevents sticker shock and stops you paying twice for the same thing.
What drives price and the tradeoffs to accept
Key cost drivers: film performance level (ceramic and low-e cost more), single versus double pane glass, condition of the glass and frames, difficulty of access, and whether old film must be removed. Labor can be the largest variable because careful edge trimming, cleaning and curing take time.
Practical trade-off: higher-performance films cost more up front but often qualify for rebates and have longer manufacturer warranties — which matters if you plan to be in the house long term. Cheaper films may look fine at first but tend to fail earlier and can void rebate or warranty claims if the product is not approved.
Insist the estimate separates film, labor and rebate paperwork fees. If a low bid bundles everything into one line item, it is hiding risk. A transparent breakdown lets you compare like for like between quotes.
Rebate eligibility – the paperwork that actually matters
Rebates are conditional. In Oregon many programs require the film model to appear on an approved list and some require a certified installer or specific documentation from manufacturer. Check program rules before signing by visiting Energy Trust of Oregon or the installer provided rebate guidance.
| Document | Who must provide |
|---|---|
| Manufacturer product spec sheet with model number and performance metrics | Installer or manufacturer |
| Invoice showing film model, lot or batch number, square footage and installation date | Installer |
| Installer certification or registration form if the program requires certified installers | Installer |
| Completed rebate application and proof of payment | Homeowner with installer assistance |
Practical insight: installers can and should help with rebate paperwork, but the homeowner is ultimately responsible for submission and records. Treat any installer unwilling to include model numbers or to provide manufacturer specs as unprepared for rebate work.
Concrete example: A homeowner in Eugene accepted a low bid and later found their rebate denied because the film model was not listed on the Energy Trust eligible products list. The installer replaced the film with an approved product, but the delay cost extra labor and the homeowner lost the original early-bird rebate window.
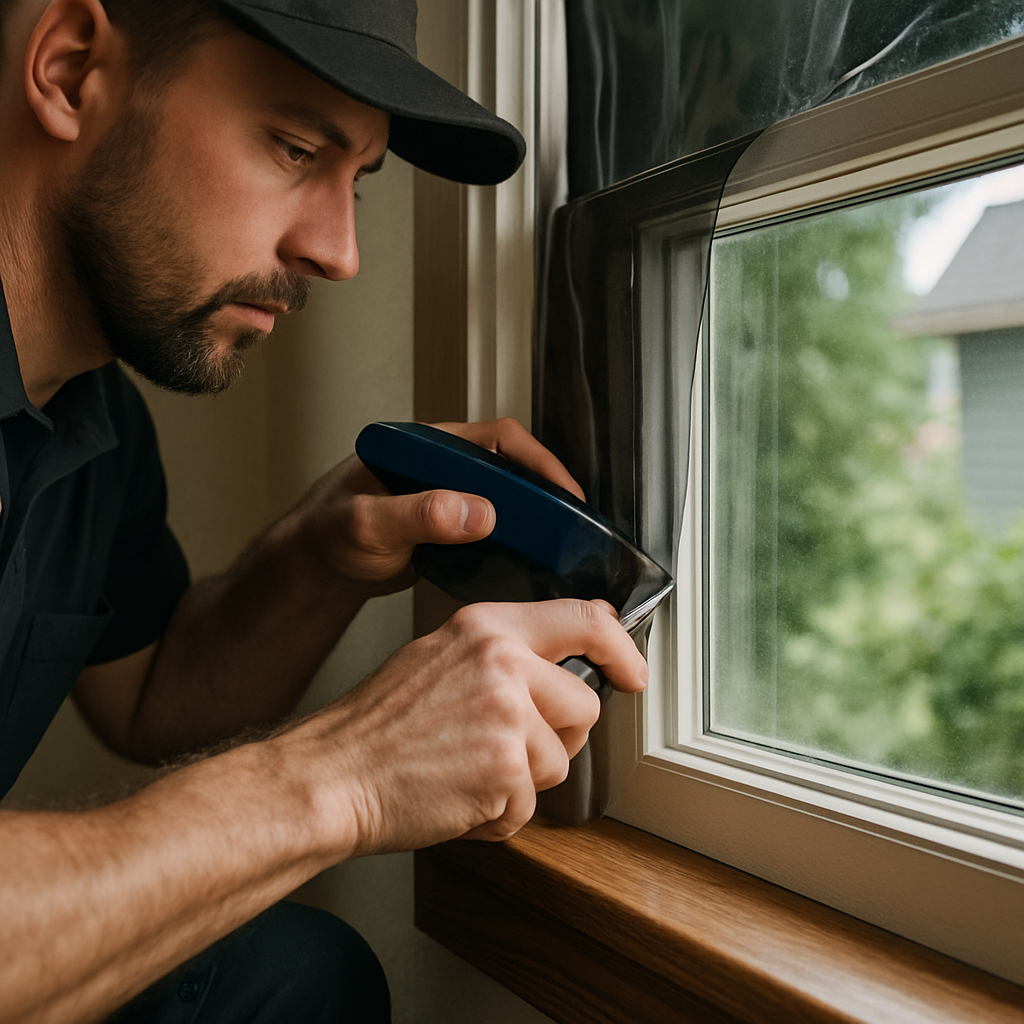
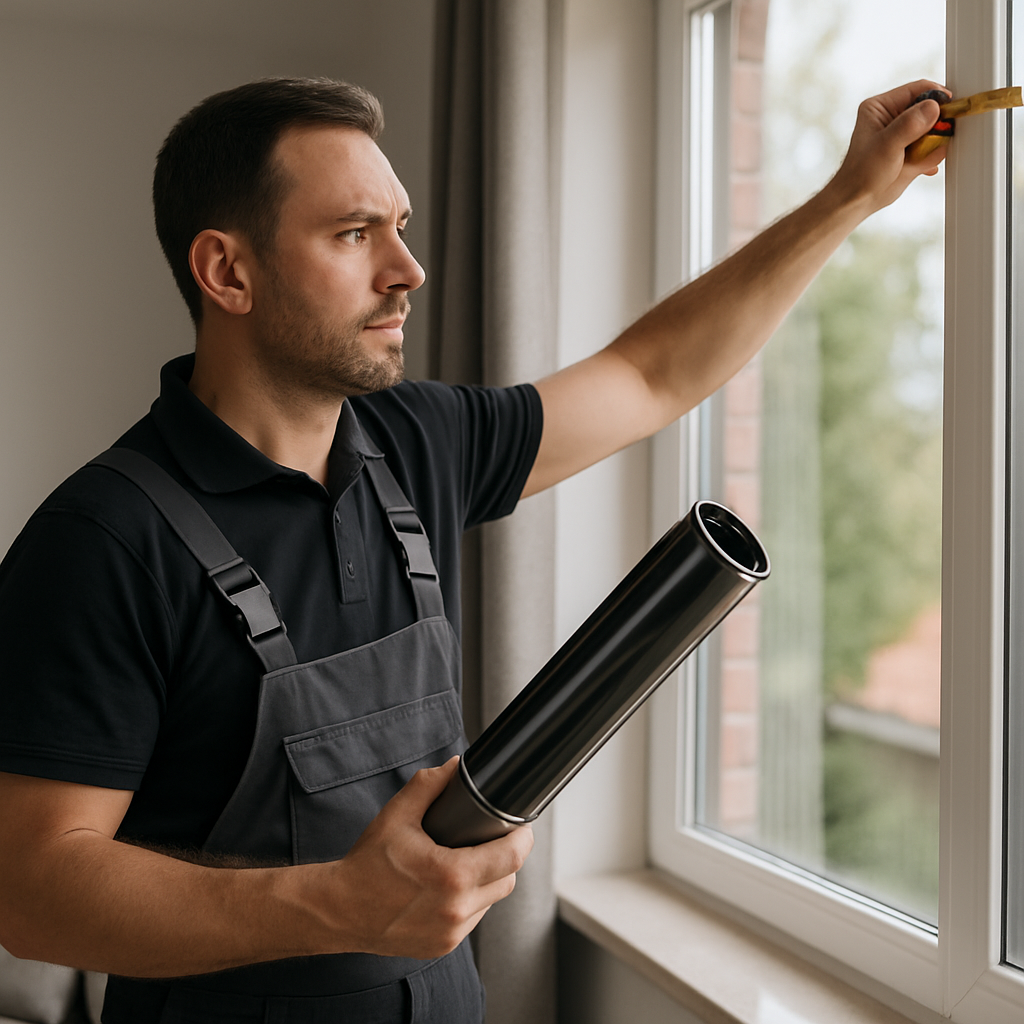
Day of installation checklist – what to confirm before, during and after
- Before they start: clear access to each window, remove curtains or blinds, and protect floors with drop cloths. Ask to see the film boxes and batch or lot labels and confirm the model number matches your estimate.
- During setup: watch for proper masking and surface prep. If the crew skips a wipe or uses questionable tools, stop and ask why – good prep is not negotiable.
- After film application: inspect edges for uniform adhesion and clean cuts. Make a short video of seam lines and edge finishing – it helps for warranty claims.
- Documentation to get before they leave: signed completion receipt with film model and lot number, warranty paperwork, and a clear note on whether the installer will register the manufacturer warranty and/or fill rebate forms.
- Payment control: hold final payment until you receive the manufacturer warranty registration confirmation or a written plan and timeline for warranty registration and rebate submission.
Do not pay in full until you have documentary proof of film model numbers and a plan for warranty and rebate registration.
Next step: if rebate assistance matters to you, add a clause to the estimate that the installer will provide all documents required for Energy Trust processing and will register manufacturer warranties within 14 days of installation. See the Tinting Oregon rebate guide for the local checklist installers should follow.