
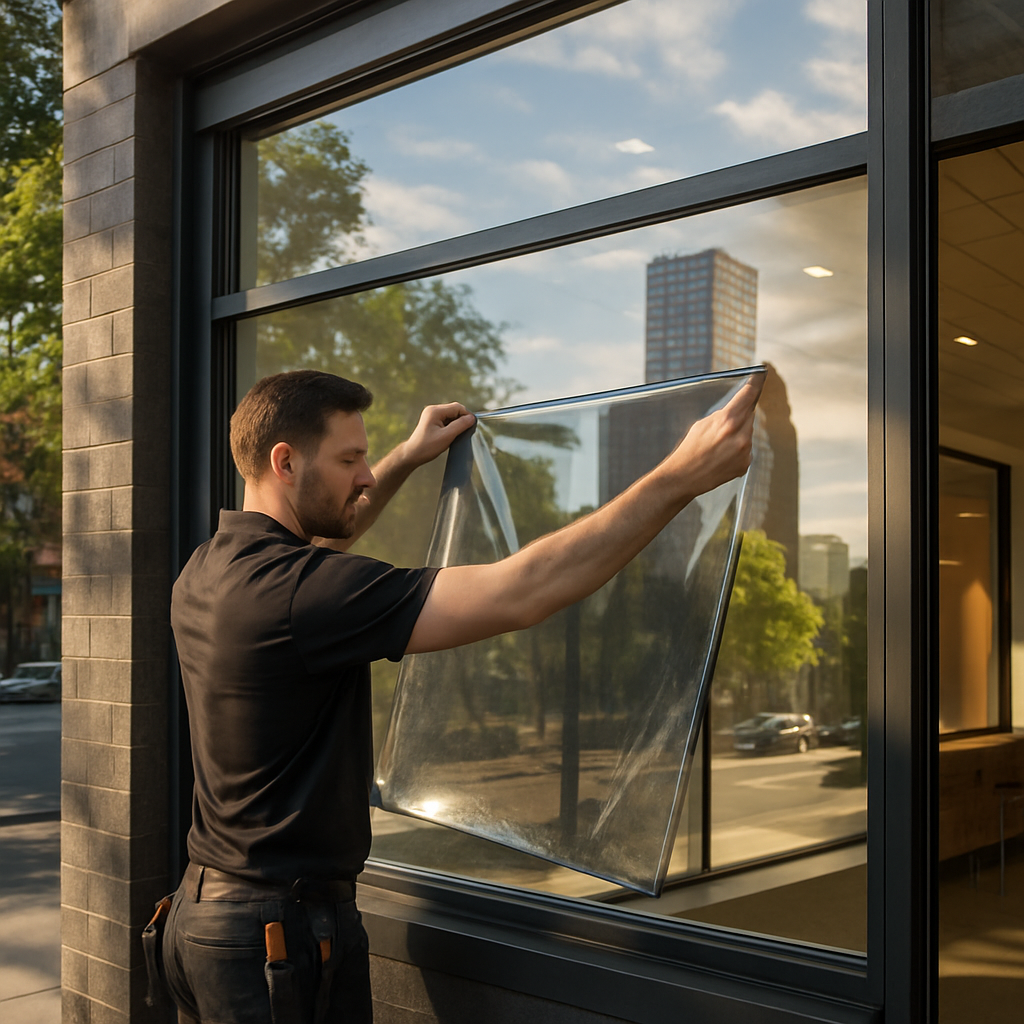
Commercial Window Film Benefits: Energy Savings, Security, and Brand Impact
If your building has large storefronts or sun-facing offices, understanding commercial window film benefits can turn glare, fading, and rising energy bills into a predictable retrofit with measurable payback. This post explains how films reduce solar heat gain and cooling demand in Pacific Northwest conditions, what security and UV-protection films actually achieve, how decorative options support branding and privacy, and what to expect for costs, rebates, and ROI in Portland, Salem, Eugene, and Bend. Read on for a simple payback example and a practical checklist for choosing a certified installer or contacting Tinting Oregon for a site assessment.
How Window Film Reduces Energy Use in Commercial Buildings
Immediate effect: commercial window film reduces the amount of solar energy that passes through glazing, lowering the cooling load during sunny hours. Films work by reducing transmitted solar radiation – not by insulating like new windows – so the measurable impact is on solar heat gain coefficient and peak cooling demand rather than on U factor.
What the numbers mean in practice
Typical outcomes: in real-world commercial storefronts and offices in the Pacific Northwest you should expect cooling reductions roughly in the 10 to 30 percent range for sun-exposed areas, with laboratory SHGC performance of high-end films showing 60 to 70 percent solar heat gain reduction in controlled tests. See performance summaries from the International Window Film Association for comparative data and local incentive guidance from Energy Trust of Oregon.
- Primary mechanism: film lowers transmitted shortwave solar energy so HVAC sees less peak heat during afternoon sun.
- Peak load benefit: smaller peaks reduce demand charges or defer chilled water or rooftop unit upgrades – this is where ROI often becomes meaningful.
- Daylighting tradeoff: dark metallic films reject heat well but cut visible light; spectrally selective and ceramic films reject infrared while keeping daylight, which matters in the Northwest.
Practical limitation: window film cannot eliminate the need for mechanical cooling in buildings that already overheat, and poor film choice can backfire. A dark film that reduces daylight by 50 percent will lower solar heat gain but raise lighting use and occupant complaints, eroding net savings. In practice, spectrally selective films are usually the better choice for office and retail where daylight and appearance matter.
Concrete example: a 500 square foot west facing retail storefront in Portland with moderate cooling demand might use 3,000 kWh of cooling energy annually. If a spectrally selective film delivers a 25 percent cooling reduction, that is about 750 kWh saved per year. At an energy cost of $0.14 per kWh that equals $105 in direct energy savings. Add practical reductions in peak demand and HVAC runtime that often translate to another $200 to $600 in avoided costs or longer equipment life, and the real annual benefit for many stores moves to the $300 to $700 range.
Real-world judgment: cost and savings vary a lot by orientation, glazing area, and tenant hours. For single line retail with large west glazing, film performance and payback are strong. For deep plan offices with minimal direct sun, the energy case weakens but glare control and occupant comfort remain valuable. Always match film type to the building role – spectrally selective or ceramic films justify a premium in most Pacific Northwest commercial projects.
Next consideration: when evaluating bids insist on measured SHGC or solar heat gain reduction values and an installer who will model expected annual kWh savings for your specific glazing orientation and hours of operation. That modeling is the difference between a hopeful estimate and a reliable ROI.
Security and Safety: What Commercial Security Film Actually Does
Security film is a glass retention and delay measure, not a bulletproof fix. Applied correctly, it holds broken glass in place, reduces flying shard hazards, and makes quick smash-and-grab entries materially harder — buying time for staff and first responders.
Types, thicknesses, and what they mean in the real world
- Light-duty safety (4 mil): Reduces minor fragmentation and protects occupants from small impacts; common for interior glass and code-driven safety upgrades.
- Security-grade (7–8 mil): Workhorse for retail storefronts and offices where deterrence and shard retention matter without heavy structural anchoring.
- Heavy security (12–20+ mil): Used where forced-entry delay and blast mitigation are priorities; usually paired with mechanical edge anchoring or channel systems.
- Laminated replacement vs film: Laminated glazing remains the gold standard for very high-risk locations. Security film upgrades are faster and less costly but not always a one-for-one replacement for laminated units.
Anchoring and edge treatment determine effectiveness. The film alone only slows glass loss; mechanically anchoring film to frames, using S-clips, channel systems, or structural silicone is what converts a sheet of film into a retention system. Professional installers size anchors to frame type, glass thickness, and the threat profile.
Practical trade-offs you must weigh. Thicker film increases retention but also adds stiffness and weight, which can stress old or compromised glazing and frames. Heavier film plus anchoring costs approach the price of laminated glass; choose based on risk, downtime tolerance, and budget.
Concrete example: For a downtown retail storefront with large plate glass, a common specification is 8 mil security film with perimeter channel anchoring. That combination prevents large shards from separating during blunt impacts, reduces immediate injury risk to customers and staff, and gives personnel time to respond or evacuate while law enforcement is notified.
What installers and facility managers commonly misunderstand. DIY or retail film kits often provide optical tint but lack proper adhesives, edge treatments, and certified anchoring. Expect failures at the edges and rapid delamination when those products are used where security is required. For credible protection, specify commercial-grade film and installer certification.
When security film is the right choice. Use film when you need faster, lower-cost retrofit protection, when preserving daylight is important, or when replacing glass is impractical. Choose laminated glazing when the location is continuously high-risk or when building code/insurance requires it.
Manufacturers such as 3M and LLumar produce tested security and safety films; review manufacturer test reports and third-party guidance from the International Window Film Association when defining specs. For help deciding between retail film and a professional-grade retrofit, see our guidance on Where to Buy Window Tinting Film: Retail vs. Professional-Grade Options and Costs.
If security is your primary goal, plan for anchoring and budget accordingly. Film is a retrofit tool, not a guaranteed replacement for laminated glazing in every scenario.
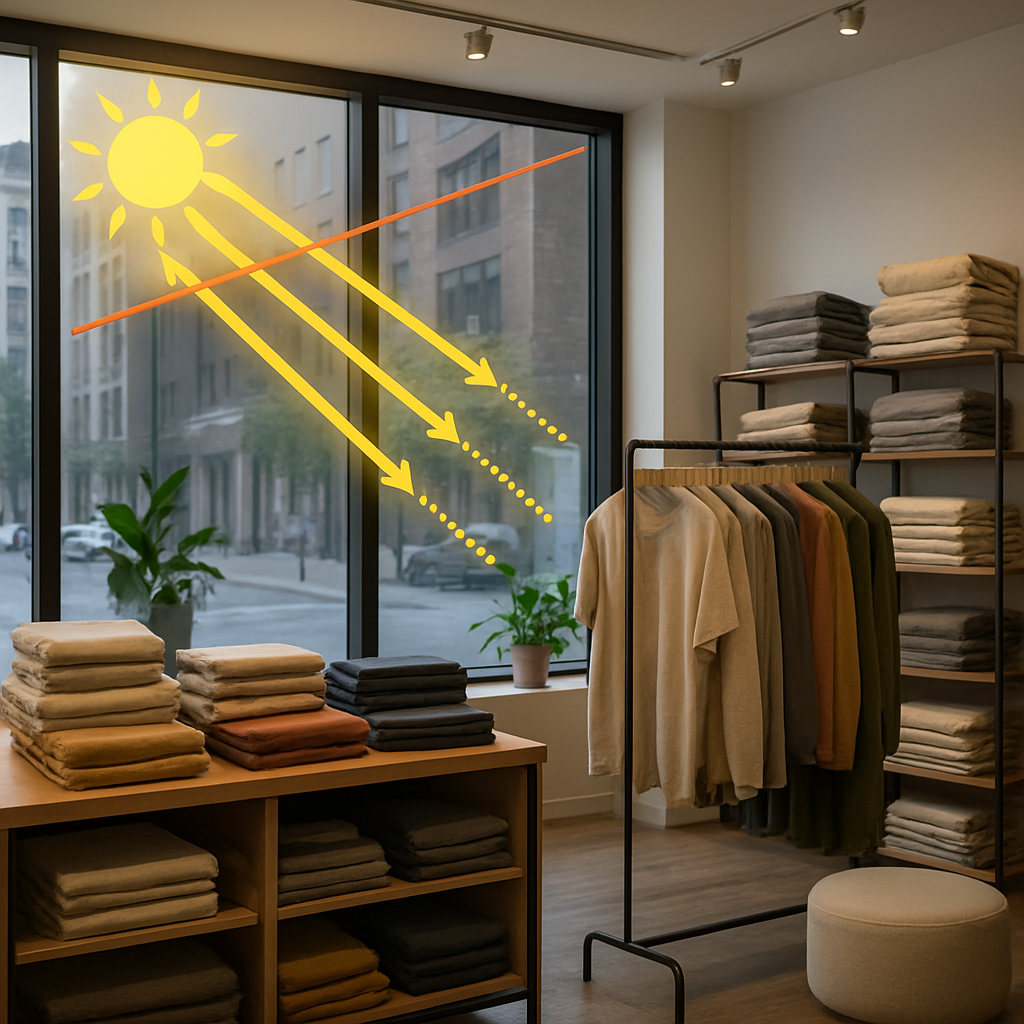
UV Protection and Asset Preservation
Direct impact: Commercial window film that blocks ultraviolet wavelengths provides immediate, measurable protection for inventory, finishes, and fixtures. Many commercial films block up to 99 percent of UVA and UVB, which slows the chemical breakdown that causes textiles, printed signage, artworks, and wood finishes to fade and fail prematurely.
How film actually reduces fading and long-term costs
Mechanism matters: UV photons drive many photochemical reactions that break dyes and coatings. Visible light and heat also contribute to fading, so films that only reduce UV but leave high visible light transmission will reduce some, but not all, fading. Spectrally selective films that block UV and reduce near-infrared heat while preserving visible light are the best choice where color fidelity and daylight matter.
- Prioritize windows: Apply film first to south and west exposures and to any windows directly illuminating merchandise or finishes.
- Document conditions: Photograph susceptible items and note orientation and glazing area before installation to measure outcomes and support insurance or warranty claims.
- Match film to risk: Choose thicker or laminated films where impact protection is also needed; choose high-VLT spectrally selective films where daylighting and color accuracy matter.
- Coordinate with interior schedules: Film reduces new fading but will not reverse existing damage; plan replacements and displays accordingly.
Concrete Example: A downtown Portland boutique with large west-facing display windows reduced UV transmission to near zero with a spectrally selective film while retaining daylight. After installation the store manager reported noticeably less color shift in display fabrics and extended the interval between full display refreshes, reducing replacement and markdown costs for seasonal inventory.
Tradeoff and limitation: Do not assume UV is the only culprit. Visible light and heat often determine how quickly a specific material shows damage. Choosing a very dark film to eliminate visible light will protect colors but also reduces natural daylight and may hurt merchandising. In practice, spectrally selective films give the best balance—substantial UV and IR control with high visible light transmission.
Practical next consideration: Inventory the most UV-sensitive assets, prioritize glazing by exposure and value, and request product UV transmission data from your installer. For product comparisons and measured UV-blocking claims see Tinting Oregon UV Blocking Window Film and bring those specs when you request a site assessment.
Brand Impact, Privacy, and Architectural Options
Branding with film is practical and measurable. Commercial window film benefits extend beyond energy and security — decorative and privacy films are one of the fastest, lowest-risk ways to change a storefront or interior aesthetic, reinforce brand identity, and control sightlines without replacing glass.
Types and what they actually deliver
Decorative and printed films. Use full-color digital prints or vinyl cuts for seasonal promotions, logos, or privacy screens. High-quality inks and an overlaminate are essential; cheap prints fade within a few years and undermine your brand. For long-run branding choose UV-stable inks and confirm installer warranty.
Frosted and etched-effect films. Provide privacy while preserving daylight. They work well for exam rooms, conference rooms, and bank teller lobbies because they diffuse light without blocking it. These films are reversible in many cases and are accepted by landlords who restrict permanent alterations.
One-way vision and perforated graphics. Excellent for street-facing retail: from outside you see the graphic, from inside you retain a view out. Limitation: the effect depends on exterior lighting being brighter than interior lighting; privacy fails after dark unless supplemental measures are used.
- Trade-off — daylight vs display: Dark or opaque graphics increase brand visibility but reduce daylight and occupant connection to the street.
- Appearance consistency: Mirrored or reflective films alter exterior appearance and can clash with multi-tenant façades or municipal signage rules.
- Durability vs cost: Decorative films are cheaper than replacing glass but typically require replacement sooner than neutral solar films; budget for refresh cycles.
Practical consideration: When your priority is a corporate look across multiple locations, choose spectrally neutral films or consistent printed graphics to avoid a patchwork façade. If you need both security and branding, layer choices matter; some security films accept printed overlays, others do not — insist on a specification that preserves both warranties and performance.
Concrete example: A downtown Portland café applied perforated window graphics on its west-facing façade to advertise and reduce afternoon glare while keeping daylight. After opening hours the staff added interior shades because the perforated film no longer provided privacy once interior lighting exceeded street light levels. This combination preserved brand visibility during business hours and solved the night-time privacy gap.
- Design-first: Start with a designer-approved artwork sized for viewing distance; fine text looks flat on perforated film.
- Confirm VLT: Choose visible light transmission to balance daylighting and display legibility; ask your installer for spec sheets.
- Check approvals: Run proposed graphics by building management and local signage authorities before ordering.
- Choose professional installation: Printed and privacy films must be aligned, trimmed, and sealed properly to avoid bubbling and early failure; see Where to Buy Window Tinting Film: Retail vs. Professional-Grade Options and Costs | Tinting Oregon.
Design pitfalls people miss. Printed graphics are treated like signs; small type, busy patterns, and low-resolution art read poorly from the sidewalk. One-way vision is frequently sold as a privacy cure-all — it is not. Plan for night-time lighting and the real sightlines of your space, not just daytime photos.
Next consideration: have a site assessment that measures interior and exterior light levels, sightlines, and tenant rules before committing to a film type or graphic run. For assistance with specifications and professional installation contact Tinting Oregon for a site-specific recommendation.
Cost, ROI, and Local Rebate Opportunities
Upfront cost varies widely, and that variability is the single biggest determinant of payback. Commercial-grade film and professional installation for storefronts and offices typically range by film type, accessibility, and anchoring needs rather than by square footage alone.
Cost drivers you must budget for
- Film performance and type: basic solar films are lower cost, spectrally selective or ceramic films cost more but preserve daylight and appearance
- Security or safety films: thicker films and perimeter anchoring add labor and materials and change ROI logic away from pure energy savings
- Access and site conditions: scaffolding, lifts, or removal of existing glazing treatments materially increase labor
- Edge treatments and warranty options: silicone edge seals, structural anchoring, and extended manufacturer warranties are optional but relevant to lifecycle value
- Project size and batching: per square foot pricing drops on larger projects, and staged installs can raise total cost per year
Typical installed cost range: expect about $8 to $25 per square foot for most commercial projects in the Pacific Northwest. Security or laminated retrofit jobs frequently sit at the top end of that range or above. These are industry ranges not guarantees; get an on site quote.
A practical payback example
Concrete Example: A small retail storefront with 500 square feet of glass chooses commercial-grade film at $12 per square foot. Installed cost is $6,000. If the glass accounts for about $3,000 per year of cooling and related HVAC energy costs, a 20 percent reduction in cooling yields $600 per year in savings, for a simple payback of 10 years. Changing two variables illustrates the sensitivity of ROI.
| Scenario | Installed cost | Annual energy savings | Simple payback |
|---|---|---|---|
| Base film, no rebate | $6,000 | $600 | 10 years |
| Same film with 30 percent rebate | $4,200 | $600 | 7 years |
| Higher performance film, 30 percent rebate, 30 percent savings | $5,400 | $900 | 6 years |
Key takeaway: rebates and film performance move the needle more than small differences in installer markup. Do not accept a single payback number without seeing the assumptions behind energy savings and rebate percentages.
How rebates and documentation change the math
- Common rebate sources: Energy Trust of Oregon and certain utility programs offer commercial incentives for qualifying solar control films; check Energy Trust of Oregon for current commercial program details
- Installer role: a local professional who documents pre and post specs, supplies eligible product codes, and files applications raises the chance of approval and speeds payment
- Paperwork you will need: product technical data sheet showing solar heat gain reduction, project invoice with square footage, and an installer signed worksheet that matches rebate program requirements
- Timing: rebates often require preapproval or submission within 90 days of installation; ask your installer to confirm the process before work begins
Tradeoff to accept: higher cost films shorten payback and preserve daylight and tenant satisfaction, but security films should be judged on risk reduction and liability mitigation not just energy ROI. If your objective is asset protection or reducing injury risk, include avoided loss and tenant retention in the ROI calculation.
Practical recommendation: Request two quotes that separate film cost from labor and rebate paperwork fees, and ask the installer to show the rebate application they will submit.
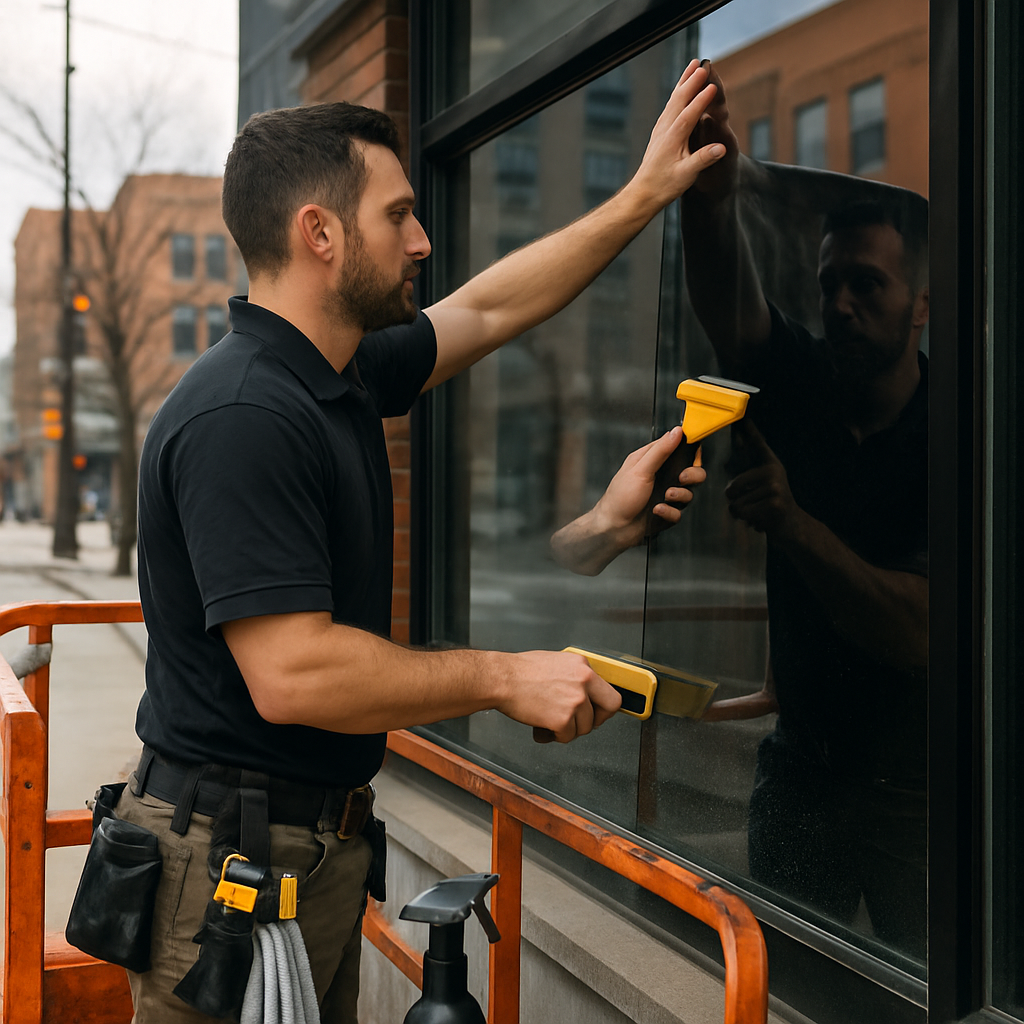
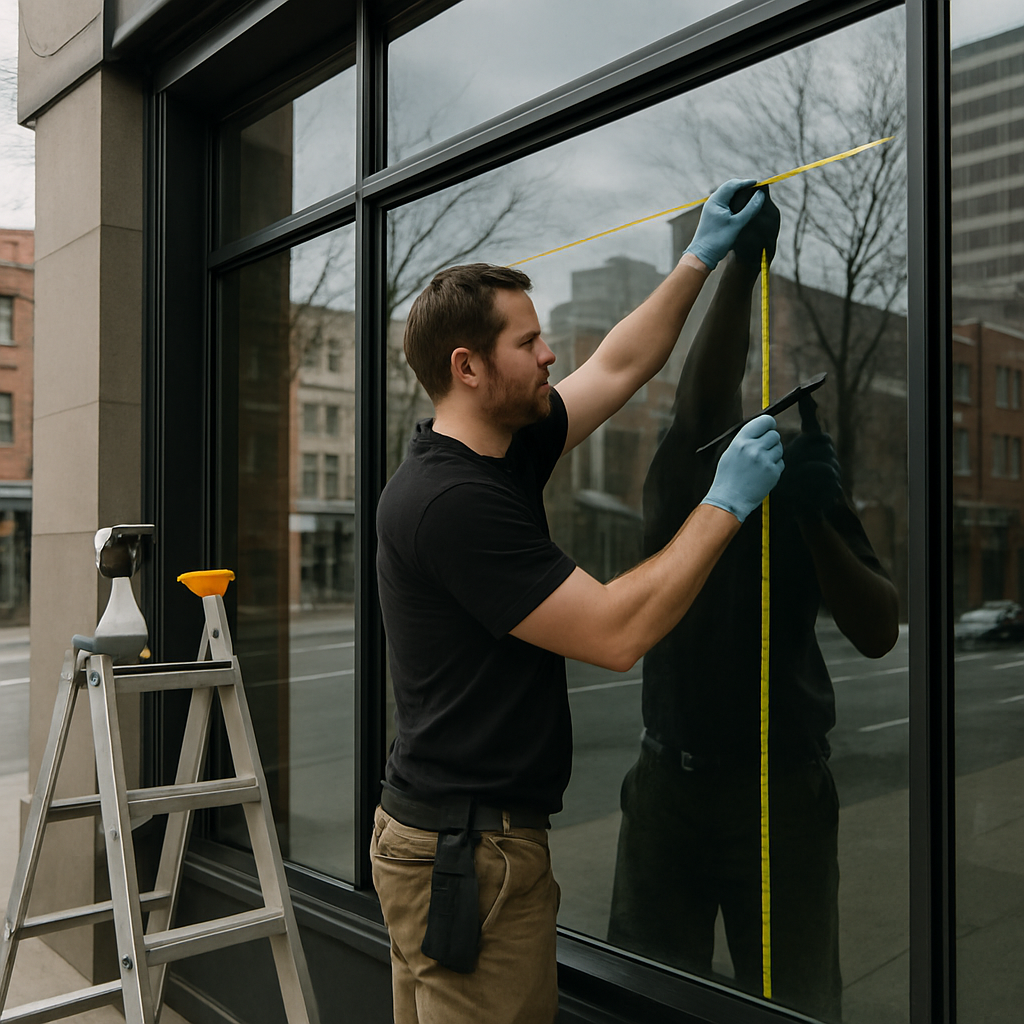
Choosing Between Retail Film Kits and Professional Installation
Clear choice: Retail kits save money up front but for most commercial projects they trade away the durability, optical quality, and documented performance that deliver the long-term commercial window film benefits owners expect.
When retail kits are reasonable
Use case fit: Retail or DIY films can be acceptable for very small, interior, non-security applications where appearance and warranty are low priorities. Examples include decorative frosted panels inside a single office, temporary seasonal graphics, or testing a color/finish before committing to a full façade.
- Low risk area: Interior glass under ~100–150 sq ft without exposure to weather or public entry.
- Short-term need: Temporary privacy or signage where longevity is not required.
- Budget testing: Trialing a look or VLT before selecting a commercial product.
Concrete Example: A small law office applied a retail frosted kit to a 60 sq ft interior conference room panel to test privacy and daylighting. The owner accepted visible seams and a 2–3 year life expectancy; the cost stayed low and they later contracted a professional installer for the exterior storefront after confirming the aesthetic direction.
When you should hire a professional
High-stakes installs need pros: For storefronts, exterior glazing, security or safety film, multi-window façades, and any project seeking rebates or long warranties, professional installation is worth the premium. Pros provide consistent optical matching, proper edge treatments, anchoring for security films, and documentation required by rebate programs and manufacturers.
- Warranty and longevity: Professional-grade films come with material and labor warranties; retail kits typically do not.
- Optical consistency: Large façades require matched panels and careful smoothing to avoid clouding and distortion.
- Security anchoring: Security and safety film effectiveness depends on thickness and attachment methods that DIY kits do not provide.
- Rebate eligibility: Many Oregon incentives require installer documentation and specific product specs; professionals know how to submit those applications.
Practical trade-off: Hiring a pro raises initial cost but reduces rework, preserves storefront appearance, protects rebate eligibility, and extends useful life. In practice, the pro route usually wins back cost through avoided callbacks and better performance over a 5–15 year horizon.
- Vendor checklist: Verify manufacturer certifications and commercial project references.
- Warranty specifics: Require written warranties for both film and installation labor.
- Spec transparency: Ask for measured specs: SHGC or Solar Heat Gain Reduction, VLT, and UV blocking percentage.
- Rebate support: Confirm the installer will provide documentation and submit applications for incentives; see Window Film Energy Rebates in Oregon: How to Qualify, Apply and Maximize Savings | Tinting Oregon.
- Site mockup: Request a small sample panel or on-site mockup to confirm appearance under actual light.
Note: DIY installs often void manufacturer warranties and can disqualify rebate claims. Confirm requirements with Energy Trust of Oregon before assuming a retail kit will qualify.
Local Considerations for Portland, Salem, Eugene, and Bend
Key point: Portland, Salem, and Eugene share a Willamette Valley climate where glare control, UV protection, and visual comfort produce the clearest, fastest returns from commercial window film, while Bend's higher solar exposure and wider diurnal swings make solar heat rejection and durable film choices a higher priority.
City-level trade-offs that matter
Portland / Salem: Older downtown storefronts and office buildings often have large, low-performance single-pane glazing. In practice, spectrally selective or ceramic films retain daylight and color fidelity for retail displays while cutting glare—a better fit than very dark films that hurt merchandising. For rebate and documentation guidance see Energy Trust of Oregon and our rebate primer at Window Film Energy Rebates in Oregon.
Eugene: Similar to Portland but with more mixed-use storefronts near the university. Privacy films and branded decorative films often deliver strong non-energy value here—tenant satisfaction and visual identity can justify projects even when energy payback is modest.
Bend / Central Oregon: Expect stronger direct sun, higher UV intensity, and larger daytime temperature swings. Choose films with higher solar heat gain reduction and UV blocking; ceramic options age better in intense sun. If cooling peaks are a real operating cost, prioritize heat-rejection performance over purely aesthetic choices.
- Installation timing: Avoid scheduling large installs during Oregon's wettest months when possible; adhesives cure and squeegee work finish cleaner in dry, warmer windows.
- Appearance vs performance trade-off: Darker metallic films reject heat but reduce visible light and change storefront appearance—spectrally selective films usually give the best commercial compromise in the PNW.
- Historic or landlord restrictions: Many downtown buildings require landlord or design review for visible exterior changes. Get approvals before bidding work.
Practical limitation: Window film will not substantially raise a single-pane window's R-value for winter heating. If winter heat loss is the primary concern, laminated insulating retrofit or full window replacement may be necessary; film should be treated as a solar-control and safety retrofit, not a full thermal window upgrade.
Concrete example: A 500-square-foot west-facing boutique in southeast Portland installed spectrally selective film to reduce afternoon glare and preserve merchandise color. The owner removed heavy roller shades, improved daylighting, and secured an Energy Trust rebate through their installer; landlord approval was required but straightforward when the installer supplied product specs and warranty paperwork.
Judgment: Most commercial clients in these markets get faster, more tangible value from glare reduction, UV protection, tenant comfort, and reduced display fading than from large energy savings alone. Treat cooling-savings estimates as a bonus—pick film to solve the daily, visible problems first.
Prioritize film selection by the local problem you need solved: glare and merch preservation in Portland/Eugene; higher heat rejection and UV durability in Bend.
Practical Project Examples and Quick Decision Framework
Direct point: Use film when the problem is measurable and specific – glare, peak cooling, merchandise fading, or storefront vulnerability. The following scenarios show realistic outcomes, tradeoffs, and the practical next step for each.
Three short project scenarios
- Retail storefront with afternoon glare: Apply a mid-range solar control film and a branded printed film band. Expect visible glare to drop substantially and interior surface temperatures near windows to fall by 8 to 15 degrees F on hot afternoons. Result: better merchandise visibility, lower midday cooling demand, and a clear, consistent exterior look that supports branding.
- Open-plan office reducing glare and peak cooling: Choose a spectrally selective or ceramic film that keeps high visible light transmission while cutting solar heat gain. In practice this preserves daylighting and reduces peak cooling loads – often shaving 10 to 20 percent off cooling demand on west-facing floors – without making the interior feel dim or enclosed.
- Medical clinic requiring privacy and UV protection: Combine frosted privacy film for exam rooms with a clear UV-blocking film on public-facing glazing. This delivers compliant visual privacy, blocks up to 99 percent of UV to protect fabrics and supplies, and avoids the expense and downtime of window replacement.
Practical tradeoff to note: High-reflectance metallic films reduce heat strongly but change exterior appearance and can complicate storefront signage or historic facades. Spectrally selective films cost more but preserve daylight and curb appeal. Choose based on whether appearance or absolute heat rejection matters more.
Quick decision framework – eight steps
- Document the problem: Take photos, note orientation, measure glazing square footage, and collect the last 12 months of utility bills for baseline.
- Define the priority: Rank goals as comfort, energy savings, asset protection, privacy, or security – you will make different choices for each goal.
- Select film family: For appearance-first choose spectrally selective/ceramic; for max heat rejection choose metallic; for safety choose thicker security film with anchoring.
- Check compatibility: Confirm glass type and coatings with a pro – low-e or tempered glass can affect performance and warranty eligibility.
- Estimate ROI range: Use conservative savings – assume 10 to 20 percent cooling reduction for typical PNW storefronts unless you have engineering data.
- Confirm rebates and paperwork: Verify eligibility early and have the installer document film specs. See Window Film Energy Rebates in Oregon for local guidance.
- Decide on installer vs DIY: For security, large storefronts, or color-critical branding use a professional. Read Where to Buy Window Tinting Film before considering retail kits.
- Schedule a site assessment: Ask for a written scope, product datasheet, warranty terms, and rebate assistance before signing.
On measurement and proof: Measure interior surface temperatures or use a handheld light meter and photograph problem areas during peak sun. That evidence speeds accurate proposals and rebate approvals. Bring those photos to the site visit so the installer recommends targeted coverage rather than blanket application.