Residential Sun Control Film Cost: What Influences Price and How to Save
If you are budgeting window upgrades in Portland, Salem, Eugene, or Bend, understanding residential sun control film cost is the first practical step. This article breaks down realistic installed price ranges for entry, mid and premium films, explains the main cost drivers — product type, glass area and installation complexity — and walks through worked examples for small, medium and large jobs. You will also get pragmatic ways to lower your total project price, where to check local rebates, and the specific questions to ask installers so quotes are comparable.
Typical installed cost ranges for residential sun control film in Oregon
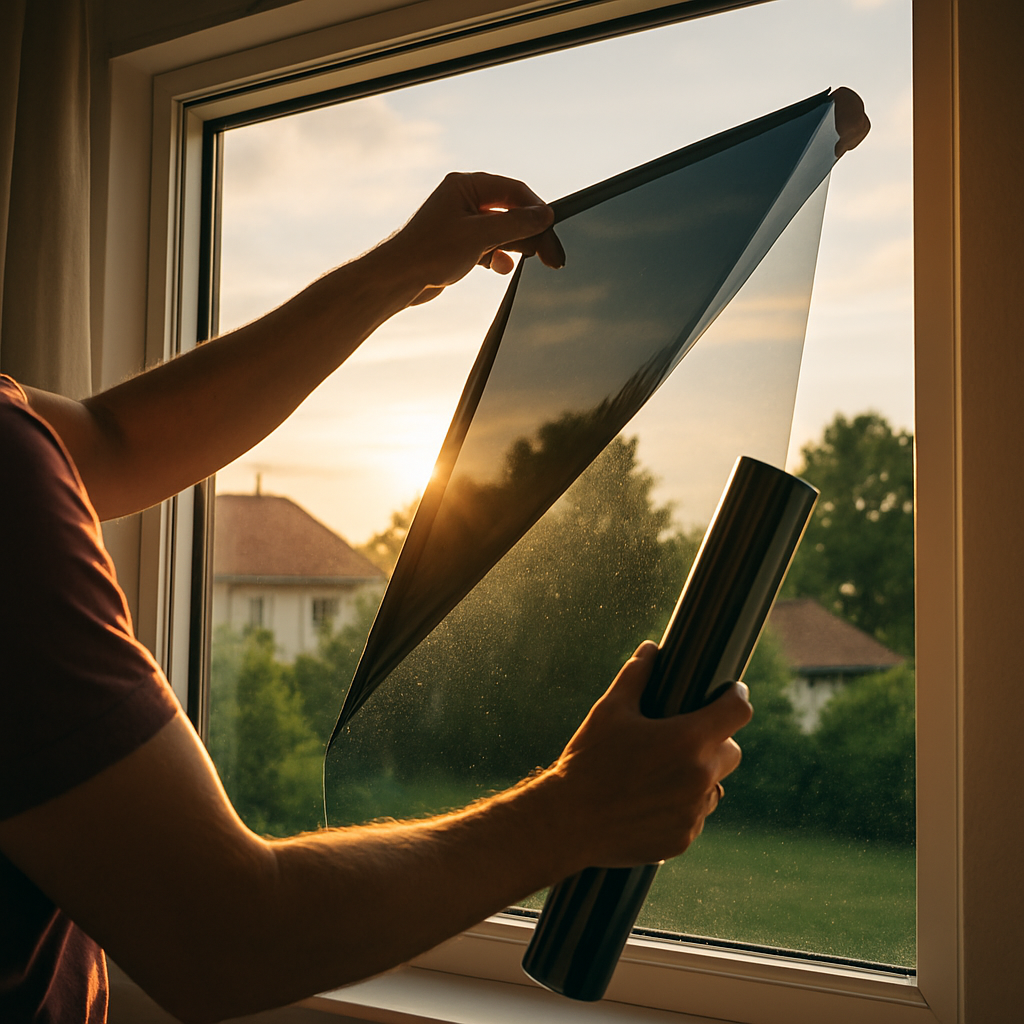
Installed cost range is wide but predictable. Expect installed residential sun control film cost to fall roughly between 4 and 20 per square foot, with most jobs landing in three practical tiers: basic, mid, and premium. Those per square foot numbers are useful, but they are not the whole story — small jobs, removals, access difficulty, and travel add fixed costs that change the final invoice materially.
Price tiers (installed per square foot)
| Tier | Typical installed price per sq ft | Common products and use cases |
|---|---|---|
| Basic entry level | 4 to 7 | Standard dyed or reflective films for glare and UV reduction |
| Mid tier solar control | 8 to 12 | LLumar IR, many 3M value lines for heat reduction with balanced appearance |
| Premium spectrally selective | 12 to 20 | 3M Prestige, LLumar IRX, Vista – max heat rejection with high visible light |
Practical tradeoff to know. The cheapest films save money up front but often reduce visible light or look reflective. Premium spectrally selective films cost more but keep rooms brighter while cutting heat. For many Oregon homes the mid tier delivers the best cost to comfort ratio unless a room needs exceptional daylight retention or you have large west facing glass.
- Hidden cost factors: Minimum service fees commonly add 250 to 500 to small jobs, so a single window can be disproportionately expensive compared to per square foot math
- Access and labor: Windows above the first story, irregular shapes, or required scaffold/lift time increase labor rates and the per square foot price effectively
- Film removal: Existing film removal is usually quoted separately and can add 1 to 5 per square foot or a flat fee depending on adhesive and condition
Concrete examples with transparent math. These use representative per square foot figures of 5 for basic, 10 for mid, and 16 for premium to show how totals look in practice.
- Small home retrofit: 150 square feet (about 10 average windows) results in roughly 750 at basic, 1,500 at mid, and 2,400 at premium. Add 250 minimum and you see the effective per square foot jumps on small jobs.
- Medium house: 300 square feet (20 windows) comes to about 1,500 basic, 3,000 mid, and 4,800 premium. Volume drives down the impact of minimums and travel fees.
- Single large picture window: 40 square feet yields about 200 basic, 400 mid, and 640 premium. For a single feature window premium film may be justified to retain daylight while cutting heat.
Local cost reality. Expect slightly higher installed prices in Central Oregon such as Bend because crews travel farther and jobs often require more setup for wind and access. Insurers and manufacturers also treat DIY installations differently, so a low DIY sticker price can cost you warranty coverage or a reinstallation if it fails.
How film type and brand influence price and performance
Brand and film chemistry determine what you actually get, not just the sticker price. Two films that look similar on paper can behave very differently in day-to-day use — one will cut heat with minimal darkening, another will darken the room and still pass heat through the glass. Choosing the right chemistry for your problem is where most homeowners get value or waste money.
Core film types and the tradeoffs that matter
- Spectrally selective / ceramic: Best at cutting infrared heat while keeping visible light. High upfront cost per panel, low perceived darkening. Good when you want cooling without sacrificing daylight or views.
- Infrared-absorbing / ceramic-IR: A practical middle ground — strong heat rejection, good clarity, lower cost than top-tier spectrally selective films.
- Metalized / reflective: Strong heat and glare control and usually cheaper, but increases reflectivity and can interfere with radio/GPS signals. Appearance and electronic interference are real tradeoffs.
- Dyed films: Low cost and acceptable for glare/UV, but they age and can fade or purple; not a long-term solution where heat rejection matters.
- Safety/security films: Thicker, designed to hold glass on impact. They add cost but deliver a different benefit set — safety and forced-entry resistance — and may be required in flood-prone or burglary-risk installations.
Practical tradeoff to keep in mind: Visible Light Transmittance versus Solar Heat Gain is the central compromise. If you need maximum daylight, spectrally selective products from premium brands deliver the best result — but they cost more and only pay off when solar gain is a real, recurring problem.
How brands map to real-world expectations
Brand choice affects warranty, installer requirements, and long-term performance. Established manufacturers such as 3M and LLumar publish real cut-sheets and require trained installers for full warranties; that reduces your risk of bubbling or early failure. See 3M product pages for specs at 3M and LLumar details at LLumar. The International Window Film Association maintains useful industry standards at IWFA.
| Film Tier | Expected Performance | Visual Effect | When to choose |
|---|---|---|---|
| Spectrally selective (premium) | High infrared rejection, high visible light retention | Minimal darkening, neutral tint | West/south glazing where you want daylight and strong cooling |
| Ceramic / IR (mid) | Good heat rejection, clear appearance | Slight tint, low reflectivity | Most PNW homes where heat is an occasional problem |
| Metalized / reflective | Strong heat/glare reduction but reflective | Mirror-like outside finish, darker interior | Sunrooms, shop windows, where privacy/reflectivity is acceptable |
| Safety / security | Holds shards, adds blast or forced-entry resistance | May be slightly thicker-looking at edges | Ground-floor glazing, hurricane or security concerns |
Concrete Example: A Portland homeowner with a west-facing living room wanted reduced afternoon heat without losing the view. A spectrally selective product from a premium brand (installed by a certified tech) reduced the complaint hours while keeping the room bright. The homeowner paid more up front, but avoided the darker, reflective look they would have gotten with a metalized option.
Common misconception: Thicker film is not automatically better. Thickness and adhesive type matter for security films, but optical performance is driven by the material chemistry and coatings. I see customers choose thick Dyson-style dyed films because they assume thickness equals quality — then they regret the heavy interior tint and short lifespan.
Ask for the exact product model and a manufacturer cut sheet before you compare quotes. Warranties are product-specific and often contingent on certified installation.
Next consideration: When you get quotes, don't compare by price per square foot alone — compare the exact product code, published SHGC/VLT numbers, warranty language, and whether the installer is authorized for that brand. For tips on vetting contractors, see our installer checklist at How to vet local shops and contractors.
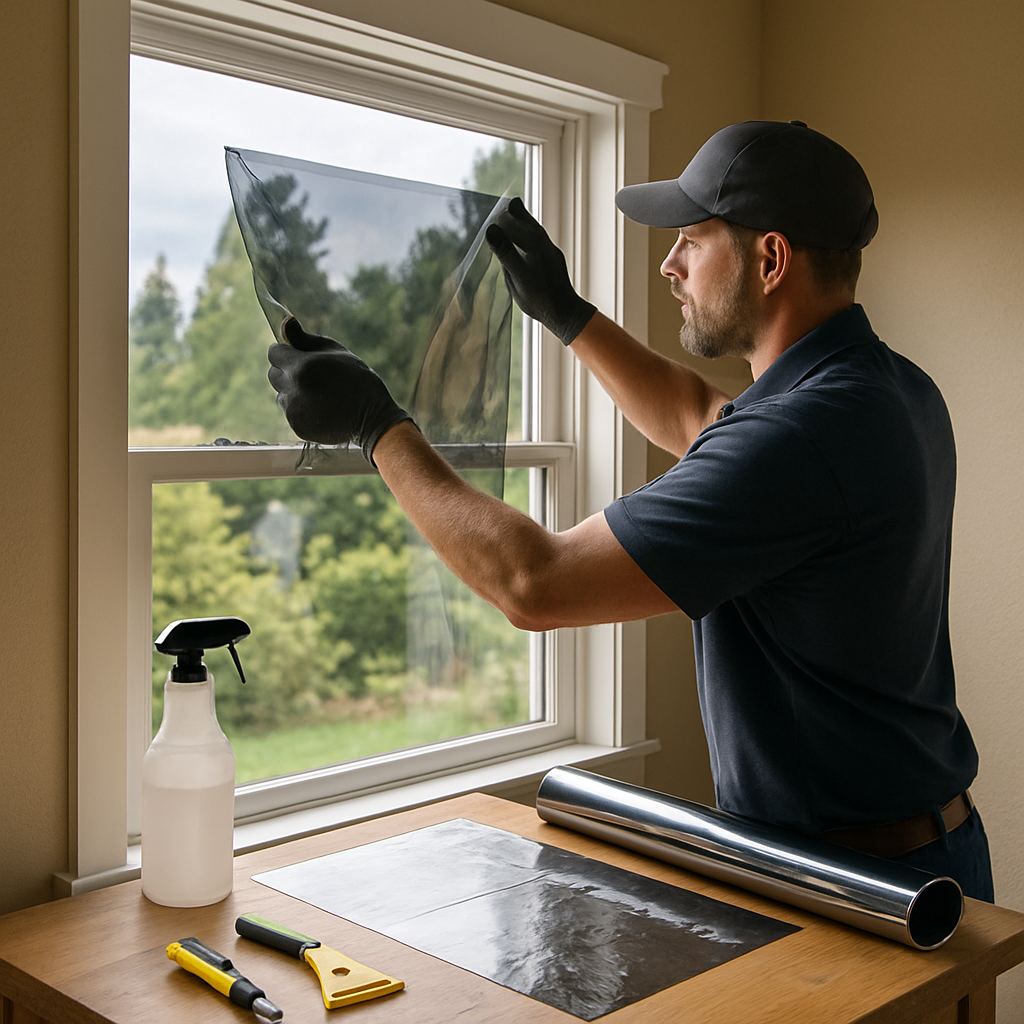
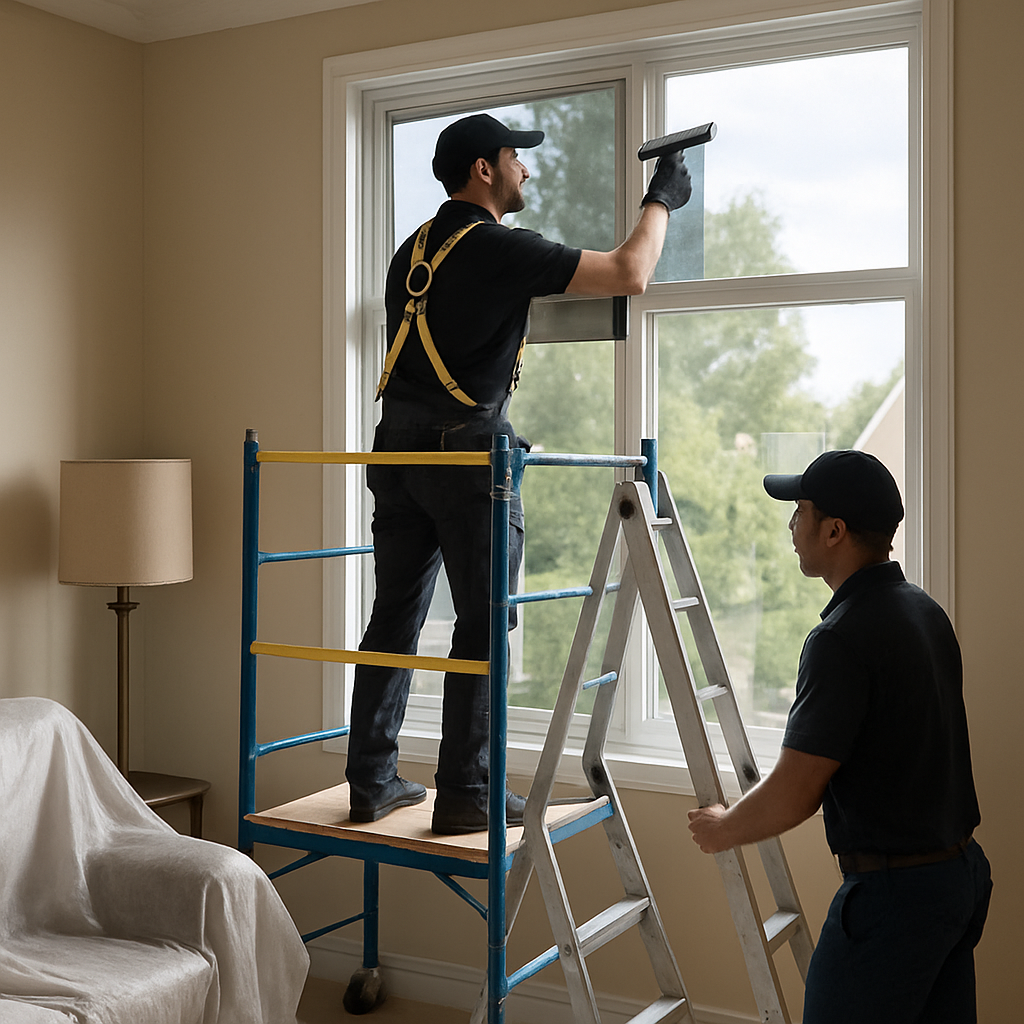
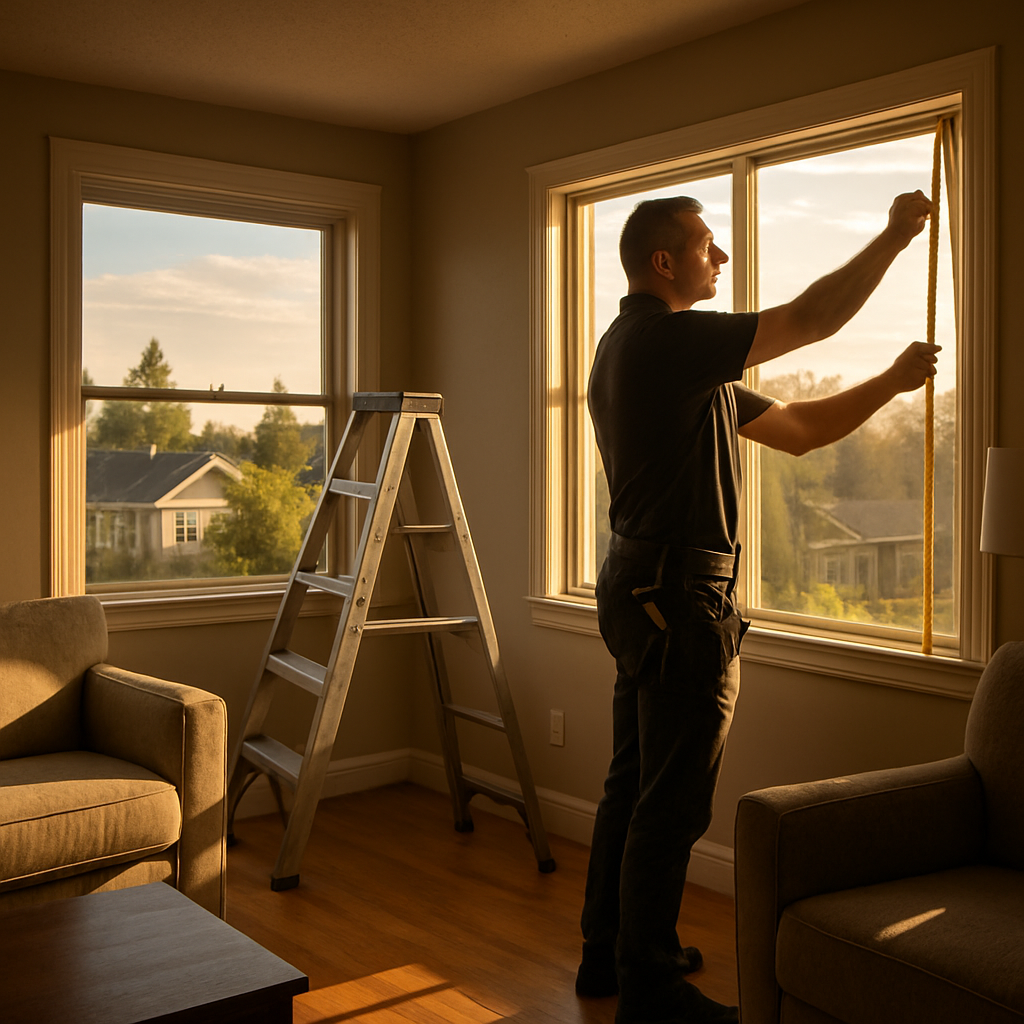
Installation and site factors that drive labor cost
Labor commonly outpaces material cost on residential installs. For many homes the film itself is a minority of the final invoice; the rest is time on ladders, masking, cutting around muntins, and working safely at height. Understand the site factors before you compare per square foot numbers.
Key labor drivers
- Total number of individual panes: Many small panes are slower than a single large sheet of equal area because each cut and edge take time.
- Height and access: Second story or high clerestory windows require ladders, scaffold, lifts, or rope access and often a two person crew.
- Window shape and framing details: Curved glass, muntins, recessed frames, and built in shutters add minutes per window that add up fast.
- Existing film or glass condition: Old film removal is labor intensive and can reveal broken seals or glass pitting that require coordination with glass repair.
- Screens, trim, and furniture removal: If the crew must handle interior staging, move furniture, or remove screens, expect added time and sometimes a separate service charge.
- Weather and working conditions: Cold, rainy, or smoky conditions common in the Pacific Northwest slow work and can force reschedules.
Practical tradeoff to accept: Removing old film increases the immediate labor bill but prevents trapped adhesion and visual defects that otherwise shorten film life or void some warranties. If an installer offers a low-price job that skips removal on visibly degraded film, that is a red flag.
Practical ways to reduce labor charges without sacrificing quality
- Provide clear safe access: Trim vegetation, clear furniture away from windows, and unlock attic or porch access points so crews do not waste time improvising.
- Consolidate work areas for the installer: Group windows by elevation and orientation to avoid repeated setup and teardown of ladders or lifts.
- Accept an on-site measurement appointment: Written estimates produced from measurements save the re-visit charge installers sometimes apply after a surprise finding.
- Ask for an itemized labor estimate: Request time or hourly assumptions per window type so you can see where costs concentrate and decide if simplifying window treatments is worth it.
- Verify removal policy up front: If you need old film removed budget an explicit line item; this avoids surprise charges after film is stripped and problems appear.
Concrete Example: A two story bungalow in Southeast Portland with three large west-facing picture windows plus eight small clerestory panes required ladder work and two installers for a full day. The mid tier film price was reasonable but the crew charged extra for extended ladder time and for removing old, bubbled film on two panes; that access and removal work increased the installed cost by roughly 30 to 50 percent versus a single-story, ground-level job of similar area.
If you want a practical next step, book a site visit and ask the installer to list required access equipment and whether old film removal is included. For vetting local installers see How to vet local shops and contractors and if you are considering anti graffiti or specialty films check Anti Graffiti window film protection.
Additional services and add ons that change final price
Direct cost drivers: Beyond film type and labor, a handful of add ons regularly move a quote by 10 to 60 percent. These are not optional extras in the sense of luxury—they are practical services you may need once the installer inspects your windows. Expect them to appear as separate line items on a professional estimate.
What installers commonly charge for and why it matters
| Service / Add on | Typical price range (per sq ft or flat) | Why it increases the bill |
|---|---|---|
| Existing film removal | $1.50 to $6 per sq ft | Old film adds labor and can reveal damaged seals or glass that require repair before new film |
| Safety / security film (laminated-style) | $6 to $18 per sq ft | Thicker film and adhesive systems plus more precise edge work increase material and installation time |
| Decorative / privacy / frosted film | $4 to $12 per sq ft | Custom patterns, cutting, and alignment take longer than clear solar films |
| Anti-graffiti / sacrificial overfilm | $3 to $9 per sq ft; replacement cycles add cost | Protective layer intended for periodic replacement; lowers repair cost but raises lifecycle expense |
| Scaffold, boom lift or permit fees | $150 to $1,500+ flat | Required for upper story or hard-to-reach work; safety and access increase job cost |
| Warranty registration / transfer fees | $0 to $150 flat | Some manufacturers require registration for full warranty; installers may charge to handle paperwork |
| Coordination with glass repair or replacement | $100 to $600 project coordination | When film removal reveals broken seals, coordinating glass work raises administrative and scheduling costs |
| Disposal and hazardous waste handling | $50 to $250 flat | Old film and adhesives sometimes require proper disposal, especially in larger jobs |
Tradeoff to understand: Adding safety or anti-graffiti film improves resilience but changes lifecycle economics. Security film increases upfront cost substantially and can complicate later glass replacement; anti-graffiti film lowers maintenance downtime but requires scheduled replacement. Don’t assume cheaper solar film plus safety overlay is always the best value—sometimes a single laminated glass replacement or a certified safety film designed for your glass is the smarter long-term buy.
- Warranty and registration: Ask whether warranty activation is included. A small registration fee now avoids disputes later.
- Removal realities: Old film can take more time than installation. If your windows have decades-old tint, budget for removal rather than bargaining it down.
- Access and time windows: Jobs requiring lifts, weekend work, or short scheduling windows cost more; be realistic about access during your estimate.
Concrete example: A mid-century bungalow in southeast Portland requested a spectrally selective solar film for south-facing picture windows. The initial quote was based on clean-install assumptions. On site, the installer found original factory-applied tint and pitted seals; removing the old film and coordinating glass resealing added about $900 to the job and delayed installation a week. The homeowner chose a combined removal-plus-new-install package to keep a single warranty and avoid two contractor mobilizations.
Next consideration: Before signing, ask for product cut sheets and whether the installer will handle warranty registration. For anti-graffiti options see our note on protective films at Tinting Oregon anti-graffiti protection, and if you need help vetting contractors consult our guide at how to vet local shops and contractors.
Realistic strategies to reduce your total project cost
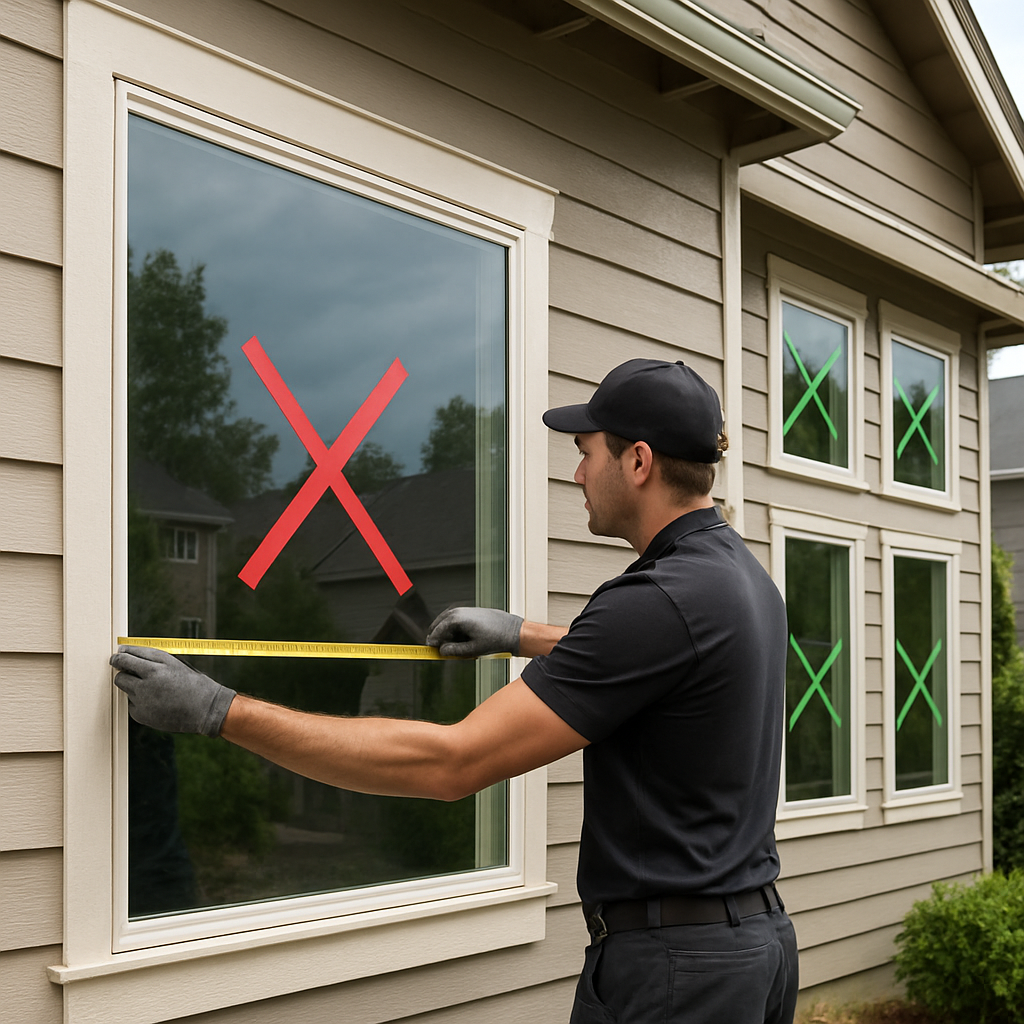
Start with job design, not price haggling. The single biggest saving comes from deciding which glass actually needs premium sun control and which can get a lower-cost film or no film at all. Targeting the worst windows cuts square footage and labor without compromising comfort.
Mix film tiers. Use spectrally selective or premium films on south and west exposures where heat and glare matter most, and use mid-tier films on secondary windows where UV protection or modest glare control is the goal. Mix-and-match reduces total installed cost while preserving performance where it matters.
Practical tactics that actually save money
- Bundle rooms or the whole house. Installers price time and travel; grouping rooms into a single visit usually lowers the effective per-square-foot labor charge.
- Run a small pilot. Fit premium film on two representative windows first. If appearance and performance meet expectations, roll the rest using that mix — avoids expensive full-house rework.
- Request an itemized quote. Insist on separate line items for material, labor per square foot, travel, and existing-film removal so you can negotiate or remove unnecessary services.
- Time the job. Off-peak seasons and weekdays often have more flexible schedules and better pricing than summer weekends when demand peaks.
- Negotiate selective removal. If some existing film is worn only in a few panes, ask the installer to remove only those instead of charging for whole-house removal.
- Combine upgrades for rebates. If you are planning HVAC or insulation work, coordinate installations and check Energy Trust of Oregon for combined incentives that can improve project economics.
DIY selectively, but know the limits. Installing a simple privacy film on a bathroom window can save a few hundred dollars. Do not attempt large, high panes or multi-pane commercial-style films yourself — poor installation leads to bubbles, scrapped film, and voided manufacturer warranties, which quickly erases any upfront savings.
Beware cheap, unbranded film. Lower material cost can hide poor UV performance, rapid delamination, or discoloration. In practice, a slightly higher-quality film from a known brand reduces replacement risk and often costs less over five years than repeated cheap fixes.
Tradeoff judgment: performance versus spread. If your budget is tight, concentrate premium films on the few windows that drive cooling load and glare. Buying premium for every window rarely pays back unless your house has uniformly high solar exposure.
Concrete example: A Portland homeowner with a west-facing living room installed premium spectrally selective film on two large panes and mid-tier film on 10 smaller windows. Upfront cost was about 25 to 30 percent lower than specifying premium across the house, while the living room temperature and glare improved immediately. The mixed approach delivered the most comfort per dollar in real use.
Checklist before you book. Confirm brand and product model, warranty transferability, whether removal is included, expected install duration, and any travel or staging fees for sites outside Portland metro — these details decide the final invoice as much as the quoted per-square-foot rate. See our vetting guide at How to vet local shops and contractors.
Next consideration: Before committing, schedule a short on-site assessment so an installer can sketch the priority map and provide the itemized quote you need to compare true costs and savings.
How to get accurate quotes and vet installers in Oregon
Start by insisting on comparable, itemized quotes. Verbal estimates and vague per-window numbers hide the real differences that drive residential sun control film cost — product model, square footage, existing film removal, travel or minimum charges, ladder or lift work, and warranty labor are the line items that change a lowball estimate into the real price.
What to require in every written quote
- Exact product model – not just a brand name; ask for manufacturer cut sheets or a PDF for the listed film so you can confirm performance claims.
- Installed price per square foot and total – separate labor, materials, travel, and disposal or removal fees so you can compare bids apples-to-apples.
- Scope and exclusions – which panes, whether screens or trim are removed, who is responsible for prep and cleanup, and whether glass repairs are included or excluded.
- Warranty paperwork – include both manufacturer and installer warranties, duration, what they cover (bubbling, delamination, adhesive failure), and whether labor to replace is included.
- Photo documentation – before and after photos included in scope and permission to view recent local jobs or references in Portland, Salem, Eugene, or Bend.
Practical insight – authorization matters. Installers authorized or certified by the film manufacturer are more likely to handle warranty registration correctly. Certification is not a guarantee of quality, but if a shop refuses to name the exact film model or supply cut sheets, treat that quote as low-trust.
Red flags and tradeoffs to watch
- Suspiciously low per-sqft price – often excludes removal, vertical-lift work, or a shorter warranty. The initial number looks good until add-ons appear.
- No on-site measure before final price – any installer who refuses a site visit for multistory or complex windows is guessing; guesses become change orders.
- Verbal-only warranty promises – if warranty is not in writing and signed, it is effectively worthless.
- Pressure to sign quickly for a discount – legitimate installers will give time to compare quotes; rushed decisions increase buyer risk.
Limitation to accept up front. An on-site estimate costs time but produces the only accurate installed price. Expect a difference between a ballpark phone quote and a firm, measured quote; budget contingencies for removal and unexpected access needs.
Concrete example: A homeowner in Southeast Portland compared three bids for 150 square feet of mid-tier solar film. Quote A advertised $6 per sq ft but excluded removal and travel, producing a $1,050 final invoice; Quote B listed $10 per sq ft including removal and warranty labor, totaling $1,500 but with a 10-year transferable warranty. The cheaper bid carried the higher risk of hidden costs and no labor coverage on replacements.
Step-by-step vetting checklist
- Get at least three written, itemized quotes that list the exact film model and installed price per square foot.
- Ask for manufacturer cut sheets and verify the film on the quote matches the cut sheet performance numbers.
- Check references and recent job photos for similar homes and climates in Portland, Salem, Eugene, or Bend.
- Confirm installer insurance and business license and request the warranty document that will be recorded with the manufacturer.
- Request a written timeline, site prep responsibilities, and cleanup terms before scheduling.
- If in doubt, consult the IWFA guidance on standards and best practices IWFA.
Where to read more and practical resources. Use the local vetting guide at How to vet local shops and contractors and check available incentives with Energy Trust of Oregon before finalizing your budget.
Final judgment: Price per square foot is only one data point. Insist on an itemized, measured quote, manufacturer cut sheets, and written warranties – otherwise you are budgeting with optimism, not facts.
Why local climate and house orientation matter for ROI
Straight fact: the windows that face south and west produce most of the measurable cooling benefit from sun control film in Oregon. Treating those exposures delivers the fastest payback because afternoon solar gain is the real driver of extra AC runtime, glare complaints, and faded floors.
Climate nuance: Portland, Salem and Eugene have mild summers with intense afternoon sun on west glazing; Bend and Central Oregon get stronger daytime heating and clearer skies which increase peak solar load. Local microclimate matters. A west-facing living room in Bend will see higher peak solar gain and a shorter payback than the same room in a heavily shaded Portland neighborhood.
What specifically changes the return-on-investment
- Orientation and angle: West windows that catch low-angle afternoon sun produce the worst afternoon heat – and the highest immediate value from film.
- Shading and landscape: Deciduous street trees, eaves and neighboring buildings can cut solar exposure enough that film would have a marginal ROI.
- HVAC baseline and usage: Homes with central AC or high cooling bills see faster payback. If a house rarely runs AC, the financial return is weak even if interior feels cooler.
- Glazing and coatings: Low-E or spectrally selective glazing reduces the incremental benefit of film. Older single pane or clear double pane windows show the biggest gains.
- Room function and comfort threshold: Bedrooms used in the evening, family rooms, and sunrooms are higher-value targets than storage or hall windows.
Practical tradeoff: target windows that create real comfort problems rather than applying a single film type to the whole house. In practice, installers and homeowners waste money when they blanket low-exposure windows with premium spectrally selective films. Start with the worst-exposed panes.
Concrete example: A 1,900 square foot bungalow in southeast Portland had roughly 200 square feet of west-facing glass in the living room and dining area. After mid-tier sun control film was installed on those panes the homeowner reported a measurable reduction in afternoon AC runtime. Using a conservative utility bill reduction of about $300 to $450 per year, the $1,600 installed job pushed simple payback into the 3.5 to 5.5 year range. Actual numbers vary – get an on-site estimate for a reliable projection.
Judgment you need to hear: installers sometimes push whole-house installs because it increases ticket size. That can be the right move for a glass-heavy, south-west oriented modern house. For most older PNW homes, a selective approach focused on west and sunroom glazing returns your money faster and keeps upfront residential sun control film cost manageable.
Focus on west and unshaded south glazing where occupants feel heat or glare. Those windows usually give the best balance of cost, comfort, and energy savings.
Next consideration: if your house has mixed exposure – some high-sun rooms and many low-sun rooms – ask installers for a phased plan and itemized pricing so you can treat high-value areas first and defer the rest without losing volume discounts. For a free on-site assessment in our service area see Tinting Oregon.
How Tinting Oregon approaches estimates and installations
On-site measurement is non-negotiable. Tinting Oregon will give a ballpark over the phone for very simple jobs, but every firm, glass type, and house layout in Portland, Salem, Eugene and Bend changes the work involved. A rushed remote quote almost always underestimates labor complexity – expect a later revision if you accept one without a site visit.
What you should see on the written estimate
- Itemized product line. Exact film model, visible light transmittance and main benefit (heat reduction, UV block, safety).
- Per-square-foot materials price and labor pricing. Labor shown separately when windows need scaffolding, lift rental or removal of old film.
- Line items for complexity. Extra charge for fragmented panes, sidelights, transoms, or elliptical glass where cutting and templates add time.
- Travel, minimums, and scheduling window. Bend and Central Oregon jobs may include a travel surcharge or minimum job size.
- Warranty and registration. Which manufacturer warranty is included and whether Tinting Oregon will register it on your behalf.
- Prep and follow-up. Who removes screens, whether the crew will perform a 7–30 day inspection, and what post-install cleaning is included.
Trade-off to understand: Tinting Oregon batches installs geographically to keep prices reasonable in Central Oregon. That reduces travel fees for you, but it means scheduling windows can be wider than a single-day contractor visit. If timing is critical, expect a premium for a prioritized slot.
Practical judgement they apply: For Pacific Northwest homes they typically recommend spectrally selective or mid-tier solar films where homeowners want heat control without darkening interiors. They avoid overspecifying reflective films on houses where view retention and curb appeal matter — performance gains are real, but aesthetic trade-offs cost resale value in many neighborhoods.
Concrete example: A two-story craftsman in southeast Portland requested a remote quote for living room picture windows. When the crew did an on-site review they found laminated glass and narrow muntins that required custom templates and safety film on the lower sash. The final job took two days instead of one, and the installer adjusted the estimate to reflect the extra cutting and lift time; the homeowner accepted the revised, itemized quote and booked the nearest available batch slot.
What they do after install. Techs photograph each treated window, register warranties with manufacturers, and leave spare film and care instructions for the homeowner. They also schedule a short follow-up inspection to check shrinkage, edge adhesion, and any customer concerns within the first month.
Next consideration: Before you accept any quote, ask for the exact product cut sheet, an itemized invoice template, and the installer s standard follow-up timeline so you can compare apples to apples across bids. For local rebate guidance check Energy Trust of Oregon and industry context at IWFA.