
Tint Film Types and Uses: From Glare Reduction to Heat Control
Tint film is no longer a one-size-fits-all solution – different constructions deliver very different results for glare, heat control, privacy, and safety. This article cuts through brand claims to explain dyed, metalized, ceramic, spectrally selective, low-e, and security films, how to read VLT, SHGC, TSER, and U-factor numbers, and which choices make sense for homes and businesses in Portland, Salem, Eugene, and Bend. You will get realistic performance ranges, rough cost and ROI guidance, and a practical checklist to help you choose the right product and installer.
1. Overview of Common Tint Film Constructions and What They Do
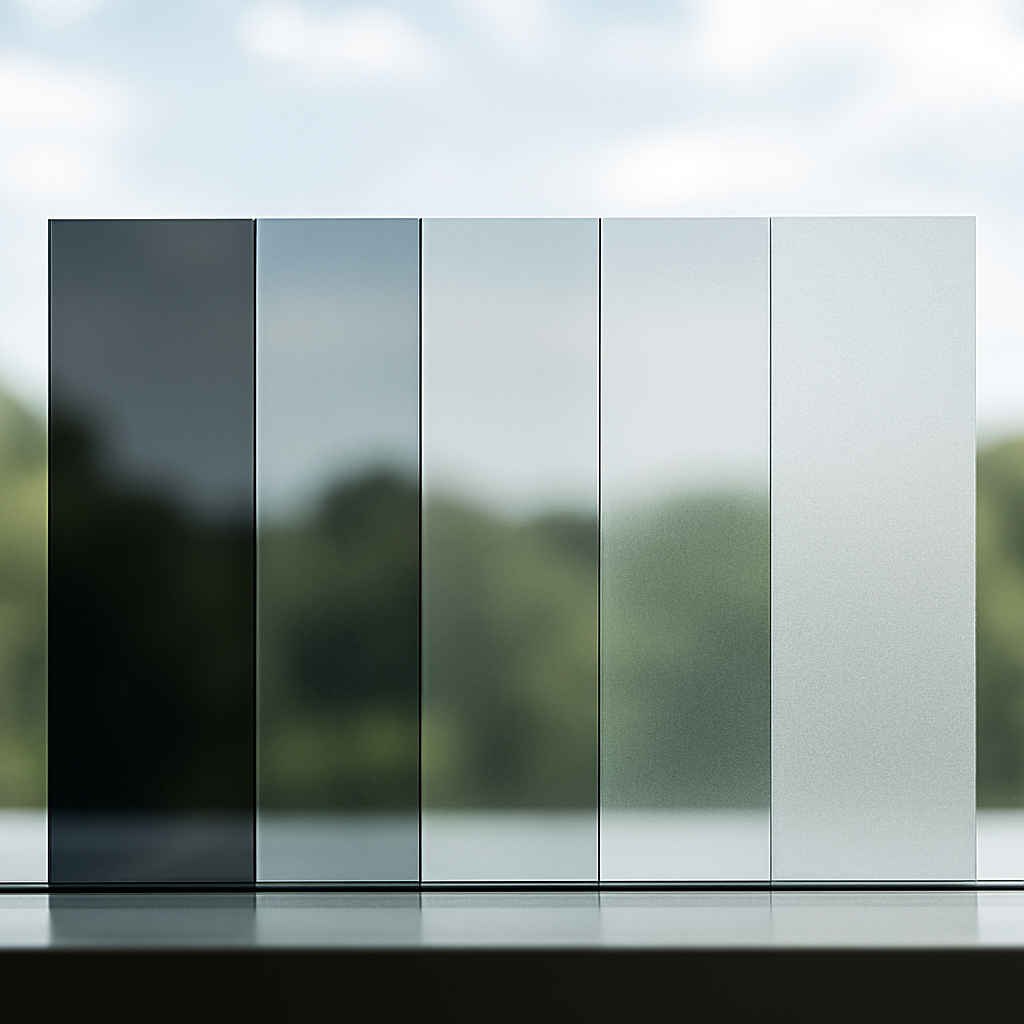
Key point: the construction of a tint film determines performance more than the visible darkness. Two films with the same VLT can behave very differently for heat control, UV blocking, and signal interference because of differences in dye layers, metal coatings, or nano-ceramic particles. Read the construction first, color second.
Common constructions and the practical effect you will see
- Dyed film: inexpensive and basic glare reduction. Appearance: matte, darker interiors. Performance: low heat rejection and limited TSER, tends to fade over time. Use when budget and simple privacy are the priority.
- Metalized film: metal layers reflect solar energy and raise heat rejection. Tradeoffs: can create mirrorlike reflectivity, may cause radio or GPS interference. Good for storefronts where reflectivity is acceptable and durability matters.
- Hybrid film: combines dye and metal layers to balance cost and performance. Outcome: better heat control than dyed alone, less reflectivity than heavily metalized products.
- Ceramic / nano-ceramic film: nonconductive ceramic particles reject heat and infrared with minimal reflectivity and no signal interference. Why installers like it: stable color, strong heat control, and longevity.
- Spectrally selective film: engineered to block infrared while passing visible light. Benefit: high TSER with high VLT, so interiors stay bright while heat drops. Best for daylight-critical spaces.
- Low-e and insulating films: designed to improve U-factor and reduce winter heat loss. When to use: cold inland climates or buildings with single pane glass where heating retention matters.
- Security and safety films: thicker films that hold glass fragments and delay forced entry. Requirement: proper anchoring or channel work to meet performance goals.
- Decorative and privacy films: frosted, patterned, or printed films that control sightlines without major solar performance changes. Ideal for conference rooms and retail branding.
Practical insight: darker is not automatically better for comfort or energy. Homeowners who pick a very low VLT to stop afternoon glare often trade away daylight and create lighting loads. In most Pacific Northwest rooms, a spectrally selective or ceramic film keeps VLT in the 40 to 70 percent range while still cutting heat, which is usually a superior real world tradeoff.
Limitation to consider: metalized films give strong solar rejection but can cause reflectivity objections from neighbors or violate historic district guidelines and some HOA rules. If radio or cellular performance is important, avoid metalized and prefer ceramic or spectrally selective films.
Concrete Example: a west facing Portland storefront with merchandise fading and hot afternoons switched from a dark dyed film to a spectrally selective product such as LLumar CTX. Staff reported fewer complaints about glare, merchandise fading slowed, and the store kept daily daylight for displays. For commercial projects see commercial window tinting for typical approaches.
Next consideration: before you choose a construction, get measured datasheets and a site survey so you can compare TSER, SHGC, and U-factor for the exact glass in your building; that is what separates marketing claims from real installed performance. For technical guidance consult IWFA or schedule an on site assessment.
2. How to Read Film Performance Specs: VLT, SHGC, TSER, U-factor, and UV Block
Start with the number that matches your objective. If your priority is daylight and view preservation, VLT matters. If your priority is lowering cooling load, look at SHGC and TSER. If winter heat retention is the concern, U-factor and low-e performance are the meaningful figures.
What each spec actually tells you
- VLT (Visible Light Transmission): the percent of visible light that passes through the glazed assembly. Higher VLT keeps interiors brighter; lower VLT reduces daylight and increases artificial lighting needs.
- SHGC (Solar Heat Gain Coefficient): the fraction of incident solar heat transmitted inside. Use SHGC when you want numbers compatible with energy models or building code—lower SHGC reduces cooling load.
- TSER (Total Solar Energy Rejected): the percent of incoming solar energy the film rejects. TSER is useful for quick comparisons but can be reported differently by manufacturers, so treat it as directional.
- U-factor: measures heat flow through the window in winter. Films labeled low-e or insulating improve U-factor and reduce heating demand—important in colder, high-elevation areas.
- UV Block: most quality films block the damaging portion of UVA/UVB. This protects furnishings; however, UV block is distinct from thermal control and doesn't guarantee lower SHGC.
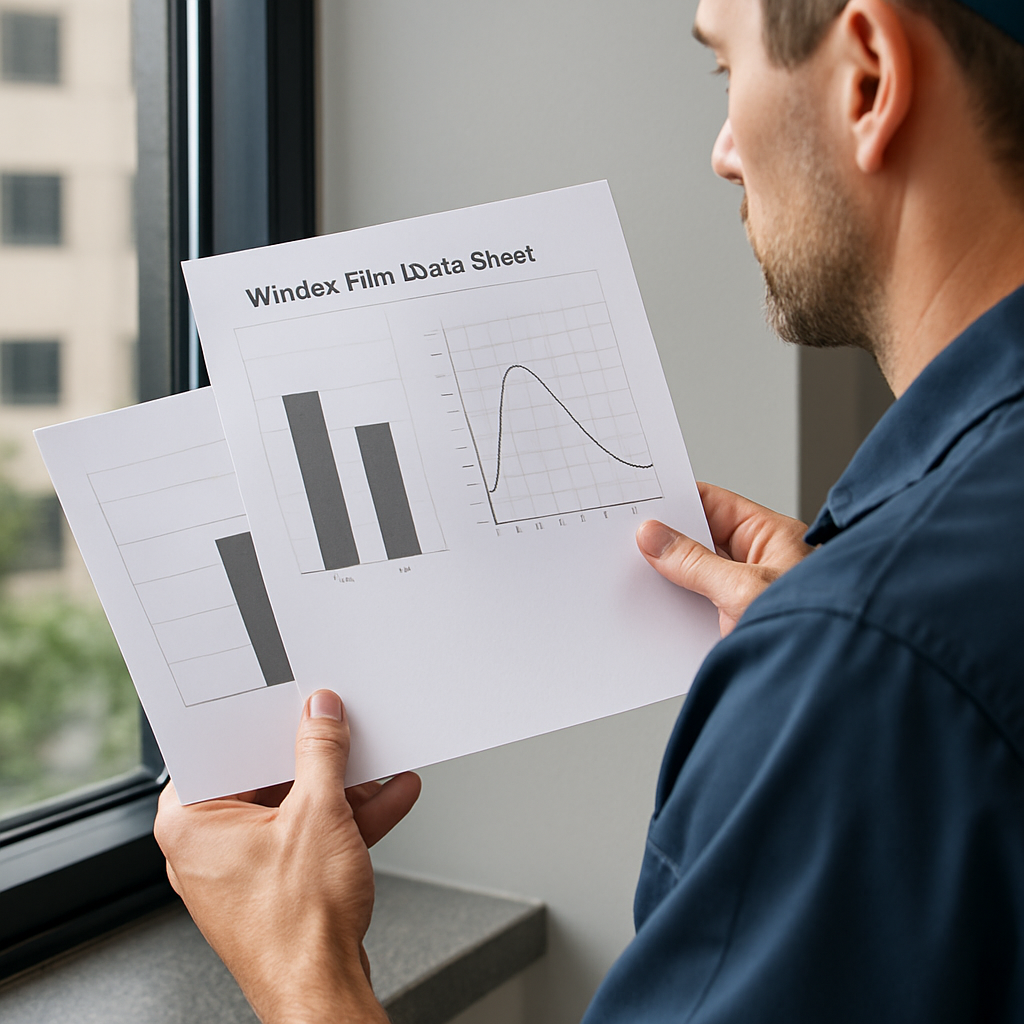
Practical limitation: datasheet numbers are lab values for a specific glass type. Installed performance depends on your existing glazing, frame, gas fills, and even how close to the edge the film is cut. Always request NFRC-rated values or ask the installer to model the film on your exact window assembly.
Trade-off to expect: keeping VLT high while also achieving strong heat rejection requires spectrally selective or advanced ceramic films; dyed or heavily metalized films cannot deliver that combination. If you accept a darker look, metalized films can give strong TSER but may add reflectivity or signal interference.
Concrete example: a third-floor Portland condo with bright west glazing needed afternoon glare control without killing daylight. The owner chose a high-VLT spectrally selective film (3M Crystalline). The result preserved view and interior light while noticeably reducing window-surface heat, avoiding the darker appearance that a low-VLT dyed film would have created.
How to compare datasheets in practice: ask the installer for (1) SHGC and VLT measured on your glass type, not just film values, (2) spectral transmittance curves so you can see infrared rejection vs visible transmission, and (3) any NFRC ratings. If a vendor only shows TSER and VLT without SHGC or spectral data, treat it as incomplete.
Final judgment: use SHGC and spectral curves for energy decisions, VLT for daylight decisions, and U-factor if winter heating matters. The right installer will translate those numbers into a film choice that matches your windows and your real-world priorities.
3. Choosing the Right Film by Goal and Building Type
Decision rule: pick a tint film to solve the specific problem created by the glazing and site, not to match a picture you saw online. Orientation, existing glass construction, occupant needs, and any regulatory or landlord limits determine which film family will actually deliver the expected outcome.
Site constraints that change the recommendation
Glass matters: laminated, low-e coated, or factory-tinted glass interacts with film differently. A spectrally selective film that works well on clear single-pane glass can have diminished returns on low-e units. Always get the installer to model performance on your exact glazing assembly rather than assuming a headline TSER number.
Operational limits and rules: historic districts, HOAs, and some commercial lease agreements restrict reflectivity and visible appearance. Security films need mechanical anchoring to frames in many jurisdictions to meet safety goals. These constraints often rule out otherwise optimal technical choices.
Goal-to-film practical pairings
- Glare with daylight retention: ceramic or spectrally selective films — keep VLT in the 40 to 70 percent band to preserve interior brightness while cutting infrared. Good for living rooms, office interiors, and retail displays.
- Commercial heat control on storefronts: high-TSER ceramic or spectrally selective films — prioritize SHGC reduction and low visible reflectance to protect merchandise without creating a mirror finish.
- Winter insulation for cold inland homes: low-e/insulating films (for example Thinsulate-style products) — these improve U-factor and reduce nighttime heat loss where heating dominates energy use.
- Privacy and branding: frosted or printed decorative films — use for condo balconies, conference rooms, and storefront signage where sightline control matters more than thermal performance.
- Safety and vandal resistance: thicker safety/security films with professional anchoring — select the film thickness and attachment system that meets the hold-back time or blast criteria you need; film alone rarely meets standards unless paired with proper framing work.
Trade-off to accept: films that give top-tier heat rejection while maintaining high visible light require premium spectrally selective or nano-ceramic constructions. Cheaper dyed or heavily metalized films will deliver darkness and some heat rejection but often sacrifice view quality, create reflections, or interfere with signals.
Practical tactic: you do not always need to film every pane. For cost control and minimal visual change, target only sun-exposed façades or the upper third of large panes to reduce surface temperatures and glare while preserving view and daylight at eye level.
Concrete Example: A vintage single-pane house in Bend installed a low-e insulating film to address cold nights and drafty rooms. After installation the occupants reported warmer window surfaces and measurable reduction in overnight heat loss; the film preserved the original sash appearance and avoided the cost and disruption of full window replacement.
Next consideration: if you want a precise recommendation for a specific building, schedule a site survey so the installer can inspect glass type, orientation, and framing. For local projects see residential window tinting or commercial window tinting for common approaches and deliverables.
4. Installation, Warranty, and Long Term Performance Considerations
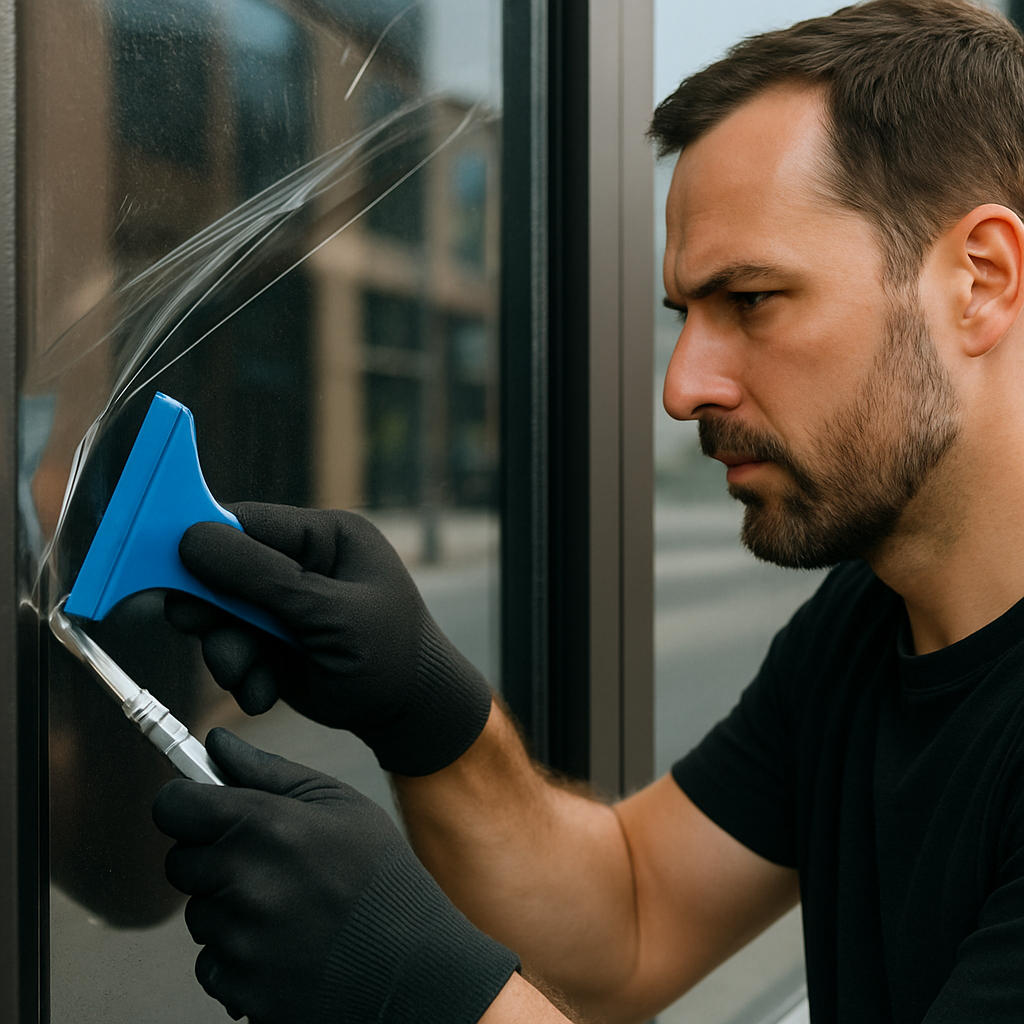
Straight answer: the biggest determinant of long-term performance is the quality of the installation and the glass you start with, not the brand name on the box. Poor prep, cut edges that sit on glazing seals, or trapped contamination produce early edge lift, adhesive failure, and visible defects that no warranty will fully cover.
Installation failures you will actually see
What goes wrong: installers who rush skip substrate checks (hard water deposits, existing seal failure, or temper lines). Result: bubbling, hazing, and premature peeling within months. This is common when DIY kits are used on older or coated glass—savings up front often cost double in rework and voided warranties.
- Installer checklist: confirm glass type, edge condition, and presence of low-e coatings before quoting
- Edge work: insist on proper trimming and sufficient edge clearance or professional edge sealing for exposed seams
- Security films: require mechanical anchoring or channel-retention; film alone usually fails forced-entry targets
- Curing and first clean: wait the manufacturer recommended cure time (commonly 30 days) before aggressive cleaning
Warranty distinctions matter. Manufacturer warranties typically cover film delamination, discoloration, and adhesive failure, but most are conditional on professional installation by a certified dealer and exclude damage from glass replacement, severe thermal stress, or improper maintenance. Installer warranties cover workmanship — ask whether they are transferable and whether coverage is prorated over time.
Practical trade-off: accepting a lower installation price often means a shorter warranty or none at all. If your project uses laminated, heat-treated, or factory-coated glass, cheap installs are the riskiest because those substrates interact with adhesives in ways that require experienced installers and sometimes specialized films.
Concrete example: a small retail owner in Eugene installed a mid‑range automotive-style film with a weekend DIY kit to cut costs. Within six months the film lifted at the edges on several panes, the installer refused warranty work citing improper installation, and the owner paid for a professional reinstall. The pro job included edge sealing and a modelled SHGC report—results lasted the full warranty term. For professional projects see commercial window tinting.
Maintenance that preserves warranties and life: use mild soap and water or manufacturer-approved cleaners, non-abrasive cloths, and avoid ammonia-based products on low-e or decorative films. Do not scrape adhesive from edges; report any edge lift within the installer warranty window.
If you care about long life, budget for a certified installer, an on-site glass inspection, and insist that warranty terms be included in the written proposal before work begins.
5. Cost Ranges, Savings, and Simple ROI Examples
Straight answer: installed tint film costs are modest up front but vary widely by product, complexity, and whether you need anchoring or insulating upgrades — and those variables determine real payback more than brand names.
Typical installed cost tiers (per square foot): budget dyed films generally run low to mid price, mid-tier ceramic/hybrid products sit in the middle, and premium spectrally selective or low-e insulating films carry a clear premium. Security films with mechanical anchoring are priced separately because of labor and hardware.
- Budget (dyed/DIY-capable): approximately $4 to $7/sq ft installed for simple residential panes — lowest capital but faster degradation and limited heat control
- Mid-range (ceramic/metal-hybrid): roughly $8 to $14/sq ft installed — best balance for glare and heat control without signal interference
- Premium (spectrally selective / low-e / Thinsulate-style): roughly $15 to $30+/sq ft installed — needed when you want high TSER with high VLT or measurable U-factor improvements
- Security/safety films: typically $10 to $40+/sq ft depending on thickness, anchoring, and whether channel-retention or retrofit framing is required
Practical trade-off: cheaper film can look acceptable initially but often needs replacement sooner or requires a professional re‑do to cure edge failures — that double spend erodes any short-term savings. Spending for a proper mid- or premium product plus certified installation usually reduces lifecycle cost and preserves warranty value.
Concrete Example: a west-facing living room in Portland with 50 sq ft of glazing chose a mid-range ceramic spectrally-improved film at $12/sq ft (installed cost $600). With reduced peak solar gain the household cut summertime AC runtime and electrical load; measured electric savings plus reduced UV damage to furnishings produced a simple payback in about 6–9 years depending on thermostat behavior and utility rates. The owner valued the retained daylight and reduced surface temperatures more than the raw energy rebate.
Alternate scenario — Bend winter focus: for a single-pane home in Bend, targeting night heat loss with a low-e insulating film at $22/sq ft for 40 sq ft of high-loss glass ($880 installed) can shorten payback because heating is the dominant load. In practice, the owner saw faster perceived comfort gains and a modest heating bill reduction; the non-energy benefit of warmer window surfaces made the investment feel worthwhile even where measured annual energy savings were moderate.
Judgment you need to accept: in western Oregon the ROI on heat‑rejection films is usually marginal when measured only by HVAC dollars unless you have large glazed areas with strong solar exposure. Non-energy returns — occupant comfort, reduced fading, and avoided window replacement — are often the decisive value drivers. In inland or high-elevation homes where heating dominates, low-e/insulating films produce the clearest, fastest paybacks.
How to get a realistic ROI: request installer-modeled SHGC and U-factor for your specific glazing, a written breakdown of installed square footage and labor, and conservative utility assumptions. Also factor in potential rebates or incentives and the cost of rework if you consider DIY kits; manufacturers often require certified installation for full warranty coverage (see Energy Saver for general guidance).
6. Practical Use Cases and Sample Product Matches
Match the film to the specific problem and the site constraints. Below are five realistic scenarios with a recommended product family, why it fits, and the practical tradeoffs you should expect during selection and installation.
Portland condo – bright west living room
Recommendation: 3M Crystalline or similar high-VLT spectrally selective film. These films reduce infrared heat and surface temperature while keeping visible light and views. Tradeoff: higher upfront cost versus dyed film, but you avoid a dark interior and signal interference.
Salem retail storefront – fading merchandise and peak heat
Recommendation: Solar Gard Ultra Performance or LLumar CTX spectrally selective films. Prioritize low visible reflectance and strong infrared rejection to protect displays and keep daylight. Consideration: if the storefront is historic or in a district with reflectivity limits, confirm allowable appearance before specifying a metalized option.
Eugene office – balanced daylight and occupant comfort
Recommendation: 3M Prestige Series or LLumar CTX to achieve high TSER with high VLT. These films reduce glare enough for screens without resorting to very low VLT. Limitation: spectrally selective films reduce solar heat but will not eliminate mid-day glare; plan for task lighting or adjustable shades for peak sun angles.
Bend historic house – preserve sash and reduce night heat loss
Recommendation: 3M Thinsulate Climate Control or equivalent low-e insulating film to improve U-factor and warm window surfaces. Tradeoff: these films help winter comfort more than summer cooling; expect modest summer TSER improvements compared with ceramic films.
Commercial entrance or high-risk storefront – forced entry and vandal resistance
Recommendation: 3M Safety and Security Series in the thickness specified for your protection goal, plus mechanical anchoring or channel retention. Important constraint: film strength alone is rarely sufficient; proper anchoring and frame work are required to meet real security objectives.
- Quick pre-selection checklist: Request installer-modeled SHGC and VLT for your exact glazing assembly rather than film-only numbers
- Signal check: if cellular or GPS is critical, prefer ceramic or spectrally selective over metalized films
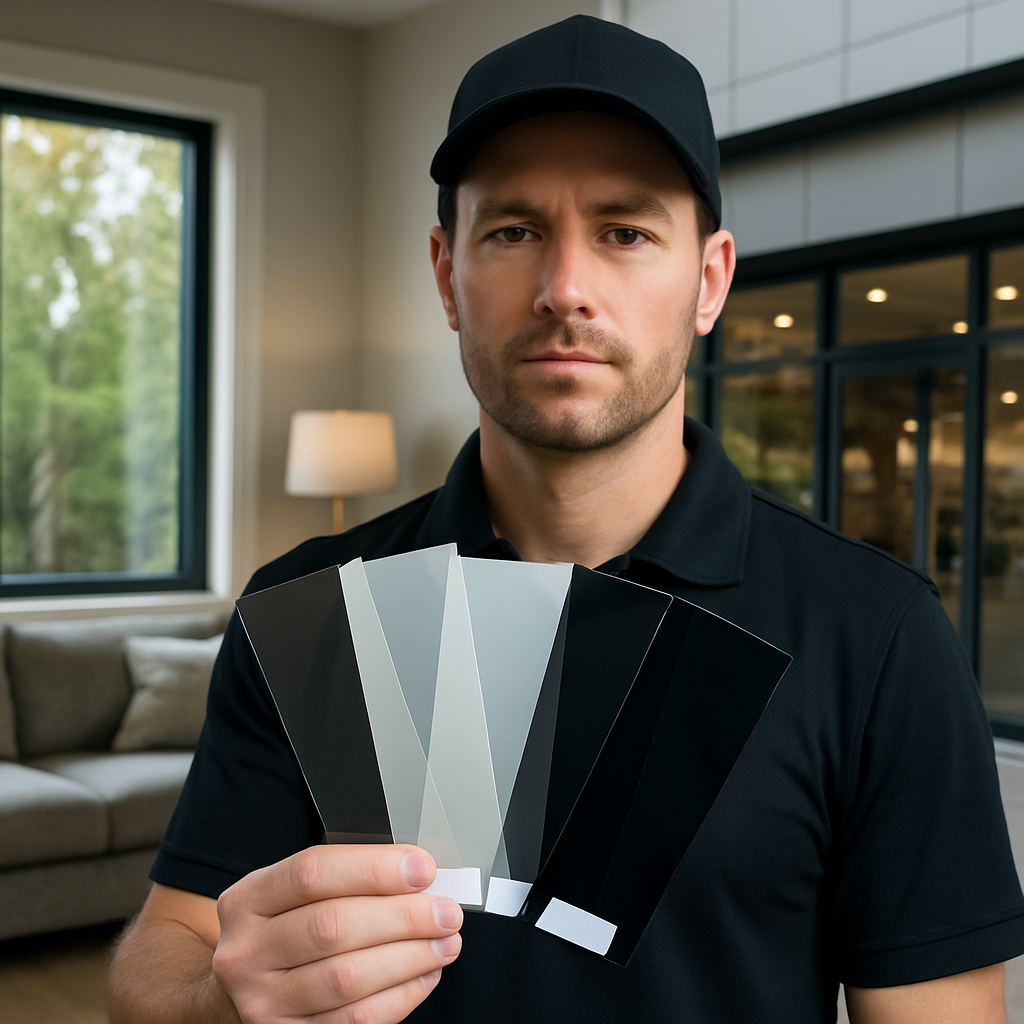
- Trial pane: have the installer apply a sample to one representative window to confirm appearance before committing to a full installation
- Regulatory check: verify HOA or historic district limits on reflectivity and visible appearance
Concrete example: A Salem boutique installed LLumar CTX on eighteen large display windows. Light quality in the showroom stayed natural, staff reported lower surface temperatures along the front counter, and fading of garments slowed. The store did not see large HVAC savings immediately, but employee comfort and reduced product damage justified the spend.
7. Local Considerations and Next Steps for Oregon Property Owners
Local priorities vary by microclimate. In Portland, Salem, and Eugene the problem is often afternoon solar gain and glare on west and southwest facades; in Bend and Central Oregon the priority frequently shifts to reducing overnight heat loss and improving perceived thermal comfort on single pane or older double pane windows.
Practical tradeoff to accept: choose films based on the dominant seasonal load for the affected glazing, not on a single metric like VLT. A spectrally selective or ceramic film is the right choice when you need daytime brightness and heat control in western Oregon; a low-e insulating film is more effective for winter U-factor gains inland.
Site survey essentials
What the installer must check on site. Orientation, actual glass construction (laminated, low-e, tempered), edge condition and seal integrity, visible obstructions or overhangs, HVAC zoning and occupant schedules, and whether cellular or GPS performance matters in the space.
- Gather evidence: collect recent energy bills and snap photos of problem windows during the time of day you notice the issue
- Flag constraints: note any HOA, historic district, or lease restrictions that limit reflectivity or visible change
- Request modeled numbers: insist the installer model SHGC and VLT on your exact glazing instead of relying on generic film-only specs
- Trial panel: require a sample application on a representative pane to confirm appearance and adhesion before full deployment
- Confirm warranty scope: get written manufacturer and installer warranty terms that name the products and are conditional on certified installation
- Schedule acceptance testing: include a short follow-up after curing to verify appearance, edge adhesion, and to record any changes in occupant comfort or surface temperatures
Limitation to note: if your building sits in a historic district or under a strict HOA, many high-reflective metalized films will be disallowed. In practice this eliminates some high-TSER options and steers the recommendation toward low-reflectance spectrally selective or dyed-ceramic hybrids even when pure heat rejection would be higher.
Concrete example: a two story storefront in central Portland sought to reduce display fading without triggering historic review. The owner had the installer provide a scaled mockup showing final appearance on the facade, a modeled SHGC for the existing single pane glass, and a 12 month trial panel. The approval process was fast because the mockup proved low reflectance and the trial confirmed no disruptive glare to the street.
Judgment for procurement: vendors who only hand you film-only TSER or VLT figures are not providing enough information. Insist on modeled assembly values, spectral transmission curves, a visible sample on your windows, and installer certification. That is the minimum to protect performance and warranty.
Further reading and prep: before the visit review practical guidance on measurable film impacts from the U S Department of Energy at Energy Saver and the International Window Film Association at IWFA. Bring any relevant building rules to the consultation so the installer can propose compliant film options.