
Storefront Window Film Installation: Protect Displays and Cut Energy Bills
If your storefront fights glare, fading merchandise, or rising summer cooling bills, storefront window film installation is one of the fastest, least disruptive retrofits that delivers measurable results. This article explains how different film types block UV and solar heat, when security films make sense, and what realistic energy savings and payback look like for retail windows in Portland, Salem, Eugene, and Bend. You will also get a practical installation checklist and contractor-vetting questions so you can compare proposals, warranties, and true costs.
How storefront glazing impacts displays, comfort, and operating costs
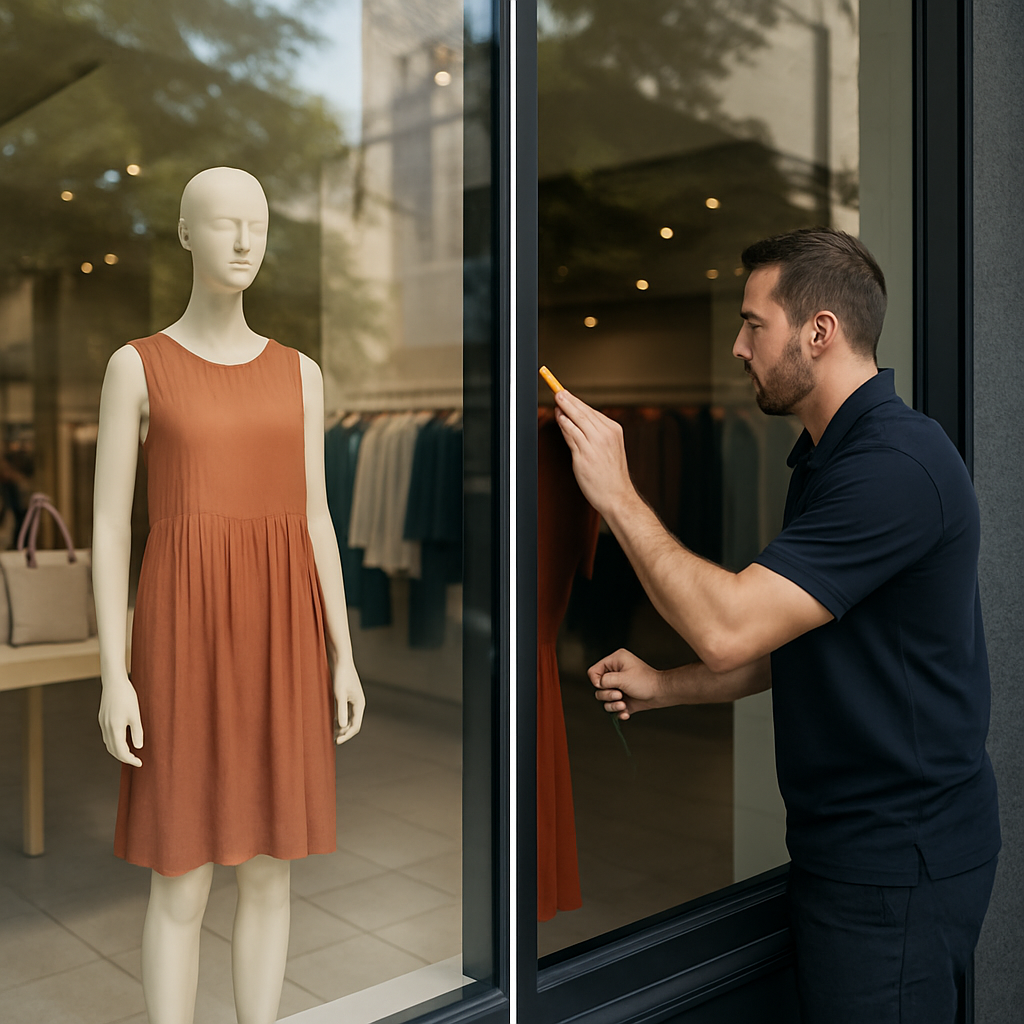
Clear fact: a single large storefront pane is usually the dominant driver of localized heat gain, UV exposure, and glare on the sales floor. Sun through glass delivers ultraviolet radiation that fades fabrics and printed materials, infrared energy that raises interior temperatures, and high visible brightness that ruins product photography and drives customers outside.
UV and fade control: most quality commercial films block greater than 99 percent of UV, which materially slows fading for textiles, signage, and leather. See the International Window Film Association for industry guidance on UV metrics International Window Film Association. Blocking UV alone is not enough; films that also reduce infrared transmission protect merchandise from heat-driven color change and shrinkage.
Solar heat and comfort tradeoff: solar control and spectrally selective films can reduce the solar heat gain through glazing by roughly 30 to 60 percent depending on the product and orientation. That cuts peak cooling load coming through those windows, but it does not substantially change the glass U-factor unless you choose a low-e film. In short, films reduce incoming heat and glare; they are not a retrofit replacement for insulated or already-laminated glazing when winter R-value matters.
- Orientation matters: west-facing storefronts take the worst late-afternoon heat and glare in Oregon and see the biggest immediate benefit from solar control window films.
- Visible light vs heat: reflective or dark films lower visible light noticeably; spectrally selective films cost more but preserve daylight while rejecting heat, which is important for merchandising.
- Glazing condition first: cracked seals, loose frames, or single-pane assemblies change outcomes; repair or document framing before film installation to avoid warranty and durability problems.
Concrete example: a 10 ft by 12 ft west-facing display window (about 120 sq ft) in Portland exposed to late-afternoon sun typically produces the highest cooling stress on a small retail space. Applying a mid-tier spectrally selective film that reduces solar heat through the glass by ~30 percent will often reduce peak heat load through that opening by around 15 to 25 percent, improving customer comfort near the window and easing short-duration peak runtime on the HVAC system.
Practical judgment: many retailers pick the cheapest dark film and then regret the loss of display clarity and reduced foot traffic. If merchandising and photography matter, spend on spectrally selective or clear UV protection films rather than high-tint reflective films. Also, do not skip a contractor site survey; orientation, neighboring buildings, and interior lighting all change which film type produces the best net outcome.
Which film types work best for retail storefronts and why
Short answer: Spectrally selective solar films give retail storefronts the best mix of heat rejection, visible light retention, and display-friendly daylight. For stores that need maximum merchandise visibility and protection from fading, these films outperform heavily reflective tints and plain UV-only films in real-world use.
Film types, attributes, and when to use them
- Spectrally selective solar films: High infrared rejection with relatively high visible light transmittance – best for boutiques, galleries, and any storefront that needs daylight with lower heat. Examples: 3M Window Films Prestige Series, LLumar Vista.
- Clear UV-blocking films: Nearly invisible, blocks >99 percent UV, no major dimming – good where preserving look is critical but heat reduction is a secondary goal.
- Security / anti-shatter films: Thicker polyester films (often 7 mil to 12 mil or more) that hold glass fragments together. Use for high-value displays or smash-and-grab risk – requires proper anchoring to frames to be effective.
- Low-e (emissivity) films: Improve winter thermal performance and reduce radiant heat transfer. Useful when improving comfort year-round matters, but choose carefully since benefits vary with glass construction.
- Decorative and frosted films: For privacy, branding, or wayfinding. Use vinyl or printed films and perforated vinyl for one-way graphics – trade-off is lower daylight and some glare issues.
- Reflective films: High solar rejection but can create mirror-like surfaces that reduce storefront visibility and often clash with merchandising goals or historic storefront guidelines.
Key trade-off to accept: You cannot have maximum heat rejection, maximum visible daylight, and absolute clarity all at once. In practice you choose two. Spectrally selective films are the sensible compromise for most retailers because they reject infrared heat while preserving visible light; reflective films give stronger heat reduction but at the cost of visibility and aesthetics.
Practical limitation for security films: Thicker safety films slow entry but are only effective when paired with frame reinforcements or anchoring systems. Installing a 12 mil security film on a poorly seated aluminum frame delivers far less delay than the same film with a full perimeter attachment.
Concrete Example: A west-facing boutique in Portland kept daylight and reduced glare by specifying LLumar Vista on its display windows, which maintained high visible light transmittance so product colors stayed true while lowering heat and glare during afternoon hours. A neighboring store in a higher-risk neighborhood chose a 12 mil LLumar safety/security film on the same storefront but had the installer add frame anchoring hardware to meet the expected delay performance.
What I recommend in practice: Start with spectrally selective films for general-purpose storefronts, add clear UV-only film where historical appearance is paramount, and reserve security film where theft risk justifies the added cost and required frame work. Ask for manufacturer spec sheets and warranties and get a site survey before picking a product – see our guidance on vetting local contractors at Window Tinting Place Near Me: How to Vet Local Shops and Contractors | Tinting Oregon.
Estimating energy savings and calculating ROI for a retail storefront
Start with realistic expectations: energy savings from a single storefront window are modest unless you are treating large areas or multiple façades. The correct approach is a simple, repeatable calculation tied to either measured cooling usage or a conservative kWh per square foot assumption, then layering on non-energy benefits like UV protection and theft delay when you calculate payback.
Step-by-step method to estimate savings
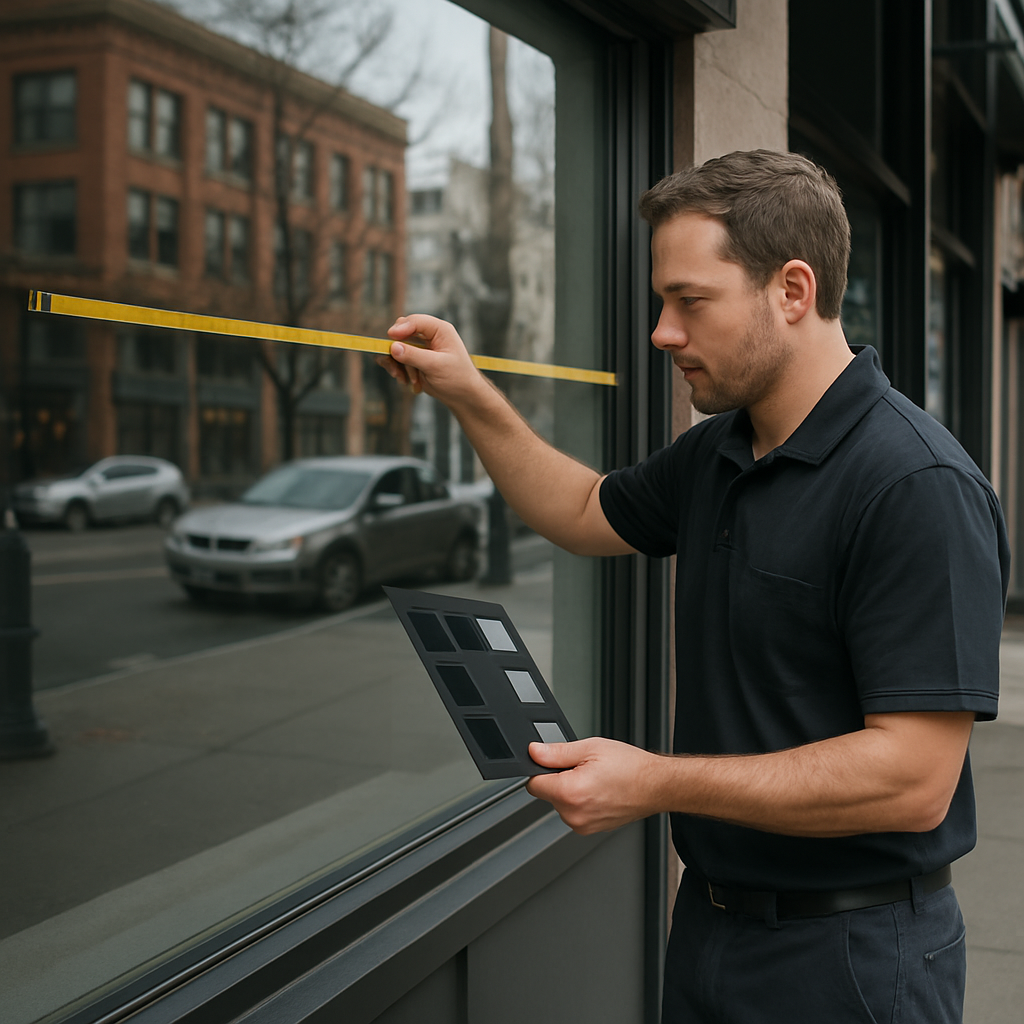
- Measure glass area and orientation: record square footage for each treated pane and note cardinal direction – west and southwest exposures matter most in summer cooling loads.
- Choose a baseline energy figure: use either the portion of HVAC kWh attributable to the storefront from utility bills or a conservative rule of thumb such as 8-12 kWh per sq ft per year for sunlit, single-pane facing glass in Oregon.
- Select an expected solar control percentage: use manufacturer performance for the film you plan to install – typical ranges: economy films 15-25 percent cooling reduction, spectrally selective 30-45 percent, clear UV-only 0-10 percent, security films 10-30 percent depending on product.
- Convert to dollar savings: multiply kWh saved by your commercial rate. If you do not have a rate, use $0.12/kWh as a conservative Portland-area estimate.
- Calculate simple payback: divide installed cost by annual dollar savings. Then evaluate non-energy benefits and incentives from Energy Trust of Oregon to adjust payback.
Concrete Example: A west-facing display window 10 ft by 12 ft is 120 sq ft. Using a conservative 10 kWh per sq ft per year assumption gives 1,200 kWh baseline. At $0.12/kWh that is $144 per year attributable cooling cost. If you install a mid-tier spectrally selective film that reduces cooling load by 35 percent, annual savings are 420 kWh or about $50. If the film costs $900 installed, simple payback is about 18 years; an economy film at $300 with 20 percent savings pays back in about 10 years, and a thick security film at $1,200 with 25 percent savings pays back in more than 30 years on energy alone.
Practical trade-off: do not judge film solely on energy payback for single windows. In small storefronts energy savings alone often produce long paybacks. Combine the energy calculation with the value of fade prevention, glare reduction for sales conversions, and security enhancements – those non-energy benefits frequently justify choosing a higher-performing film even when pure energy ROI looks weak.
What changes the math: larger continuous glazing areas, strong afternoon sun exposure, high HVAC costs, and long operating hours shorten payback. Also check for local incentives before deciding – Energy Trust of Oregon programs and manufacturer rebates can materially change payback and make spectrally selective films the sensible choice.
How storefront window film protects merchandise and improves merchandising outcomes
Immediate benefit: quality storefront window film cuts the invisible causes of merchandise damage—UV and solar heat—while giving you practical control over glare and sightlines that directly affect sales floor appearance and photography.
What merchandising teams actually gain: less fading of textiles and prints, more consistent color in product photography, more usable display hours during peak sun, and fewer surprise losses from sun-damaged stock. Those are measurable business outcomes, not marketing fluff.
Practical merchandising outcomes and trade-offs
- Fade control: Most commercial films block >99% UV, which materially slows color loss on fabrics and paper-based signage—so you replace or rotate less often.
- Glare and photography: Glare reduction films lower specular highlights and improve camera exposure. Trade-off: some anti-glare coatings shift color temperature slightly; pick films with neutral color balance for product shots.
- Visibility vs protection: Dark, reflective films reduce heat but also reduce window pull. For merchandising, aim for higher VLT films (for many boutiques that means 60% VLT or higher) so displays remain inviting.
- Branding and wayfinding: Decorative films, perforated vinyl, and custom window graphics let you use the storefront for promos without sacrificing underlying UV protection. Consideration: perforated vinyl reduces nighttime visibility from inside.
Practical insight: retailers often assume darker is safer. In practice, overly dark films kill impulse viewing. Spectrally selective or clear UV-blocking films give the best compromise: strong heat/UV control with minimal visible dimming, preserving curb appeal.
Concrete example: A west-facing fashion boutique in Portland tested a small panel of spectrally selective film on one display bay. Over three months the store manager reported cooler display mannequins on peak afternoons, noticeably fewer faded swatches after a summer season, and steadier results when shooting product photos—so they rolled the film across the full storefront the next quarter.
How to validate for your store: run a simple fade test and a photo test before committing. Place representative fabric swatches and signage in the window, record baseline photos, and monitor over 8–12 weeks with and without film applied. Use a handheld UV meter if available and request manufacturer spec sheets during your site survey.
Security and anti-shatter films: reducing smash-and-grab vulnerability
Direct point: Security or anti-shatter films do not make glass bulletproof; they change the failure mode. Instead of glass breaking into a hole the instant it is struck, the film holds shards together and forces an attacker to work longer and with more tools to get through.
Why that matters: For retailers the practical benefit is delay and reduced fragmentation. Delay gives time for alarms, CCTV, and police response to work. Reduced fragmentation lowers injury risk for staff and customers and reduces cleanup and liability exposure after a break-in.
Installation realities that determine performance
Key installation point: Film performance is only as good as the attachment to the frame. A thick security film glued to glass but not mechanically anchored to the frame will often fail quickly under brute force. Real security retrofits combine film with perimeter anchoring, edge seal, or a channel system to convert the glass into a delay-resistant element.
- Film thickness trade-off: 7–8.5 mil films are common for retail storefronts; they balance clarity and delay. 10–14 mil films increase delay but are costlier and can change optical clarity.
- Frame condition matters: Old, corroded, or loose frames are the weak link. Budget to repair or reinforce framing before film application.
- Compatibility check: Verify glass type and tempering; some heat-treated or insulated units need special handling. Ask your installer about temper stress testing.
- Perimeter anchoring: Use adhesive plus mechanical anchors or an edge-retention system for meaningful forced-entry delay.
Practical limitation: Security film is a delay measure, not a replacement for laminated safety glazing or physical shutters. If code, structural glazing requirements, or insurance demand laminated glass, film is a lower-cost interim solution but not a direct substitute.
Concrete example: A downtown Portland boutique switched from nightly plywood boarding to an interior-applied 8 mil safety film with continuous silicone edge seal and reinforcing channel. The owner reports they no longer need boarding, and the film integration preserved curb appeal while enabling alarm sensors and cameras to detect attempts sooner.
| Film thickness (approx.) | Typical retail use-case | Trade-off |
|---|---|---|
| 7–8.5 mil | General retail displays, night-board alternative | Good clarity, moderate delay, lower cost |
| 10–14 mil | High-value storefronts, jewelers | Greater delay, heavier appearance, higher cost |
| Laminated/glazed replacement | Code-required security or structural needs | Maximum protection, highest cost, replaces film |
Actionable judgment: If your priority is both deterrence and storefront aesthetics, specify a mid-thickness security film installed with perimeter anchoring and insist on a site survey that documents frame condition and mounting details. Use manufacturer-rated products (for example 3M safety/security films or LLumar safety/security lines) and ask for documented training and references from your installer. If you need help vetting contractors in Oregon, start with our local vetting guide Window Tinting Place Near Me: How to Vet Local Shops and Contractors | Tinting Oregon.
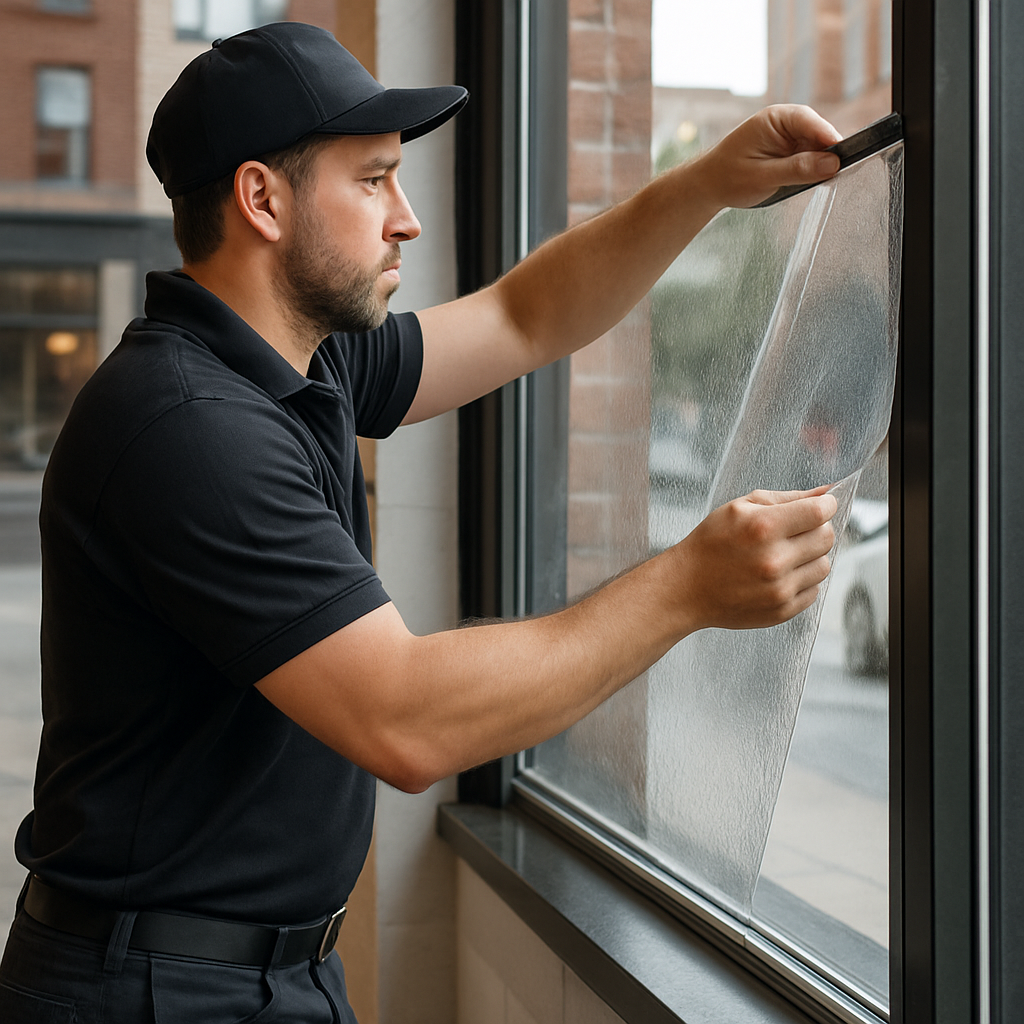
Security film works best as part of a layered approach: quality film + frame reinforcement + alarms/CCTV. Alone it only delays, but used correctly it materially reduces smash-and-grab vulnerability.
What to expect during installation and how to minimize business disruption
Expect predictable disruption, not chaos. A typical interior storefront window film installation is a controlled process that installers can complete with the store closed overnight or in short zones during business hours.
Quick installation timeline
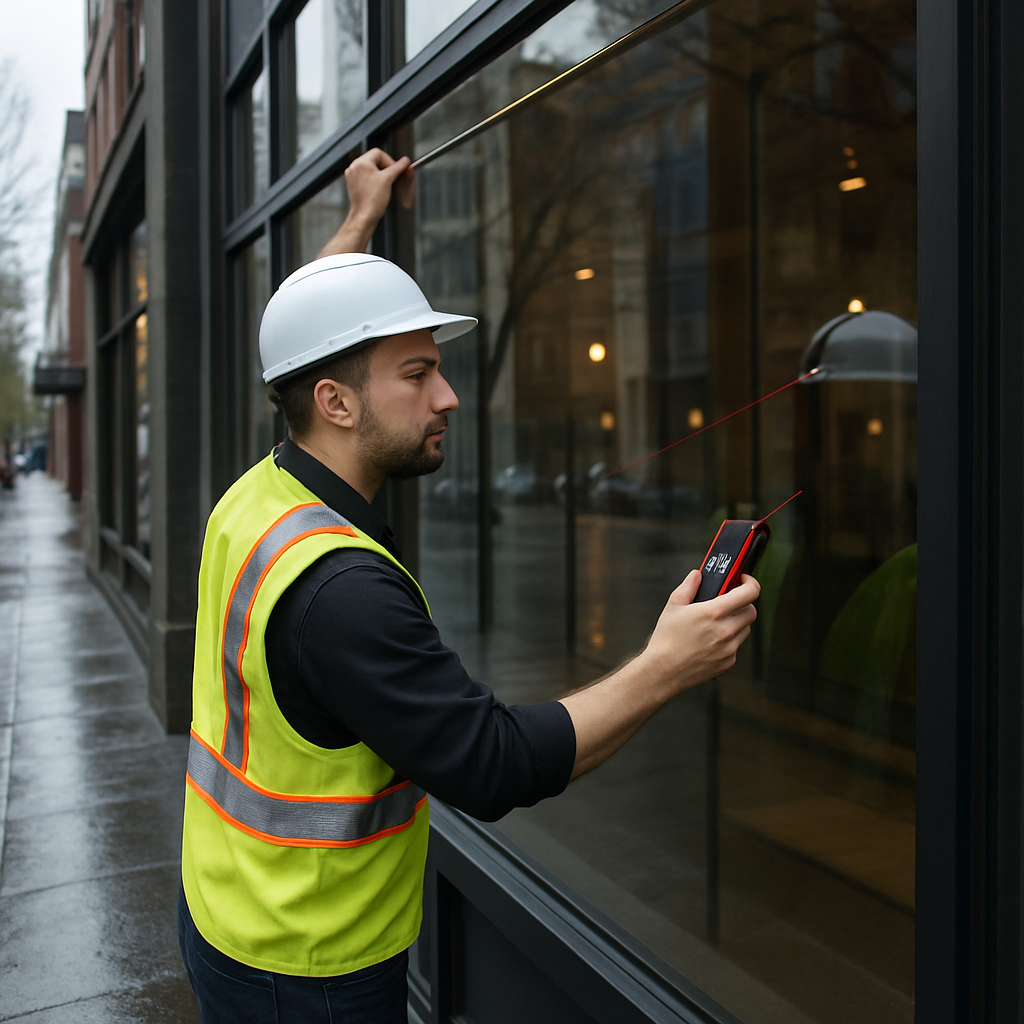
- Pre-survey and measurements: Installer documents glass sizes, orientation, frame condition, and whether panes are tempered or laminated.
- Sample or demo: Apply a small film sample if requested so you can confirm VLT and appearance under your lighting.
- Scheduling and prep: Decide hours (overnight vs staged daytime work), move displays from glass, remove decals or hardware if needed.
- Surface prep and application: Clean, squeegee-apply film, trim, and edge-seal. Small storefronts typically finish in 4–8 hours; larger jobs are split into zones.
- Curing and inspection: Film may need 24–72 hours to settle; final walkthrough, touch-ups, and photo documentation complete the job.
Practical trade-off: Scheduling overnight reduces customer impact but adds labor premium and may limit immediate corrections. Daytime, zone-based installs let you inspect with staff present but you will have foot-traffic interruptions.
Important limitation: Some films and security applications require frame reinforcement or edge-sealing that adds time and cost and can require temporary closure of the storefront. Exterior-grade security films frequently need scaffold access or lift equipment; those jobs are longer and noisier.
Concrete Example: A downtown boutique with a 20-ft frontage (five 4 ft x 6 ft panes) scheduled an interior 3M Prestige Series install overnight. Crews finished application and trimming in six hours, performed a morning walkthrough with the manager, and left photographic documentation. The store opened with displays covered for 2 hours while edges cured — negligible lost sales and minimal staff disruption.
- Contractor checklist at survey: confirm film model and warranty, inspect glazing seals, note adjacent signage or shelving, identify tempered panes, and get a written schedule with cure times.
- Minimizing interior risk: remove small fixtures, place soft coverings over merchandise, and turn off HVAC or coordinate ventilation when installers use squeegees and solvents.
- Customer-facing details: require installers to post temporary signage, keep a clean work area, and provide a contact for same-day issues.
Final judgment: Low bids that promise same-day full cure or insist on working through peak shopping hours are red flags. Use the pre-survey to compare written scopes, include manufacturer training and warranty, and start the quote process through Tinting Oregon so you get a realistic schedule and documented expectations.
Selecting and vetting a contractor in Portland, Salem, Eugene, and Bend
Start with credentials, not price. Low bids are common on storefront window film installation, and the cheapest quote often omits critical prep, manufacturer-certified installers, or transferable warranties. Ask early for proof of manufacturer training for the exact product they propose to install; without that, many warranties will be void.
Insurance and local licensing matter. Require current general liability and workers compensation certificates, and confirm the contractor carries auto and commercial property coverage. For projects in city centers like Portland or Eugene, ask about bonding and any local business licenses – it reduces your risk if something goes wrong on site or during a rainy-season install.
Practical vetting steps
- Get manufacturer verification: Request written confirmation from the film manufacturer that the installer is certified for the named product.
- Check recent local references: Ask for three retail storefront projects in your city, with contactable references and before/after photos.
- Demand a line-item proposal: The proposal must list film brand/model, thickness, VLT or SHGC values, labor, edge-seal method, and warranty terms.
- Confirm warranty transferability and exclusions: Clarify what voids the warranty – e.g., failure to install edge seal, pre-existing glazing damage, or improper cleaning.
- Service and response time: For Portland and Bend, require a stated response window for repairs or delamination issues; local climate and UV cycles create different failure modes and you want quick service.
Compare proposals on three dimensions, not one. Price, product, and installer skill all matter. If two proposals use the same film, choose the installer with documented manufacturer support and local retail references. If an installer pressures you to choose a film because it is easier for them to install, treat that as a red flag.
- Red flag: No on-site survey or measurements before quoting – quotes should be based on measured glass area.
- Red flag: Vague warranty language – insist on exact duration and what is covered in writing.
- Good sign: Willingness to do a small pilot or sample panel on a single window, especially for specialty films or historic glazing.
Concrete example: A west-facing boutique in Southeast Portland received three bids. The low bid used an economy clear UV film with a 3-year warranty and no manufacturer certification. The winning bid specified 3M Prestige Series, included a manufacturer-certified installer certificate, a 10-year warranty, and offered a sample panel on the storefront corner. The higher up-front cost avoided a likely re-do within five years.
Trade-off to accept: Longer warranties and certified installers increase first cost. That upfront premium usually pays off because installation errors – poor edge sealing, incorrect squeegee technique, or unaddressed perimeter seal failure – are the most common causes of early film failure, not the film itself.
Next practical step: When you are ready for quotes, request an on-site survey through the Tinting Oregon quote page and ask for a pilot panel or staged schedule that minimizes disruption during peak retail hours.
Local project template and metrics to include as a case study
Start with the problem statement: define the store location, orientation, and the measurable symptoms you want to fix — fading, heat on the sales floor, glare hotspots, or smash-and-grab vulnerability. A case study without a clear before condition is just marketing.
Minimum dataset to collect
- Site metadata: city, address, storefront orientation, glazing square footage, single vs insulated glass, and frame type
- Baseline evidence: 6–12 months of utility bills or a representative summer bill, photos showing glare/fade, and on-site temperature readings during peak sun
- Film spec sheet: brand and model (for example 3M Prestige Series or LLumar Vista), VLT, SHGC or solar heat rejection, UV rejection percentage, film thickness
- Security details if relevant: film thickness in mils, anchoring or edge-seal method, and any frame reinforcement notes
- Operational context: hours open, HVAC setpoints, typical interior layout and merchandise near the glass
Practical metric set: go beyond percent statements. Report VLT change, SHGC before/after, measured surface temperature reductions in degrees F, estimated kWh saved, and a simple dollar payback using local rates. Include warranty terms and installation date for lifecycle context.
| Metric | Economy film | Mid-tier spectrally selective (example: 3M Prestige Series) | Security film |
|---|---|---|---|
| Installed cost (sample 120 sq ft) | $600 | $1,800 | $2,400 |
| Typical VLT change | -5% | -2% (preserves daylight) | -8% |
| Estimated SHGC reduction | 10% | 35% | 20% |
| UV rejection | 99% | 99%+ | 99% |
| Conservative annual energy saved (kWh) | 150 | 1,000 | 300 |
| Estimated annual savings ($0.12/kWh) | $18 | $120 | $36 |
| Simple payback (years) | 33 | 15 | 66 |
Concrete example: A west-facing boutique in Portland with a 10 ft by 12 ft display used 3M Prestige. After installation the owner documented a visible surface temperature reduction of 8 to 12 F on the display zone and estimated about 1,000 kWh saved annually, producing a 12–18 year simple payback depending on labor and incentives. They also noted improved product photography because VLT stayed high while infrared rejection rose.
Trade-off to call out: higher-performance spectrally selective films cost more upfront but preserve daylight and deliver the best mix of comfort and merchandising benefit. Security films improve safety but are a poor payback purely on energy savings. Pick the performance metric that matches your primary objective, not the cheapest sticker price.
- Data request checklist for a publishable case study: pre/post utility bills, before/after photos with timestamps, film product spec sheet, installer report, HVAC runtime notes, and customer testimonial
- Analysis notes to include: assumptions used to convert SHGC reduction to kWh, local rate used, whether savings are modeled or measured, and any incentive documentation from Energy Trust of Oregon
Next step for readers: if you want a case-ready survey, request an on-site assessment that collects the dataset above; use the Tinting Oregon quote form Request a Quote and reference the data checklist when you book.
