Gresham Window Tinting: Energy Savings and Privacy Options for Local Homes
If south- and west-facing windows leave your Gresham home too warm or your furniture faded, window tinting in gresham oregon is a practical retrofit that delivers immediate glare reduction, UV protection, and measurable energy savings. This article lays out realistic savings for our Pacific Northwest climate, compares privacy and film options by room, and gives clear cost, payback, and installer questions so you can decide whether a retrofit is the right next step.
Why window tinting makes sense for Gresham homes
Straight to the point: window tinting is a low-disruption retrofit that often delivers the biggest comfort improvement for the least cost in Gresham homes. It addresses afternoon heat and glare on west- and south-facing glass, blocks damaging UV that fades floors and upholstery, and can reduce HVAC runtime when windows are a primary source of solar gain.
Local climate and where tinting helps most
Local context matters. Gresham sits in the Portland metro climate: warm, sunny summer afternoons and cool, cloudy winters mean windows both drive heat gain in summer and matter for insulation in winter. Films that focus on solar control reduce peak cooling needs, while some insulating films modestly reduce winter heat loss. See NOAA climate normals for the Portland area and technical notes from the Efficient Windows Collaborative for the underlying physics (NCEI climate normals | Efficient Windows Collaborative).
Practical limitation to accept up front: if your house already has high-performance low-e double-pane glass, incremental energy savings from tinting will be smaller. Tinting delivers the most value where glass is single-pane, older sealed units, or where large unshaded west/south exposures drive peak heat and glare.
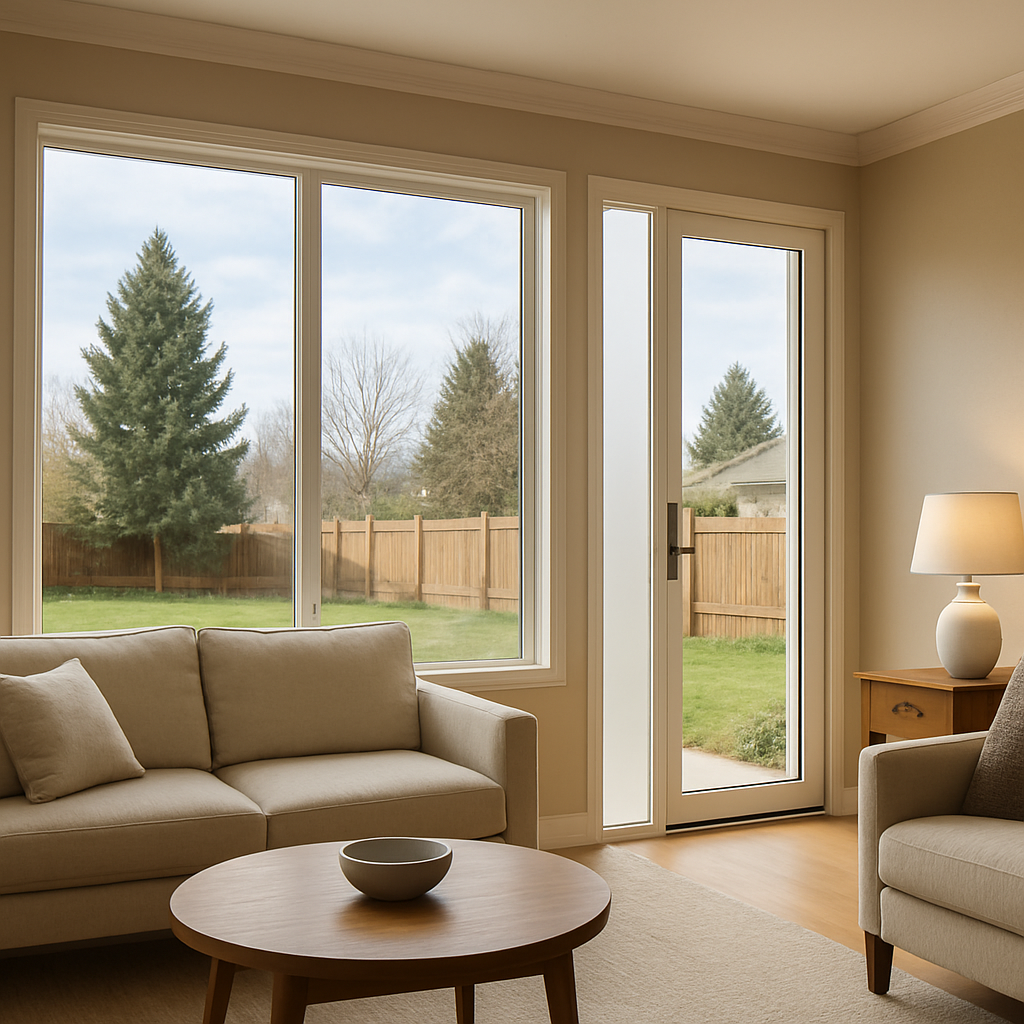
- West-facing living rooms: install spectrally selective or ceramic films to cut afternoon heat and glare while keeping natural light.
- South-facing picture windows: use high solar-control films if you have direct sun most of the day; consider decorative or low-reflectance options if curb appearance matters.
- Bedrooms and street-facing windows: frosted or privacy films deliver daylight with daytime privacy in denser neighborhoods like Rockwood or Old Town Gresham.
- Bathrooms and sidelights: translucent decorative film is cheaper than new glass and preserves light.
Concrete example: in a typical Gresham living room with a 60-square-foot west-facing picture window, installing a quality ceramic film that cuts solar heat gain by roughly 50–60 percent will noticeably reduce glare and can lower peak indoor temperatures by several degrees during hot afternoons. In practice that often translates to reduced AC runtime and an estimated modest portion of annual energy savings (whole-house impacts commonly fall in the 5–15 percent range when windows are a major heat pathway).
Trade-offs and things that catch homeowners by surprise: reflective metalized films give strong solar control but change exterior appearance and create nighttime privacy reversal when interior lights are on. Some films can affect window warranties or make condensation more evident on older units. Always confirm compatibility with your window manufacturer and choose interior-mounted films installed by professional technicians to avoid warranty issues.
Judgment you can act on: prioritize treatments for the largest, sun-exposed glass areas first — west and south exposures — and pick spectrally selective or ceramic films when you want daylight without the heat. Get an on-site measurement and a sample before buying; cheap dyed films sound attractive but age poorly and rarely deliver the same energy or UV protection as premium ceramic or spectrally selective products.
How window film reduces energy use and protects interiors
Mechanics of control: Window film reduces the amount of solar energy entering a room by targeting three things at once – visible light, near infrared heat, and ultraviolet radiation. By lowering the glass Solar Heat Gain Coefficient (SHGC) and rejecting infrared, film shortens cooling system runtime on sunny Gresham afternoons. By blocking UV it also slows fading of carpets, upholstery, and artwork.
How the layers work in practice
- Visible light control: reduces glare and lets occupants keep the thermostat a few degrees higher without losing daylight.
- Infrared rejection: drops the radiant heat load that causes rooms to overheat in late afternoon – this is the feature that most directly reduces AC runtime.
- UV blockage: blocks up to 99 percent of UV energy on high quality films which preserves fabrics and finishes.
- Insulating benefit: some thicker or multi-layer films add marginal R value to single pane and older double pane windows but cannot fully replace the performance gap of a new insulated window.
Practical insight and tradeoff: You cannot get peak solar control and maximum daylight at the same time. High solar rejection films cut heat but often reduce visible light transmission. For Gresham homes where daylight matters more than mirror-like reflectivity, spectrally selective or ceramic films deliver the best compromise – strong heat and UV control with higher visible light transmission and low exterior reflectance.
Realistic savings and a concrete example
Typical results: High performance films reduce solar heat gain through glass in a wide range – roughly 30 percent up to about 78 percent depending on product and orientation according to the Efficient Windows Collaborative. Whole-house energy savings in Pacific Northwest mixed climates typically fall in the 5 to 15 percent range when windows are a major contributor to heat gain and loss.
Concrete example: A 1,500 square foot Gresham bungalow with about 300 square feet of exposed glazing – mostly west facing – installs a midrange ceramic film. Installed cost at $10 per square foot would be roughly $3,000. With a conservative 40 percent reduction in solar heat gain through those windows, the household might see $150 to $350 of cooling cost reduction the first year and noticeable peak temperature control. That produces a simple payback in the high single digits to low teens in years if heating and cooling patterns stay typical.
What often gets misunderstood: Film is not a cure for poor window frames or single pane conduction losses. If heat loss through frames or edge seals drives your winter bills, film helps a little but replacing windows or addressing air leakage will pay back faster. Also, reflective metalized films can solve heat but create exterior glare and sometimes trigger HOA friction. For Gresham neighborhoods where appearance matters, choose low-reflectance ceramic or spectrally selective options.
Next consideration: Focus film work on the glass that causes the problem – south and west exposures, sunlit rooms with fading, and large picture windows. Ask installers for measured SHGC and visible light transmission numbers for the exact product and sample panes so you can compare tradeoffs before you buy. For local vetting guidance see Window Tinting Place Near Me: How to Vet Local Shops and Contractors.
Privacy options and recommended placements by room
Direct point: Privacy needs are different for each room and the wrong film choice is the most common regret. Pick films by how much daylight you need, whether you want outward visibility preserved, and how the finish looks from the street — those three constraints determine the right product more than price alone.
Practical rules of thumb
- Daytime vs night trade-off: One-way vision or highly reflective films give daytime privacy but reverse at night when interior lights are on. If you want 24/7 privacy, choose frosted or opaque decorative films instead.
- Light versus secrecy: Higher privacy usually means lower visible light transmission (VLT). If you rely on natural light, prefer spectrally selective or low-reflectance privacy films that block solar heat and UV while keeping rooms bright.
- Street curb appeal and HOA: Reflective or mirror-like finishes can violate HOA rules or irritate neighbors. If exterior appearance matters, use low-reflectance privacy or decorative frosted films.
- Security where needed: For ground-level windows and sliding doors, choose thicker safety/security films (7–12 mil) that also offer privacy when combined with a translucent finish.
- Compatibility: Interior-mounted films are the standard for residential tinting in Gresham; confirm with your installer that the film is safe for your window type and will not void double-pane warranties.
Room-by-room recommendations
- Bathrooms and entry sidelights: Frosted or decorative privacy film is the simplest solution — it preserves daylight while completely blocking view. Use actual patterned or acid-etched-look films for better longevity than cheap vinyl.
- Bedrooms: Low-reflectance privacy films or high-VLT ceramic films balance privacy with natural light. For street-facing bedrooms where night privacy is essential, combine window treatments with film for complete control.
- Living rooms and west-facing windows: Choose spectrally selective or ceramic privacy films to reduce glare and heat without darkening the room. Avoid glossy metalized films on street-facing living rooms unless you are comfortable with a mirror-like exterior.
- Home office: Prioritize anti-glare, high-VLT films so screens remain readable without full blackout. If you need daytime privacy for video calls, decorative top/bottom banding or half-frosted panels work well.
- Sliding glass doors and patios: Pair safety/security film with a translucent privacy layer. This preserves daylight while improving break-in resistance and keeping passersby from seeing inside.
- Nursery and kids rooms: Favor high UV rejection (up to 99 percent) and moderate VLT so rooms stay bright but furnishings are protected. Avoid extremely dark tints where visual contact from outside is sometimes needed.
- Ground-floor storefront-style windows: Use frosted or patterned decorative film for consistent privacy and a clean exterior look that meets most municipal and HOA expectations.
Concrete Example: A bungalow in Old Town Gresham had a west-facing living room and direct sidewalk exposure. The homeowner installed a spectrally selective privacy film on the large panes and a frosted film on the entry sidelights; daytime glare and passersby visibility dropped sharply while the living room stayed bright in late-afternoon sun. At night the family still uses blinds for total privacy, which avoided the nighttime reversal problem entirely.
Next consideration: Pick the three rooms where privacy matters most, ask your installer for full-size sample panels, and bring any HOA guidelines. When you are ready, request an on-site assessment from Tinting Oregon and read our vetting guide for local shops Window Tinting Place Near Me: How to Vet Local Shops and Contractors. For UV and performance reference, see the ENERGY STAR guidance on window film at fans/windowfilm target=_blank>ENERGY STAR.
Film types, performance differences, and example products
Not all window films behave the same. Your choice changes visible light, solar heat rejection, exterior appearance, and long-term durability — and those trade-offs matter in Gresham where summer solar control and winter daylight both matter.
Core film categories and what they actually do
Dyed films. Low upfront cost and reduced glare, but they work by absorbing light which means darker rooms and a tendency to fade, bubble, or discolor over 5–7 years in real installations. Choose only for low‑budget projects where longevity and precise optical clarity are not priorities.
Metalized films. Good solar and IR rejection for the money and very durable. Trade-offs: increased exterior reflectivity (HOA red flags) and possible radio/GPS interference in vehicles if applied to automotive glass. Solid choice for garages, shop windows, or properties where the mirrored look is acceptable.
Ceramic and spectrally selective films. Highest practical performance for residential retrofit: they block large fractions of IR and UV while keeping visible light high, with low reflectivity and no signal interference. They cost more, but in most Gresham homes they preserve views and daylight while cutting heat — which is why professionals recommend them for living rooms and sunrooms.
Safety and security films. Thick polyester films (typically 4–12 mil) are about glass retention after breakage, not solar control. They help with forced-entry resistance and shattered-glass containment but add little to visible-light control unless combined with a solar film laminate.
Decorative and frosted films. For room-level privacy without heavy darkening. They diffuse daylight and are inexpensive to replace, but they do not provide the same solar heat reduction as spectrally selective or ceramic films.
| Film type | Typical installed cost / ft² | VLT (approx.) | Solar heat reduction | Practical notes / example products |
|---|---|---|---|---|
| Dyed | $3–6 | 10%–50% | 20%–40% | Cheap glare control; examples: basic LLumar dyed lines; not recommended for long-term exterior-looking installations |
| Metalized | $4–8 | 10%–60% | 30%–60% | Good durability and heat rejection; reflective finish can trigger HOA attention; examples: Solar Gard metalized lines |
| Ceramic / Spectrally selective | $8–15+ | 30%–80%+ | 40%–78% | Best clarity-to-performance ratio; low reflectivity; examples: 3M Prestige Series (3M) and Huper Optik (Huper Optik) |
| Safety / Security | $6–18 | N/A (varies) | Limited unless laminated with solar film | Use where breakage or forced-entry resistance matters; combine with solar films for dual benefit |
| Decorative / Frosted | $3–7 | Diffuses light | Minimal for heat | Best for privacy on entry sidelights, bathrooms, and street-facing windows |
- Real-world limitation: Ceramic films perform well but come at a premium; expect installed costs to be 2–3x dyed films. They repay value when preserving daylight and view matters more than absolute darkest tint.
- Practical trade-off: Reflective metalized films reduce heat effectively but increase exterior mirror effect — this can cause HOA objections and change curb appeal permanently.
Concrete example: A west-facing living room in Gresham that gets late-afternoon sun is a classic use case. Installing a spectrally selective film such as 3M Prestige 35 keeps daylight and color fidelity while cutting noticeable heat and glare; occupants report less AC runtime and less faded upholstery after the first summer. If the homeowner prioritized the lowest cost instead, a dyed film would reduce glare but likely need replacement sooner.
Judgment: For most Gresham homes, invest in ceramic or spectrally selective films for living spaces and choose decorative or safety films only where their specific benefits are required. Cheap dyed film is often false economy.
Where to start next: Ask any installer for measured specs — VLT, UV rejection, SHGC or solar heat rejection percentage, and installed warranty — and request physical samples on your actual windows. For local help, see Tinting Oregon's service and vetting guidance at Window Tinting Services for Central Oregon | Tinting Oregon.
Cost, incentives, and sample payback calculations for Gresham homes
Installed cost ranges: Residential window tinting in Gresham Oregon typically runs from about $6 to $20 per square foot installed depending on film class and job complexity. Low-cost dyed films sit at the bottom of the range, metalized and midgrade ceramic films sit in the middle, and high-performance spectrally selective or premium ceramic films push toward the top end. Accessibility, number of panes, decorative cuts, and edge finishing commonly add to labor time and price.
Practical tradeoff: A full-house project gives the broadest comfort and UV protection but often produces long simple-payback times. A targeted retrofit on sun-exposed windows is almost always the smarter economic play in Gresham because it concentrates savings where solar heat gain and glare are worst.
Sample scenarios and simple payback math
How I calculate these examples: Use installed cost = area times price per square foot, estimate annual energy savings from a 1,500 square foot house with 300 square feet of exposed glass, and apply a realistic whole-house savings fraction. For source context see Energy.gov and the Efficient Windows Collaborative.
| Scenario | Area tinted (sq ft) | Installed cost | Estimated annual energy savings | Simple payback (years) |
|---|---|---|---|---|
| Full-house midgrade ceramic | 300 | $3,600 ($12/sq ft) | $90/year (assumes 5% whole-house savings on $1,800 energy bill) | 40 |
| Full-house premium spectrally selective | 300 | $5,400 ($18/sq ft) | $216/year (12% savings optimistic) | 25 |
| Targeted retrofit – south and west windows | 120 | $1,440 ($12/sq ft) | $200/year (reduces peak cooling demand) | 7.2 |
Concrete Example: A bungalow in Rockwood with heavy west glazing had high afternoon temperatures and ran its AC often. Tinting only the west-facing living room windows, about 120 square feet, with a midgrade ceramic film cost roughly $1,400 installed and cut peak cooling runtime noticeably. The homeowner tracked about $180 to $220 less in summer cooling bills the first year and reported better occupant comfort; simple payback was under eight years and nonenergy benefits were immediate.
- Incentives and rebates: Expect limited direct rebates for window film in Oregon; check the Oregon Department of Energy and your utility for seasonal or whole-home retrofit programs. Federal tax incentives sometimes apply to fenestration as part of larger energy upgrades so confirm current rules at Energy.gov.
- What speeds payback: Prioritize sun-facing glass, combine film with exterior shading or attic insulation upgrades, and tint only the rooms that drive HVAC runtime. These targeted moves raise dollars saved per square foot and shorten payback.
- What lengthens payback: Tinting every window regardless of exposure, choosing the most expensive film without matching solar load needs, or overestimating annual energy costs will push payback beyond the useful economic life of some lower-grade films.
Next practical step: Get an on-site assessment from a professional installer who will measure exposure, identify the windows that matter most, and provide a customized estimate. For a straightforward local resource see Tinting Oregon.
Installation process, warranties, maintenance, and HOA considerations
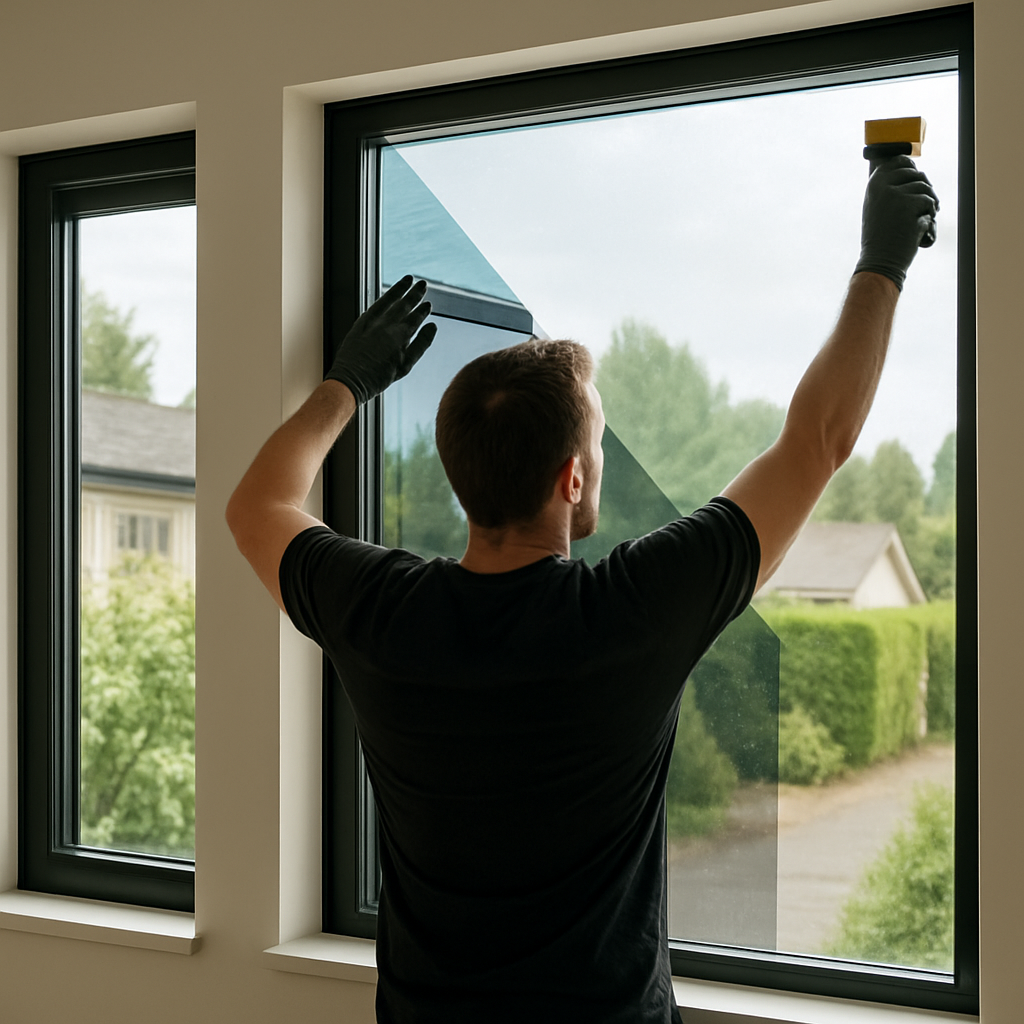
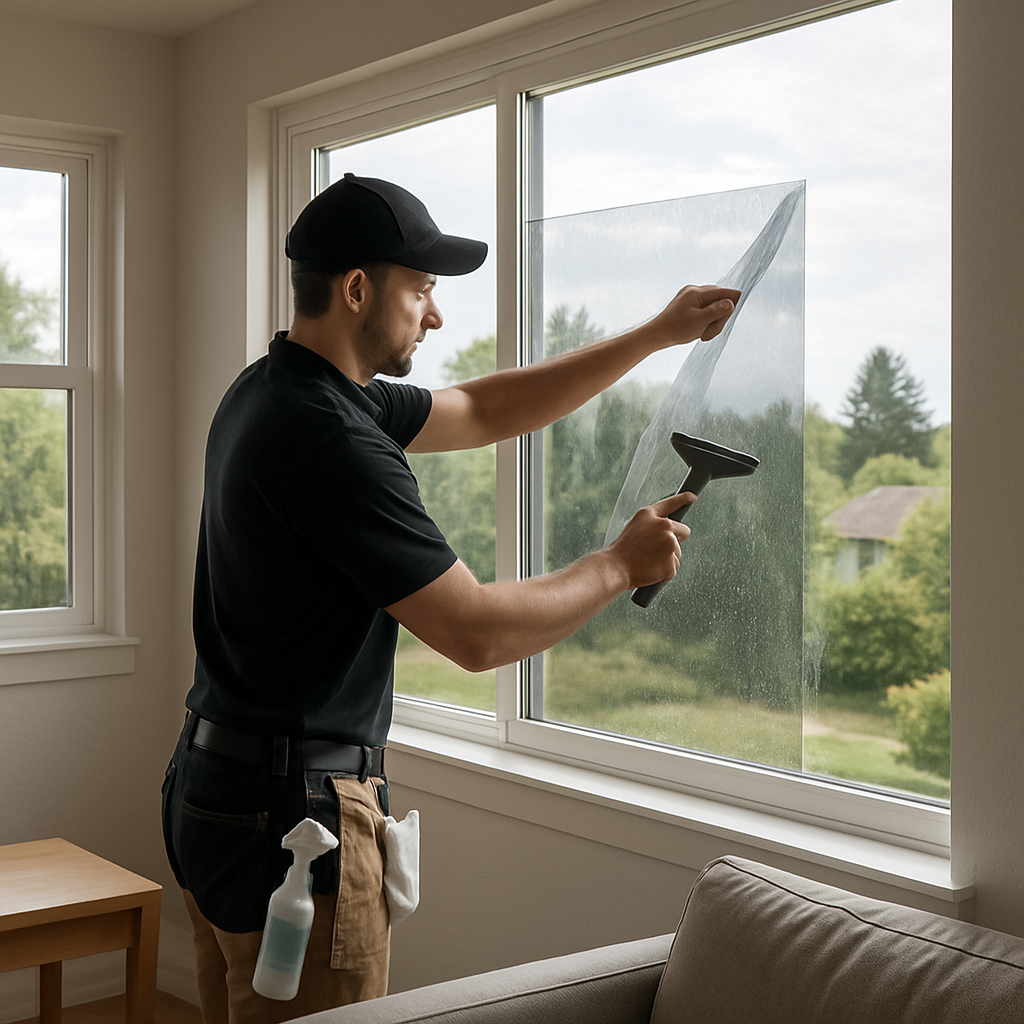
What to expect on installation day: Professional residential films are almost always installed from the inside of the home; installers clean the glass, cut film to size, apply a wet solution, squeegee out bubbles, and trim edges. Expect crews to work window-by-window — a modest entry-level retrofit on a typical Gresham bungalow takes a half to full day; a whole-house job commonly runs one to three days depending on access and glass area.
Site visit and scheduling realities
Preparation matters: The installer will want clear access, powered lighting, and a dry room temperature. Ceramic and spectrally selective films are less forgiving during installation, but all films require a controlled environment for proper adhesive bonding; avoid scheduling on very cold, humid days when adhesives cure slowly. If you need mobile work (in-home or driveway service), confirm the crew brings work lights and drop cloths — this is routine for local tint shops and for mobile window tinting services.
Trade-off—speed versus quality: Faster installs cost less but increase risk of edge-nicking, poor trimming, and trapped debris. In practice, pay a bit more for an installer who takes time on prep and edge finishing; that up-front care is where most long-term failures start.
Warranties and common pitfalls
Two separate warranties matter: a manufacturer product warranty and an installer labor/warranty. Manufacturer coverage typically guarantees against film discoloration, bubbling, or delamination for a stated period (often 10 to 20 years or lifetime on premium lines); installer guarantees cover workmanship and should be written and signed.
Watch for warranty killers: Using exterior film where an interior product is specified, cutting adhesive edges too close to the glass seal, or installing film on windows with failing edge-seals can void warranties. Ask installers to confirm compatibility with your window manufacturer and sealed-unit warranties before work begins — this is a frequent, avoidable dispute.
Maintenance, cleaning, and early troubleshooting
Cleaning rules that matter: Wait the manufacturer-recommended curing time before aggressive cleaning (commonly 30 days). Use a soft microfiber, mild dish soap, and water; avoid ammonia-based cleaners which accelerate adhesive breakdown on some films. Never use razor blades or metal scrapers on the film surface.
Troubleshooting in practice: Small pinholes or tiny bubbles often work their way out over the first weeks; large bubbling, edge lifting, or hazing that appears within months usually indicates poor prep or incompatible glazing and should be addressed under labor warranty. Installers who refuse on-site assessment for visible early issues are a red flag.
Concrete example: A homeowner in Rockwood had west-facing living room film that developed edge lift within six months. The installer documented that the original sealed unit had degraded edge seals; because the installer inspected before cutting film and included a conditional labor warranty, they replaced the panels of film and recommended sealing the glazing first — cost for the film work was covered under labor warranty, the window replacement was a separate homeowner expense.
HOA and code considerations — how to get approval
HOA rules are the practical blocker, not the product: Many associations in Gresham regulate visible reflectivity, tint darkness, and appearance. The correct approach is to submit a short packet: product spec sheet with VLT and reflectance numbers, a photo of the house with a mockup or sample swatch, and the installer's certificate of insurance and warranty. This reduces the chance of a denial based on appearance alone.
Code and safety limits: Some fire or egress-rated glazings and certain historical-cladding rules restrict film application. If your home has fire-rated doors or labeled safety glass, get written confirmation from both the installer and, when necessary, the window manufacturer that the film type is allowed.
- Before you sign: Ask for a written labor warranty and the manufacturer product warranty with specific coverage periods.
- HOA packet: Include spec sheets, installer insurance, and photos to speed approvals.
- Check sealed-unit warranties: Request the installer's statement confirming film will not void glass manufacturer warranty or explain exceptions.
Next consideration: If you want help vetting local crews and sample spec sheets you can start with our vetting guide for local shops and contractors and request an on-site estimate from Tinting Oregon; see Window Tinting Place Near Me: How to Vet Local Shops and Contractors. For background on performance expectations, consult the Efficient Windows Collaborative at https://windows.lbl.gov/efficientwindows.
Why choose Tinting Oregon and next steps for Gresham homeowners
Straight answer: pick a local installer who knows Gresham building stock, offers on-site measurements, and will commit to manufacturer-backed warranties. Tinting Oregon covers Portland metro and surrounding cities with crews that work on residential and commercial jobs, which matters when your house has mixed glazing types or hard-to-reach windows.
Practical insight: price alone is a poor selector. The common mistake is choosing the lowest bid without matching film performance specs. Ask for numbers – visible light transmission (VLT), solar heat gain coefficient reduction (SHGC), and UV rejection – and compare those across quotes instead of only square-foot prices.
What Tinting Oregon will do differently on an on-site visit
What to expect: a technician will document glass type, pane count, frame access, and interior layouts that affect glare and privacy. They should produce a room-by-room recommendation with samples and a clear install timeline. Mobile window tinting capability means installers can work at your house without shipping windows out, but confirm whether they plan to install interior or exterior film and how they will protect woodwork and flooring during the job.
Tradeoff to consider: mobile installs reduce hassle but can increase job time if access or weather complicates work. If you have multiple homes or a tricky historic frame, shop-based work on removed glass gives cleaner edges but requires more logistics and risk of re-sealing IGUs. Choose the method that minimizes risk to your windows and matches your tolerance for disruption.
Concrete example: a Gresham homeowner with a west-facing living room had afternoon glare and fading on a sectional. Tinting Oregon performed measurements, recommended a spectrally selective ceramic film for high visible light transmission, and completed a one-day mobile install. Result: cooler afternoons, glare cut by roughly half, and retained street view while furniture fading slowed noticeably within months.
Step-by-step next actions
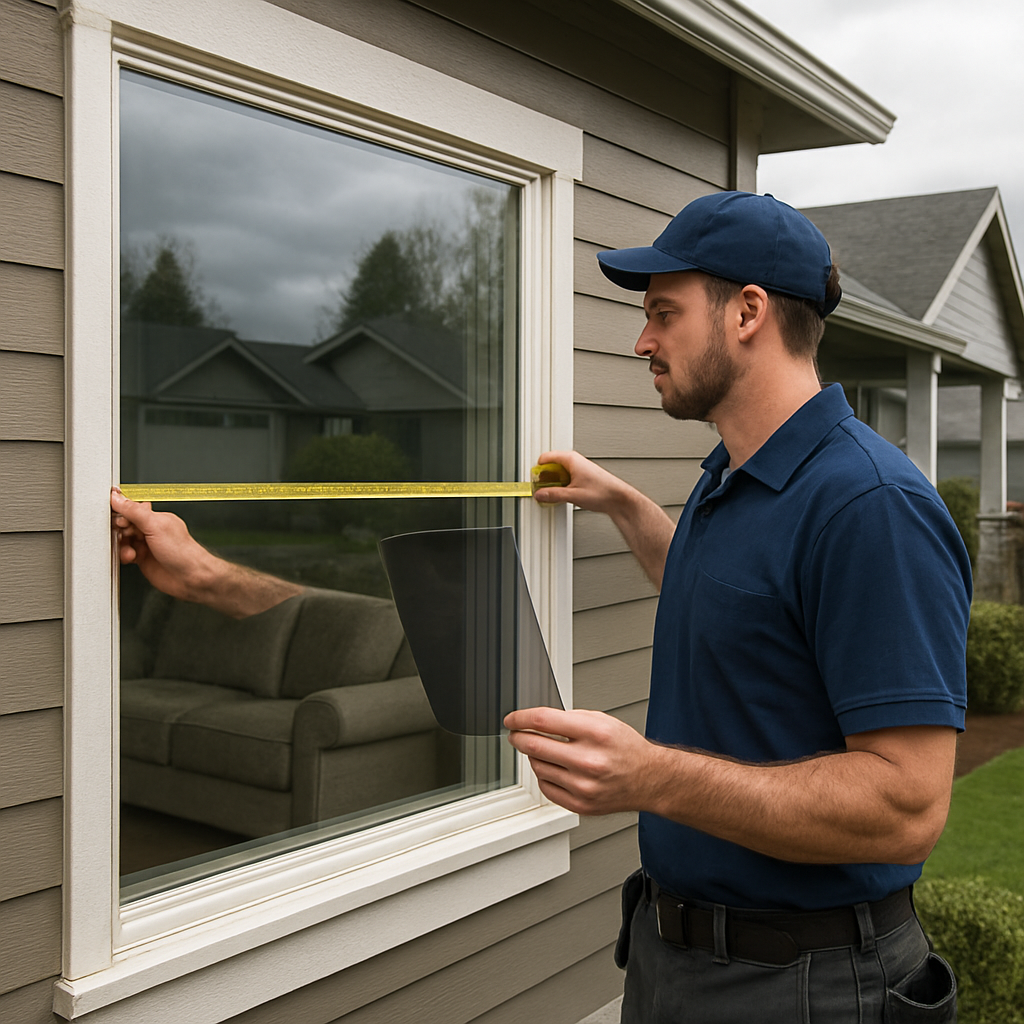
- Prepare a window schedule: list rooms, window sizes, orientation, and photos so quotes are apples-to-apples.
- Request performance specs: ask each installer for VLT, SHGC improvement, and UV rejection for the exact film quoted.
- Ask for a sample or small test patch: verify appearance at different times of day and check for signal interference if you use GPS or home radios.
- Confirm warranties in writing: require manufacturer and installer warranties and a written statement about whether film affects existing IGU warranties.
- Compare total cost vs performance: prioritize films that meet your comfort and privacy goals over lowest $/sqft.
- Schedule timing and access: agree who will move furniture, whether the crew will need interior access for multiple days, and a final inspection.
Useful links: learn more about our services and vetting tips at Tinting Oregon and how to vet local shops. For broader efficiency context, see the Department of Energy guidance on efficient windows at energy.gov.
Final consideration: if your windows show condensation between panes or the seals are failing, film is not a fix. Address glazing failures first or choose limited-coverage films and get a written statement from both your window manufacturer and installer about warranty implications before work begins.