
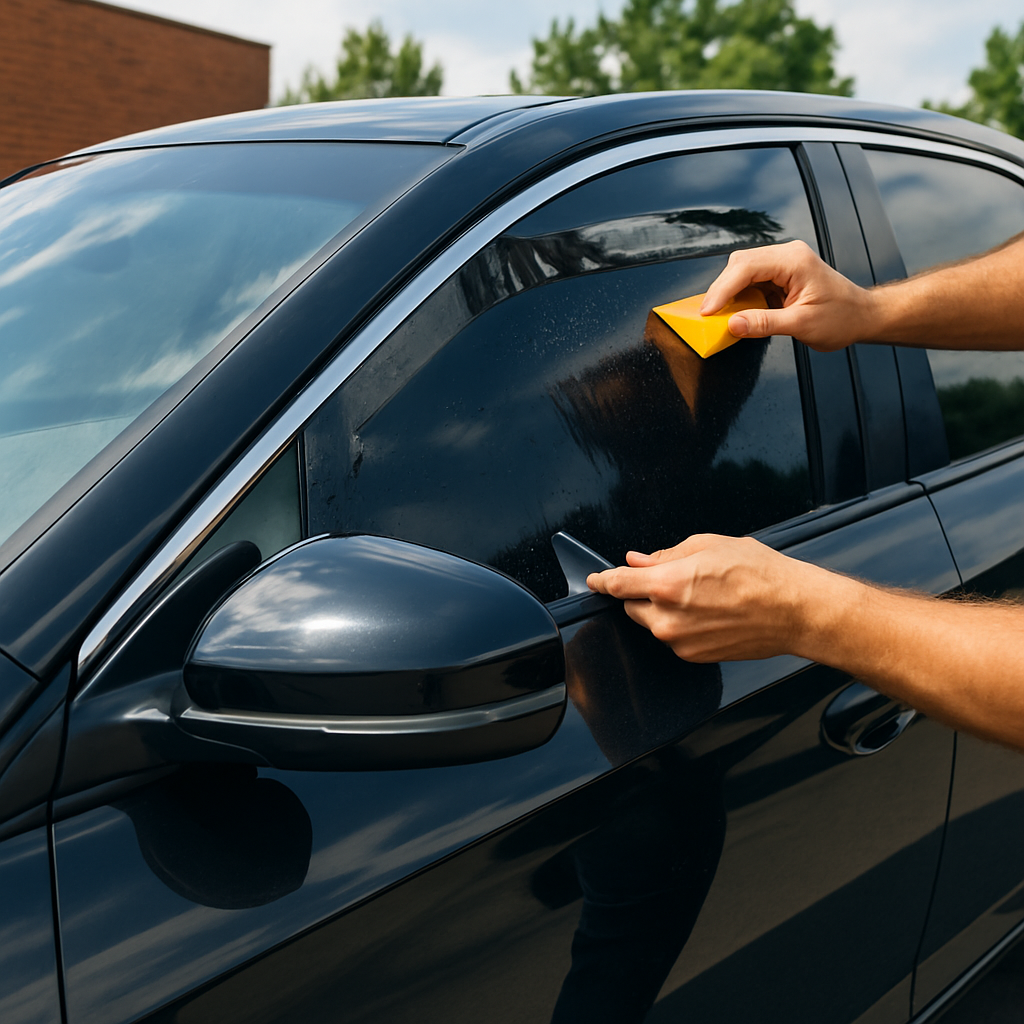
Portland Window Tinting: What Owners Need to Know Before You Book
If you own a home, rental, or storefront in the Portland area, tinting portland can cut glare, block UV, and lower cooling costs—but only when you choose the right film and installer. This practical guide walks through which film types suit Pacific Northwest buildings, realistic Portland price ranges, permit and historic district considerations, and an installer vetting checklist so you get durable results. Read on to avoid common mistakes and make a confident, regionally informed decision.
Why Consider Window Film in Portland and How Climate Affects Performance
Key point: Portland is not a hot-sun desert and that matters. Window film choices that work in Phoenix or Miami often underperform here because Portland s climate is about variable daylight, occasional heat waves, strong UV in summer, and winters when passive solar gain can help heat a building.
Climate drivers and what they mean for film performance
- Variable summer heat: Occasional multi-day heat events make heat rejection valuable, but most of the year cooling load is modest.
- High daylight, strong UV: Even on clear spring and summer days UV damage is real; prioritize films that block up to 99 percent of UV.
- Winter solar benefit: South and west glazing provides free heat in winter; high rejection films can reduce that benefit and raise heating bills.
- Low-angle sun and glare: Morning and late afternoon glare is a frequent complaint in west-facing living rooms and storefronts.
Tradeoff to watch: Choose films for the orientation and use case, not a one-size-fits-all SHGC number. Spectrally selective and ceramic films give the best compromise in Portland: they reject IR heat and UV while preserving visible light so you keep daylight during the long overcast months.
Concrete example: In southeast Portland a west-facing living room with a single large picture window will feel hot on summer afternoons and suffer glare. A high-VLT ceramic film such as Huper Optik or 3M Night Vision reduces heat without making the room dim, preserving the view and avoiding the cold-room effect in winter. In the Pearl District a storefront wanting merchandise visibility but lower daytime solar load will often choose a low-reflectivity spectrally selective film paired with a thin safety film to meet both comfort and security needs.
Practical insight: Many property owners default to darker dyed films because they are cheaper. That is a false economy in Portland if you value daylight or storefront visibility. Dyed films cut visible light and will show their age faster; ceramic and spectrally selective films cost more up front but preserve interior color and last longer under variable sunlight.
Practical next step: Match film type to the worst-case seasonal need for that elevation and orientation. For daylight-dependent spaces pick ceramic or spectrally selective films; for unoccupied west-facing glazing where privacy matters, a darker film or privacy film may be acceptable but check how it affects winter heating and exterior appearance.
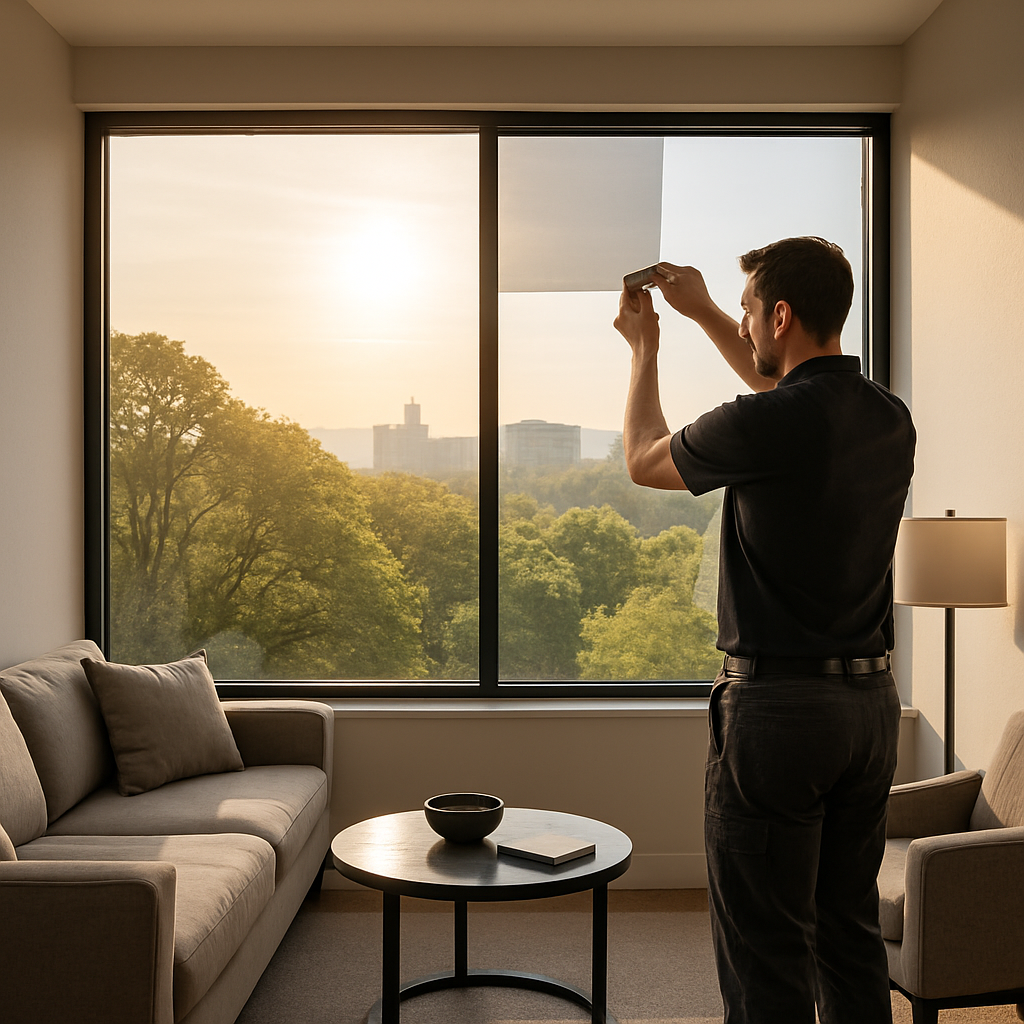
Window Film Types and Recommended Films for Portland Buildings
Direct point: For Portland buildings the difference that matters is not brand name alone but film class — spectrally selective/ceramic films when you need daylight and heat rejection, safety films where human protection or vandal resistance is the objective, and metalized or dyed films primarily when budget trumps subtle appearance.
What performance numbers to watch
Key metrics: Visible Light Transmission (VLT), Solar Energy Rejected (SER) or Solar Heat Gain Coefficient (SHGC), and UV rejection. For living spaces prioritize high VLT with decent SER; for storefronts prioritize high SER and laminated safety. Manufacturer datasheets from 3M, LLumar, Huper Optik and Vista list these numbers — ask for them and compare apples to apples.
- Spectrally selective / ceramic films: Best balance of high visible light and strong heat rejection. Examples: Huper Optik ceramic series, 3M Sun Control Prestige, LLumar Vista. Use where maintaining daylight is important and you want low exterior reflectivity.
- Metalized films: High heat rejection at lower cost but increased reflectivity and potential radio interference. Use for garages, nonhistoric storefronts, or where reflectivity is acceptable.
- Dyed films: Lowest cost and provide privacy but degrade faster and offer weaker heat rejection. Not recommended as a long-term energy or UV protection solution.
- Safety and security films: Thicker films, measured in mils, often paired with solar-control layers. Examples: Vista Safety and Security, 3M Ultra Safety and Security. Choose these for ground-floor storefronts and doors where forced entry risk exists.
- Decorative films: Frosted and patterned films for privacy or branding. Use on conference rooms and multi-tenant lobbies; combine with spectrally selective layers if you need solar control as well.
Tradeoff to accept: Ceramic and spectrally selective films cost more up front but preserve daylight, avoid that glossy mirror look, and hold performance longer. Cheap dyed films save money immediately but often need replacement in a decade, turning the cheap option into a recurring cost.
Concrete example: A Southeast Portland living room with large west-facing windows benefits from Huper Optik or 3M Prestige films because they block significant late-afternoon heat while keeping VLT above 50 percent. For a Pearl District retail storefront that must stay transparent during the day, pair a thin laminated safety film with a LLumar Vista solar control layer so visibility and security are both addressed.
Practical judgment: Many property owners overvalue visible darkness and undervalue long-term solar performance. In Portland, where natural light is a premium most of the year, spectrally selective films are usually the best first choice despite higher bids from professional installers.
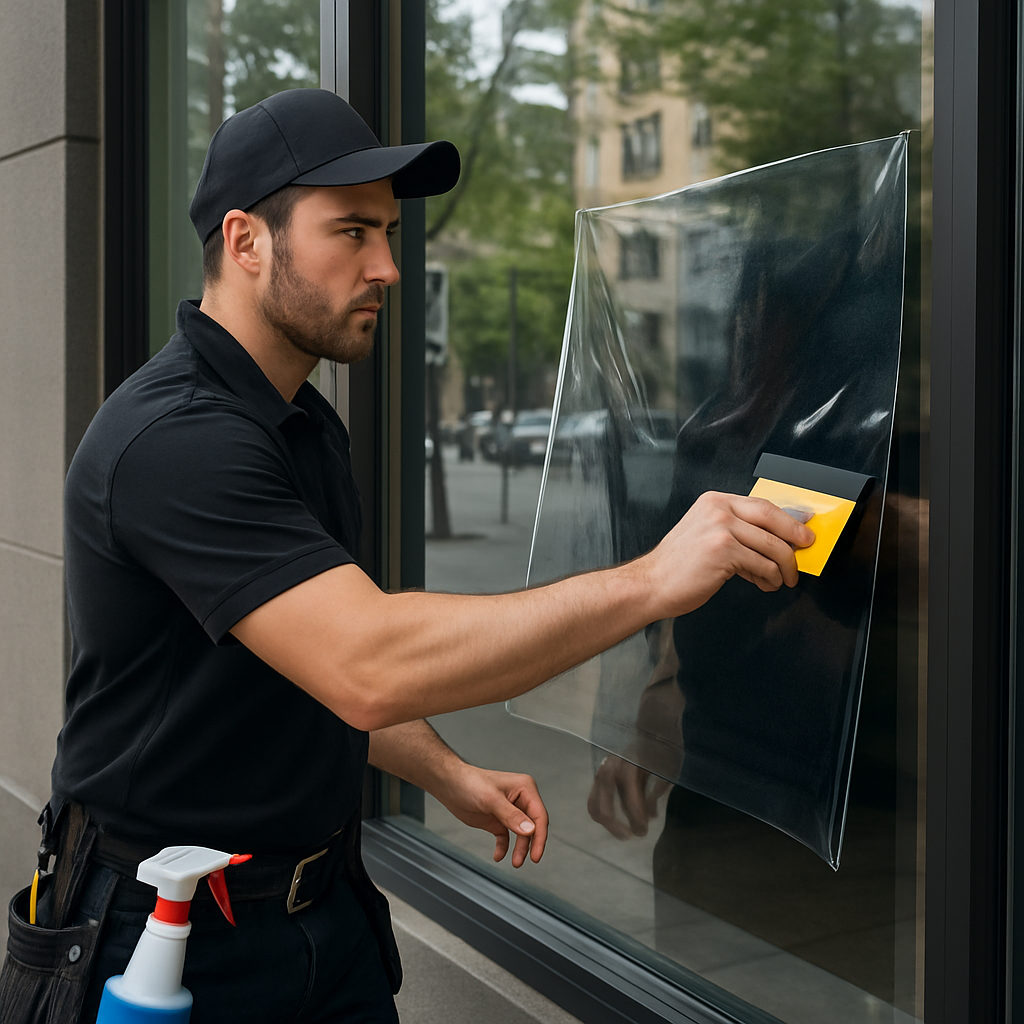
Local Compliance, HOAs, and Historic District Considerations in Portland
Do not assume interior film is automatically permitted. Many Portland property owners think interior window film is invisible to regulators; in practice the visible appearance from the street, the type of building, and whether the work is classified as an exterior alteration determine review requirements.
Permit reality: Interior film installations on standard residential glazing rarely trigger a building permit from the City of Portland Bureau of Development Services, but there are three frequent exceptions – storefront glazing, exterior-applied films, and properties inside designated historic districts or conservation overlays. When any of those apply, plan to secure approvals before installation.
Practical steps before you book
- Confirm district status: Use the property lookup at Portland Maps or consult Portland BDS to see if your address lies in a historic district or has design overlays.
- Pull governing docs: For condos, HOAs, or leased storefronts request the covenant, CC R s, or lease clause that governs exterior alterations and window treatments.
- Get film specs first: Ask the installer for the exact film model, the manufacturer spec sheet, and example photos of prior installs in Portland neighborhoods; you will need these for any review.
- Pre-approval language for submissions: Provide concise scope: install interior spectrally selective low-reflectivity film on existing single-pane wood windows to reduce UV and glare. Include manufacturer name and VLT/Solar Heat Gain Coefficient numbers.
- Document responsibility: Clarify who pays for removals at resale or repair and get that in writing with the installer and your HOA or landlord.
Tradeoff to weigh: Low-visibility spectrally selective films minimize appearance changes and are most acceptable in historic areas, but they cost more and sometimes reject slightly less heat than darker metalized options. Conversely, thicker safety films add security but can change how muntins and glazing edges read from the street, triggering reviews.
Concrete example: In Northwest Portland a homeowner with original single-pane sash windows wanted UV protection but keep the period look. The chosen path was to present the historic commission with the Huper Optik film spec, two before and after photos from similar bungalows, and a statement that no exterior alteration would occur. The commission approved interior spectrally selective film but denied exterior metallic finishes.
If your property is in a historic district, expect a review process and schedule lead time – start approvals before ordering custom film.
Where people misjudge risk: Owners often skip HOA notification because installers promise a low-profile outcome. That saves time upfront and creates headaches later when the HOA demands removal. Always get approvals or a written waiver in advance and attach the manufacturer warranty and installer labor warranty to your approval packet.
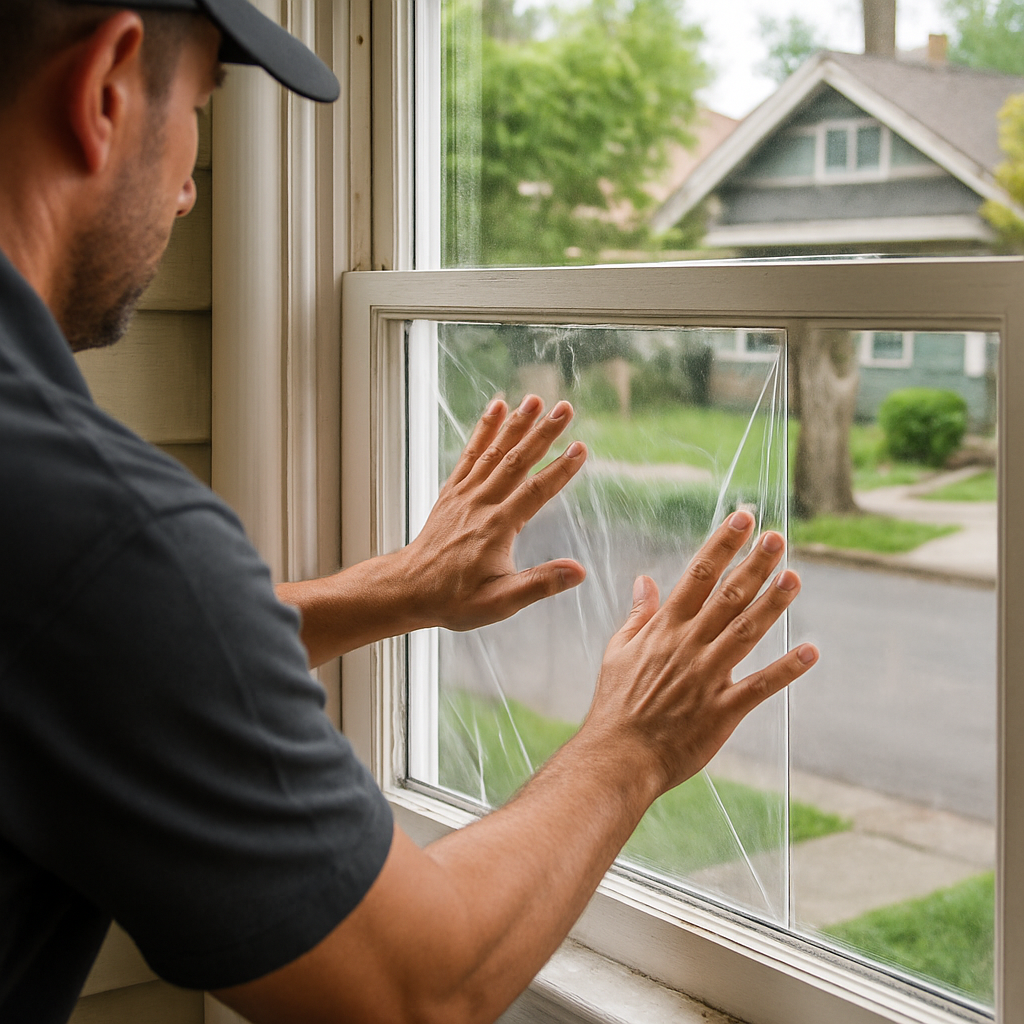
Next consideration: when the building is commercial or leased, coordinate with your landlord and the tenant improvement process early. For guidance on vetting installers and documentation to request, see Window Tinting Place Near Me: How to Vet Local Shops and Contractors.
How Much Will Tinting Cost in Portland: Variables and Example Price Ranges
Short answer: expect a broad range. Price depends more on access, film selection, and installation complexity than on whether the project is labeled residential or commercial.
What actually drives the sticker price
- Film type and brand: ceramic and spectrally selective films cost more than dyed or basic metalized films, but they deliver better heat rejection without darkening interiors.
- Unit pricing basis: some shops charge per square foot, others per window or per panel. Per-panel quotes can hide large panels billed cheaply by count but expensive by area.
- Access and logistics: second-story residential windows, tight commercial storefronts, or buildings needing scaffolding or lifts add significant labor and rental fees.
- Glass condition and framing: damaged seals, laminated or tempered glass, and complex muntins or grids require extra prep or custom cutting which adds cost.
- Safety or security film thickness: thicker safety films and laminated retrofit systems require more labor and adhesive, and usually higher per-square-foot pricing.
- Project scale and economy of scale: whole-house or multi-floor commercial projects usually lower the unit cost; one-off windows carry minimums and travel charges.
- Service model: mobile window tinting Portland services save you transport cost for vehicles but may include travel fees for remote residential or commercial sites.
Practical tradeoff: buying the cheapest dyed film often costs less upfront but fades, hazes, and needs replacement sooner. In Portland climate, ceramic or spectrally selective films usually give better lifetime value because they preserve visible light while controlling heat and UV.
Typical Portland price bands – illustrative examples
| Project type | Typical price range (Portland) | Notes |
|---|---|---|
| Small residential living room – 4 medium windows | $600 – $1,200 | Ceramic film mid-range; includes site measure and standard access |
| Whole-house retrofit – 10 to 20 windows (mixed sizes) | $2,500 – $6,500 | Price varies with film choice, upstairs windows, and any sealed unit replacement |
| Commercial storefront – single large panel (per panel) | $150 – $600 | Wide range due to size, safety film requirement, and whether structural edge work is needed |
| Safety/security film on storefront (per sq ft) | $8 – $18 per sq ft | Add labor for thicker films and potential anchoring systems |
| Mobile auto tinting – full car | $150 – $450 | Depends on vehicle complexity, ceramic option increases price |
Concrete example: A southeast Portland living room with four west-facing double-pane windows and afternoon glare. Choosing a mid-tier ceramic film from Huper Optik or 3M will typically land in the $600 to $1,200 range because the installer can work from ground level, the glass is standard, and no safety glazing is required.
Practical judgment: insist on an itemized quote that shows film model, square footage, labor hours, and any access or scaffolding charges. Lowball flat quotes without site inspection are the most common precursor to poor installs or surprise change orders. If you want vetted installers, start with a local shop page like Tinting Oregon for project examples and then require site visits and written warranties.
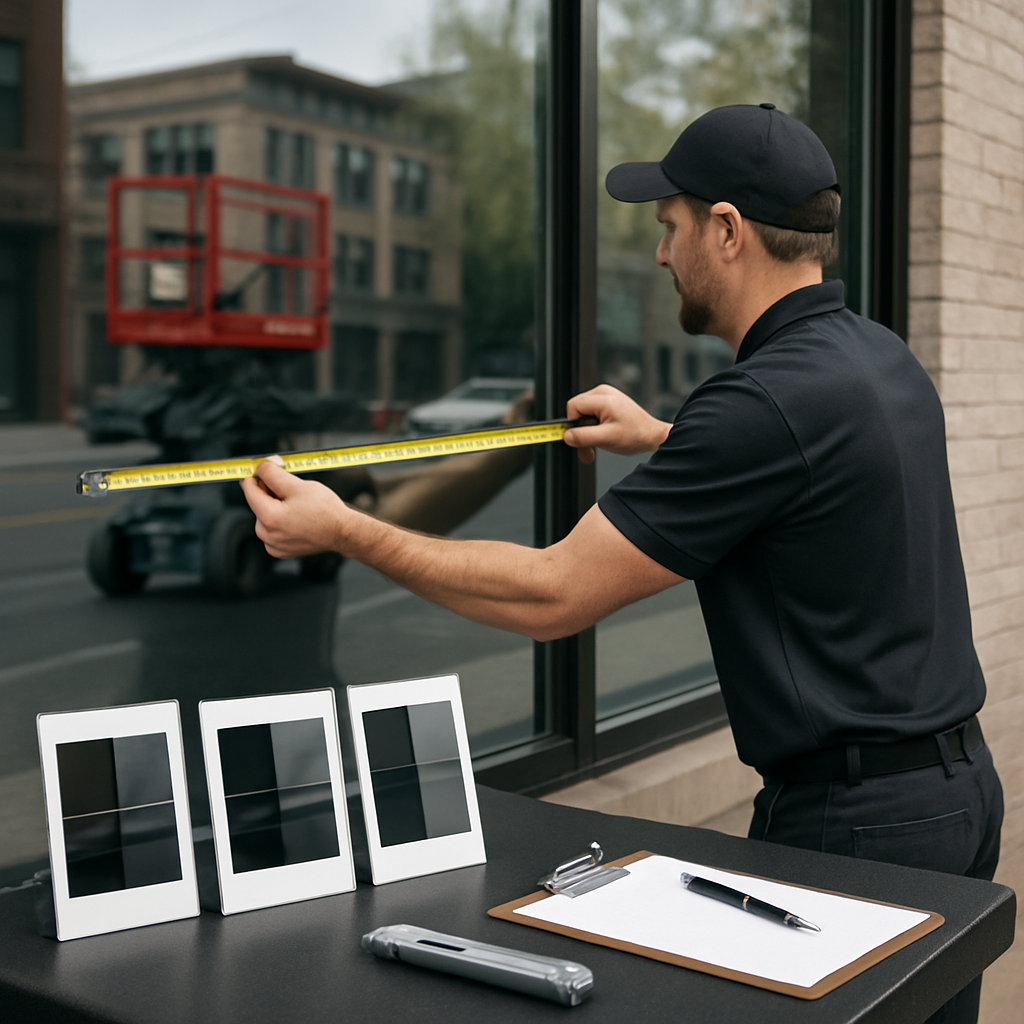
Next consideration: when you request quotes also ask about lead time for special-order films (ceramic often adds 1 to 2 weeks) and whether the installer includes a post-install inspection. These small details are where price and quality separate themselves in real jobs.
Vetting Installers: A Practical Checklist and Red Flags
Start with work evidence, not promises. The single best predictor of a clean install is a shop that can show recent, local before/after photos, references, and a clear paper trail for the exact film model they plan to use.
Concrete checklist to request before you book
- Proof of insurance: general liability and workers compensation with policy numbers and limits.
- Business license and local contact: confirm a Portland phone number and a physical address – mobile-only operations are fine, but you need a reachable local contact.
- Manufacturer installer certification: certificates from 3M, LLumar, Huper Optik, or Vista for the specific film model they propose.
- Detailed, itemized quote: film model (not generic dyed or ceramic), square footage, labor hours, travel fees, and separate line for edge sealing or safety film.
- Before/after photos and references: at least two Portland-area projects with similar glass type or building use.
- Sample warranty documents: both manufacturer warranty for the film and a written installer labor warranty that specifies response times and remedies.
- Site visit and glass testing included: a true estimate comes after measuring and checking for low-E coatings or laminated glass.
Practical insight: Certifications matter, but they are not a substitute for local experience. A 3M course shows baseline competence; repeatedly installing in your neighborhood with your window types proves competence. Prioritize recent Portland references over certificates alone.
Questions to ask during the estimate
- Which exact film model are you quoting and why is it suitable for my windows?
- Will you test the glass for low-E or laminated glazing before ordering film?
- What does your labor warranty cover and how long does it last?
- If a panel bubbles or lifts, what is the service response time and who pays for rework?
- Do you register the film with the manufacturer for warranty activation?
Red flags that mean stop and look deeper
- Very low quote without a site visit: likely they will upcharge or use cheaper film on install.
- No local references or only out-of-state jobs: they may lack experience with Portland glass, frames, or weather-driven issues.
- Installer refuses to put warranty in writing or says warranties are handled verbally: this voids leverage if problems occur.
- Recommending exterior metalized film as the default without discussing reflectivity or maintenance: a sign they are selling what they have in stock, not what you need.
- No proof of insurance or evasive answers about liabilities: immediate red flag.
Example use case: A landlord in Northeast Portland had two storefront quotes. One company gave a low, on-the-phone price and promised ceramic film; the other came onsite, measured, tested for laminated glass, specified 3M Night Vision for high VLT, and provided a 10-year manufacturer warranty plus a 2-year labor warranty. The low bidder later tried to swap in a dyed film and charge for rework; the onsite company delivered as promised and handled post-install touch-ups under their written labor warranty.
Judgment call that matters: Cheaper is rarely better for window film. A properly performed install prevents failures that are expensive and visible – bubbling, edge lift, or hazing. Pay for a competent local installer who documents the film model, warranty registration, and offers a short-term labor warranty. If you want a starting place for vetting local shops, see our vetting guide at Window Tinting Place Near Me: How to Vet Local Shops and Contractors.
Next consideration: before you sign, confirm the installer will register the film with the manufacturer and provide a contact for warranty service in Portland.
What to Expect on Install Day and Typical Installation Process
Start expectation: on install day the glass will not look finished when the crew leaves. Most films are applied wet and will appear cloudy with microbubbles until the adhesive fully cures — that can take days to weeks depending on film type and weather. A professional installer plans for that and documents the pre-install condition of the glass before work begins.
Typical on-site timeline
Typical timing: small residential jobs (3–6 windows) usually take 2–4 hours. Whole-room installs or commercial storefront panels take a day or more. For autos, expect 1–3 hours depending on complexity. Special-order films such as ceramic or decorative laminates add order lead time—don’t book the install until the film has arrived.
- Arrival and setup: crew checks access, lays drop cloths, and removes screens or molding as needed.
- Glass inspection: a competent installer will document chips, scratches, Low-E coatings, or delamination before cutting film.
- Film cutting and wet application: film is cut to size, applied with solution, and squeegeed; installers use heat for complex curves.
- Edge work and sealing: where required (especially exterior or safety films) edges are sealed or mechanically fastened.
- Walk‑through: installer demonstrates finished panels, notes temporary visual defects from curing, and explains aftercare.
Site prep and practical responsibilities
Homeowner prep: clear 2–3 feet around windows, secure pets, and confirm parking/loading for a work van. For car tinting Portland mobile jobs, leave keys and ensure a dry parking spot out of falling sap or rain when possible.
- Power and access: installers rarely need power, but for heat guns or shop lights they may request an outlet.
- Temperature considerations: film adhesion and cure slow below 50°F and in high humidity — Portland rainy seasons create real slowdowns; rescheduling is normal.
- On-the-spot decisions: if glass is pitted, scratched, or has Low-E coating that voids warranty, expect the installer to pause and present options rather than proceed.
Concrete example: a Southeast Portland homeowner had five large west-facing panes fitted with 3M Night Vision ceramic film. The crew worked three hours, removed screens, and left the panes cloudy; the installer returned two days later for a quick follow-up. The homeowner was advised not to raise blinds for 72 hours and to avoid cleaning for one week.
Practical judgment: mobile window tinting Portland services are convenient and fine for single rooms or vehicles, but for large commercial glazing, in-shop installations or scheduled on-site projects deliver better control over cleanliness and temperature. Ask installers how they manage rainy-day installs and whether they have climate-controlled facilities for sensitive films.
Next consideration: confirm lead time for your chosen film and get the installer to write the expected cure window and any temporary limitations into the job order before they start.
Maintenance, Expected Lifespan, Warranties, and Troubleshooting
Maintenance determines whether you hit the lifespan on the warranty or replace film early. Follow the manufacturer cure period before aggressively cleaning – typically 7 to 30 days depending on film and ambient conditions in Portland – and treat cleaning as a regular, light maintenance task rather than an occasional heavy scrub.
Cleaning protocol that works in practice. Use a soft microfiber, mild soap or a manufacturer-recommended cleaner, and avoid abrasive pads or razor blades. Do not use ammonia-based cleaners on films that explicitly warn against them; ammonia will accelerate dye fading and adhesive breakdown on some products. For storefronts, a weekly rinse and monthly soft clean keeps mineral spotting and grime from becoming permanent.
Expected lifespan and what shortens it
Realistic life ranges depend on exposure, not just product claims. Dyed films typically fail visually in 7 to 10 years; metalized films often stay functional 10 to 15 years but can show cosmetic oxidation; ceramic and high-end spectrally selective films commonly reach 10 to 20 years if installed correctly. The common killers are poor glass preparation, edge exposure to moisture, hard coastal or industrial environments, and frequent mechanical abrasion on low storefronts.
Tradeoff to accept up front. Cheaper dyed films save money now but increase replacement frequency and visible color shift – that matters if you care about consistent storefront appearance or resale value on a home.
Common failures and immediate fixes
- Bubbling within the first weeks: Often trapped moisture or poor squeegee technique – document with photos, avoid scrubbing, and let your installer evaluate; some bubbles dissipate as film cures.
- Edge lifting or peeling: Usually a sealing or surface prep issue – small lifts need installer re-seal; do not try household caulk or adhesives, they void warranties and trap moisture.
- Hazing or discoloration: Dyed film aging or adhesive contamination – if inside warranty, manufacturer typically covers replacement; outside warranty, replacement is the only reliable fix.
- Scratches and abrasions: Surface damage is not a warranty item unless proven installer error; high-traffic retail locations should specify harder coatings or protective films.
What to do first when you find a problem. Photograph the issue from multiple angles, note the date of install and cleaning actions, and contact the installer immediately. If the installer asks you to clean or alter the film before inspection, refuse – that can remove evidence needed for a warranty claim.
Warranties you should insist on. Get the manufacturer warranty for the exact film model in writing and a separate installer labor warranty. Verify that the film is registered with the manufacturer or that registration is part of the install process. Check whether warranties are prorated, transferable, and what they explicitly exclude – common exclusions are vandalism, accidental damage, and environmental contamination.
Concrete Example: A Pearl District retail tenant had edge lifting on a 10-year-old metalized film. The installer confirmed adhesive failure at the perimeter; the manufacturer honored replacement of the film but limited labor coverage because the original installer had not registered the job. The tenant paid reduced labor costs and chose ceramic film on replacement to avoid repeat issues.
If an installer will not register the film with the manufacturer or provide a written labor warranty, walk away.
Final practical judgment. Warranties and manufacturer registration matter more than marketing claims about visible light or heat rejection. Poor maintenance or unregistered installs are the single biggest reason good films fail early in Portland projects – address both before you book.
