Window Tinting in Beaverton, OR: What Residents Should Know Before Booking
If you are weighing window upgrades in town, window tinting beaverton oregon can cut glare, block UV, and improve comfort without replacing glass. This post lays out what Beaverton homeowners and small business owners need to know about film types, realistic costs, HOA and code constraints, and how to choose a reputable installer. Use the practical checklist and on-site expectations here to get accurate quotes and avoid common mistakes.
Why Beaverton location and climate matter when choosing film
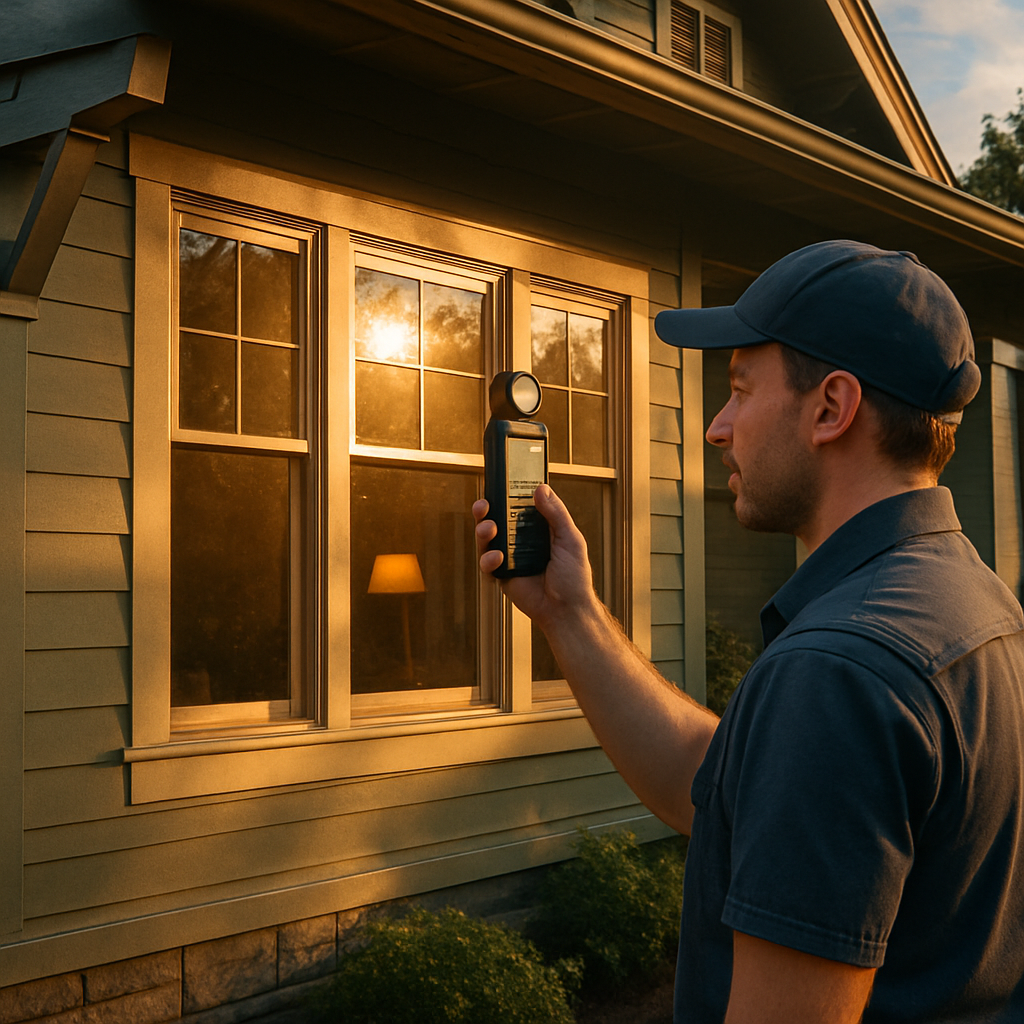
Key point: The physical orientation of your windows and Beaverton microclimate drive which film characteristics matter most when you search for window tinting beaverton oregon. Use local climate normals to judge how often you will get direct sun versus overcast conditions and where peak heat loads occur during summer afternoons. See NOAA climate normals for raw data if you want hourly sun exposure rather than rules of thumb.
How orientation and seasonal patterns change choices
- West facing: Late afternoon sun delivers the highest short duration heat and glare. Prioritize high solar control and low reflectivity films on these windows rather than dark VLT alone.
- South facing: Midday sun is persistent in summer. A film that balances solar heat gain reduction with reasonable visible light transmission is the pragmatic choice.
- North facing: Direct sun is minimal. For north exposures, preserve daylight and consider low-e style films only if winter comfort and condensation are problems.
- Tree cover and urban canyon effects: Many Beaverton neighborhoods have trees or neighboring buildings that create patchy exposure. Treat windows with consistent direct sun first; treating every window is rarely the best budget choice.
Practical tradeoff: Darker films reduce peak heat but also reduce usable daylight and can make rooms feel smaller. Selective ceramic films cost more but keep views and light while controlling heat. For most Beaverton homes the premium is worth it on south and west panes, but not necessary on shaded or north-facing windows.
Concrete example: A homeowner in Raleigh Hills had a west-facing living room with heat build up and carpet fading on the south wall. The installer recommended a nonmetalized ceramic film to cut afternoon solar gain while keeping daylight. The house kept its view and the client avoided the darker, high reflectivity film that would have altered exterior appearance.
Building type matters: Small retail storefronts in central Beaverton often need glare reduction and a clean outward appearance; that pushes toward nonreflective, high-performance solar control films. Older single family homes with single pane glass require an installer assessment because film changes thermal behavior at the glass edge and may expose glass defects or alter condensation patterns.
Practical judgment: In a mild Pacific Northwest climate, prioritize reducing peak afternoon heat over winter passive gain. Low-e films can be useful but typically deliver smaller ROI here than in colder regions. Also confirm design rules before choosing reflective finishes since some HOAs and design districts restrict exterior appearance.
Window film types and real product examples with recommended uses
Practical point: When you search for window tinting beaverton oregon pick the film based on the problem you need solved, not on price or color alone. Different films trade visible light transmission, heat rejection, reflectivity, and durability against each other; that tradeoff determines which product family makes sense for a specific room, storefront, or vehicle.
Core film families and real products
Solar control (selective/nonmetalized): High solar rejection with good clarity. Example: 3M Prestige Series. Best for south and west facing living spaces and storefronts where you need heat and glare control but want to keep daylight and view. Limitations: higher cost than basic dyed films.
Ceramic / nonmetalized high performance: Superior heat and IR rejection without tinting the view. Examples: Huper Optik, 3M Ceramic lines. Use for premium residential windows and vehicles when preserving color and signals matters. Tradeoff: you pay a premium up front; still the most forgiving on exterior appearance under HOA scrutiny.
Low-e (thermal performance): Designed to reduce heat loss in winter and improve overall U-factor. Example: Eastman Solar Gard low-e films. Best on north exposures or older single-pane windows where winter comfort and condensation are the priority. Consideration: returns on energy bills are smaller in Beaverton than in colder regions.
Privacy and decorative films: For bathrooms, conference rooms, and retail branding. Example: 3M Fasara decorative. These alter appearance intentionally and may require HOA or design-review approval for exterior-facing installations.
Safety and security films: Thick polyester films with adhesive and optional mechanical anchoring. Example: 3M Safety and Security and Eastman security films. Use where glass fragmentation is a concern, for ground-floor retail, or to meet basic blast or break-in resilience requirements. Limitation: these do not make glass bulletproof; thicker grades increase visible haze and are more visible from the street.
| Film type | Representative product | Recommended use | Main drawback |
|---|---|---|---|
| Selective solar control | 3M Prestige Series | South/west living rooms, storefronts needing clarity | Higher cost vs basic dyed films |
| Ceramic / Nonmetalized | Huper Optik, 3M Ceramic | Premium homes, auto window tint Beaverton, preserving signals | Premium price |
| Low-e thermal film | Eastman Solar Gard low-e | Improve winter comfort on single-pane or north windows | Smaller cooling-season payoff in PNW |
| Decorative / privacy | 3M Fasara | Bathrooms, conference rooms, retail branding | May trigger HOA/design review |
| Safety / security | 3M Safety and Security | Ground-floor retail, security upgrades, glass retention | Thicker film can alter clarity and appearance |
Concrete example: A small Beaverton cafe with large west-facing windows installed 3M Prestige Series to cut afternoon glare while keeping natural light for patrons. The owner avoided reflective metalized film that would have changed the store front look and likely required design review. After installation customers reported cooler seating near the windows without any noticeable dimming of the space.
- Real-world tradeoff: Ceramic/selective films are usually the best value in Beaverton because they reduce heat and UV while maintaining light and exterior appearance; for most homes the extra cost pays off in comfort and fewer complaints from HOAs.
- Signal interference note: Metalized films can disrupt GPS, cell and toll transponders in vehicles and are often unnecessary for residential projects in the Portland metro area.
- Installation caution: Do not assume any film fits all glass types; double-pane units with failing seals or tempered edge issues need an on-site assessment before tinting to avoid making existing problems worse.
If you want manufacturer specs while you research, compare product pages such as 3M Window Film and Llumar alongside an on-site quote from a professional who can recommend placement and film grade for your exact exposures.
Budgeting: typical costs, what affects price, and realistic ROI expectations
Reality check: prices for window tinting in Beaverton vary widely; you can expect a low-end quote and a premium quote for the same house because film type and installer skill change the value dramatically. When you search for window tinting beaverton oregon, plan on getting at least three itemized bids so you can compare material, labor, and warranty line by line.
What typical budgets look like
Costs scale with treated glass area, not number of windows. Expect a minimum job charge on small projects and per square foot pricing on larger installs. Installers offering mobile window tinting service Beaverton will often add travel or minimums for small jobs; factor that into comparisons.
- Film type: Ceramic and selective films cost more but age better and preserve views – that is the single biggest driver of price.
- Glass size and geometry: Large panes, skylights, and curved or segmented automotive glass increase labor time and cost.
- Preparation and removal: Removing old film or dealing with failed insulated glass units raises costs; replacement glass is often more economical than high-end film on failed IGUs.
- Warranty and brand: Manufacturer-backed films with 10 to 15 year warranties are pricier; installer workmanship warranties add value and are worth paying for.
- Accessibility and scheduling: Commercial storefronts with after-hours work or multi-day staging push labor costs higher.
Practical ROI judgement: energy bill payback in the Pacific Northwest is usually slow because cooling loads are modest compared with hot climates. Expect payback measured in years, not months. The real, faster payback is non-energy: reduced UV fading, better occupant comfort in afternoon sun, lower AC cycling during heat spikes, and fewer complaints from tenants or customers.
Concrete example: A Beaverton homeowner with a west-facing living room and about 40 square feet of exposed glass chose 3M Prestige selective film. Installed cost was in the mid-tier range and the homeowner reported noticeably cooler afternoons and eliminated visible fading on a sofa. The financial return did not cover the full film cost in a single season, but avoided furniture replacement and improved comfort immediately – a common real-world payoff.
How to budget and compare quotes
- Ask for a square foot breakdown: Request film model, installed square footage, and separate labor and materials lines so you can compare apples to apples.
- Require performance numbers: Visible light transmission and solar heat gain coefficient or Solar Energy Rejected for the specified film model.
- Check warranties in writing: Manufacturer performance warranty and installer workmanship warranty with durations and what they cover.
- Plan phased installs: Treat high-impact panes first – west and south exposures – then expand if results justify the next spend.
Cheap dye-based films are tempting but often need replacement in 3 to 5 years. Spending more up front on selective or ceramic film usually reduces lifetime cost and disruption.
When you are ready for a site assessment, bring a scope: list the problem areas, note any failed seals or condensation, and ask the installer to show sample swatches in your actual lighting. For localized service options see residential window tinting or review energy context at the Department of Energy.

HOA, historic district and local code considerations in Beaverton
Straight fact: the paperwork and appearance rules are where most window tinting projects stall in Beaverton. HOAs and design overlays care about what your house or storefront looks like from the street; city planning and historic districts add an extra layer of review beyond municipal building code. Check the City of Beaverton planning pages early: Beaverton Planning.
How local rules actually affect choices
What gets flagged: finishes that increase mirror-like reflectivity, tints that appear very dark from the outside, and decorative films that noticeably change exterior aesthetics. Practical consequence: a denial usually means removal at owner expense, or a retrofit to a materially different film that meets the board or review standards.
Important limitation: municipal code rarely bans standard solar-control or low-e films outright, but historic overlays are different: they often require design review and can prohibit changes that alter original window appearance. That makes high-VLT, nonmetalized films the safest technical choice in sensitive districts — and yes, that option usually costs more.
A practical approval workflow you can use
- Pull the documents first: locate your HOA covenants and any neighborhood design guidelines; note required submission forms and expected timelines.
- Assemble a spec packet: include photos of existing windows, proposed sample swatch, manufacturer performance sheet with VLT and solar rejection numbers, and a short installer statement of scope.
- Submit in writing and get a dated response: whether the HOA approves, requests changes, or denies—keep their reply; the installer should not order custom film until you have this.
- If in a historic overlay, contact city planning early: attach the same packet and ask how design review applies to film finishes and visible exterior changes (Beaverton Planning).
- Have a fallback film in mind: pick a nonreflective selective or ceramic option as Plan B to avoid project cancellation if a mirrored finish is refused.
Practical tradeoff: low-reflectance ceramic/selective films are usually accepted more readily because they preserve exterior appearance, but they are higher cost. Expect the decision point: pay more to avoid a drawn-out approval or push a cheaper reflective film and risk denial and removal costs.
Concrete example: A small storefront in Old Town Beaverton ordered a dark, reflective film without confirming design review. The business received a notice requiring removal and had to replace the material with a higher-VLT selective film that matched the district guidelines. The replacement added cost and two weeks of downtime—avoidable with a pre-submission packet.
Judgment call: installers who pressure you to order film before written approval are creating risk, not savings. Insist on written procurement terms that allow swapping film if a review body requires a different finish. If you want help turning your CCRs into a submission packet, many local installers — including companies that provide on-site assessments — will prepare the documentation for review; just confirm they will wait for approval before ordering custom film. See residential window tinting or contact if you need an on-site packet prepared.

How to select a reliable installer in Beaverton
Start with the pre-job assessment. How an installer surveys your home or storefront tells you more than a low bid: look for measurement discipline, sample placement in your real light, and a willingness to flag glass problems before quoting.
Practical verification steps. Insist on a documented site visit that includes measured glass area, photos of existing conditions, a sample swatch taped where it will be used, and a written statement on whether any windows need glass replacement before film is applied.
Red flags, tradeoffs, and what each means
Red flag: an installer who wants to order film the day you sign without a site visit. Why it matters: that shortcut hides risk — failed insulated glass units and edge-condition problems show up after installation and usually cost more to fix than a proper assessment.
Real tradeoff: certified installers and those who register manufacturer warranties cost more up front but reduce long-term risk. If you choose a cheaper crew, budget extra for potential rework and shorter-lived film performance.
| What to ask | What a confident, professional answer looks like |
|---|---|
| Can you register the manufacturer warranty for my job? | Yes — we will register the film and provide a copy of the registration confirmation. |
| Do you remove old film and inspect sealed units? | Yes — removal is itemized and we will not tint IGUs with visible seal failure without owner approval. |
| Will you perform a small test patch or mock-up? | Yes — we install a patch so you can verify appearance and VLT in your lighting before full install. |
| Do you carry general liability and workers comp? | Yes — certificate of insurance provided with policy limits and policy number. |
Contract terms to demand. Require performance figures for the named film model (VLT and SHGC or TSER), a written workmanship warranty with a clear remedy window, a cancellation/return policy for custom-ordered film, and a timeline for remedial work if issues appear after curing.
Concrete example: A Beaverton homeowner accepted the lowest quote, then the crew applied film over a failing IGU. Within a year the film showed adhesive failure and the installer refused warranty registration because the film came from a distributor rather than the manufacturer. The owner paid again to replace two windows and re-install high-quality film from a certified installer who provided registration and a workmanship guarantee.
Local practical tip: ask for nearby job references you can inspect in person, not just photos. Seeing an older installation in Beaverton weather tells you how the film and workmanship hold up in local conditions.
What to expect during installation and immediate aftercare
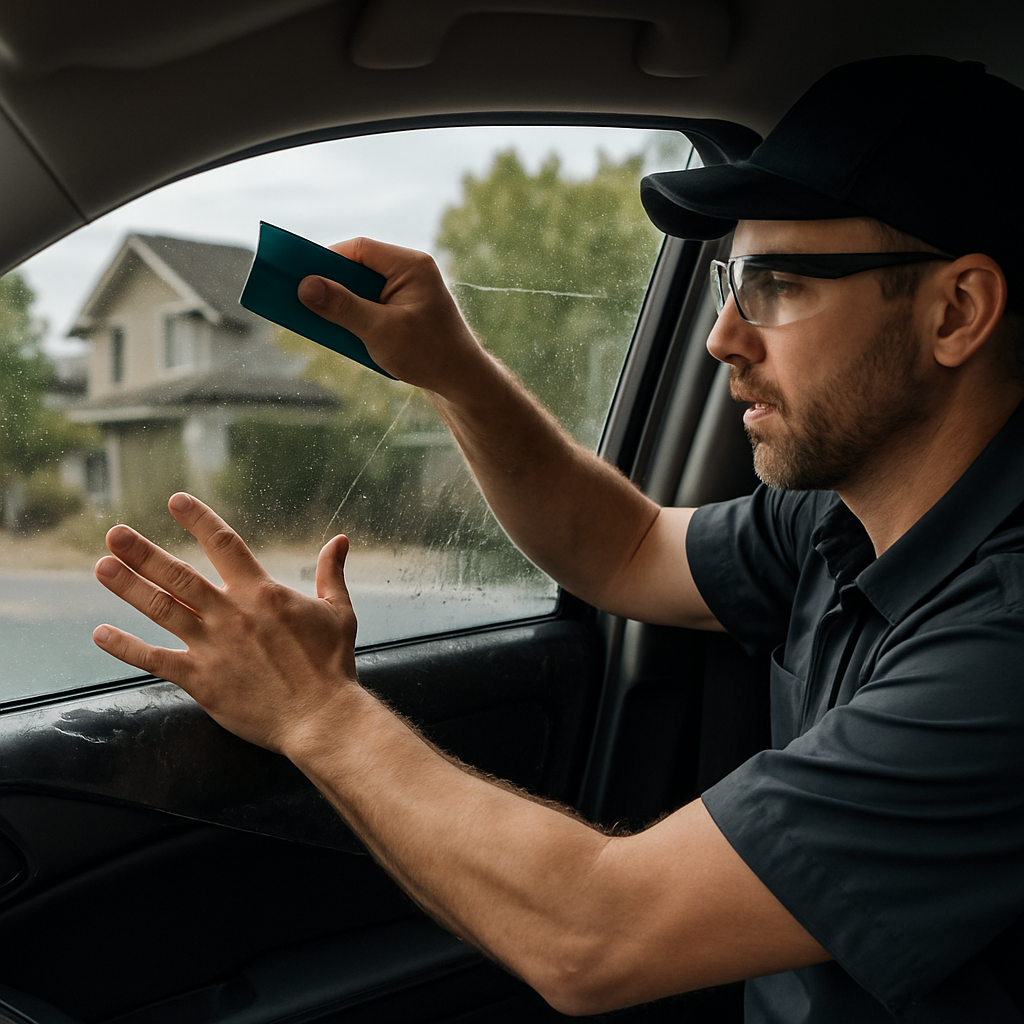
Straight to the point: installation is a staged, hands-on process that changes how your glass behaves for the first few weeks. Most single-family residential jobs finish in one day; larger storefronts or phased commercial installs take multiple shifts and sometimes night work to avoid business disruption. When you search for window tinting beaverton oregon, use the install timeline as a decision factor — fast jobs are rarely the highest quality.
What happens on install day
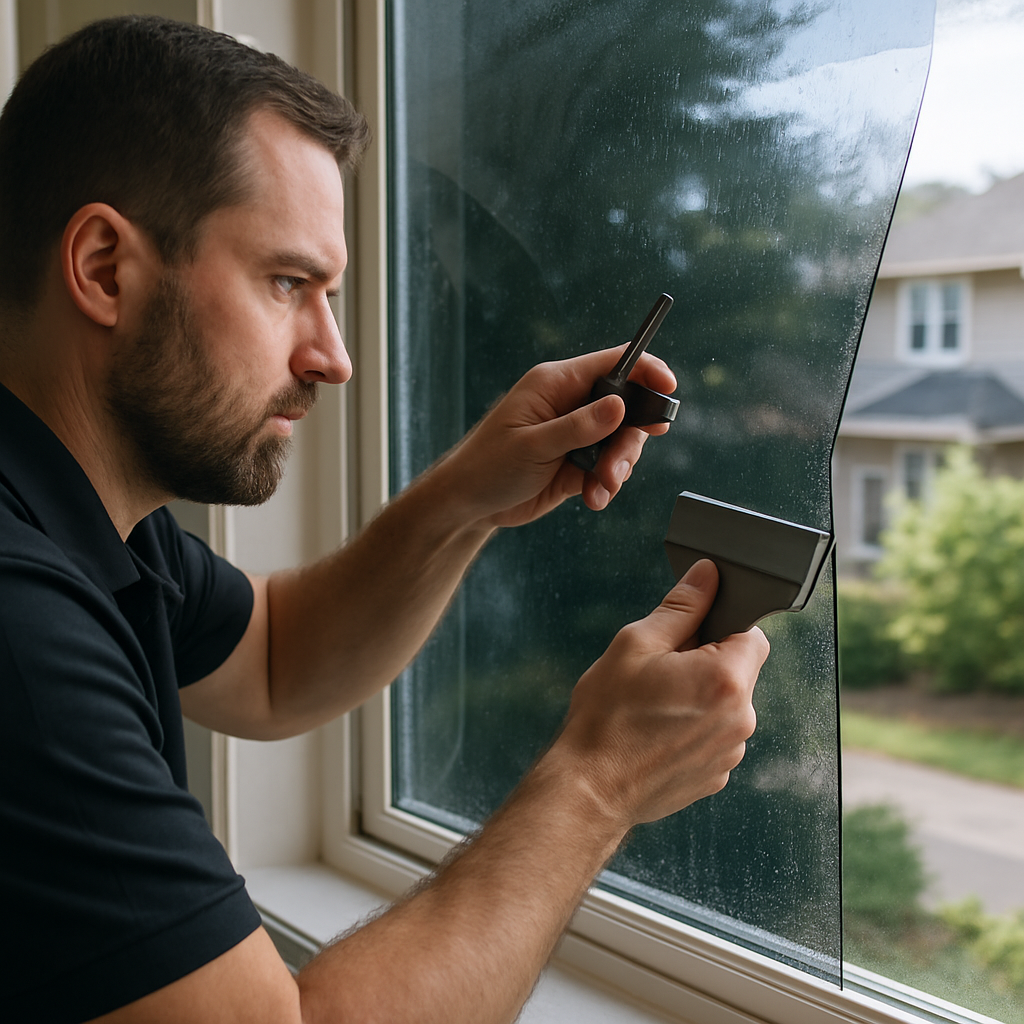
Technicians follow a repeatable sequence: controlled measurement and masking, full glass preparation (debris, old film removal if any), wet application of the film, careful squeegeeing and edge trim, and then final inspection. Expect technicians to use razor scrapers, film cutters, and a steady supply of distilled application solution — these are normal, not signs of corner cutting. If an installer rushes through prep or skips a visible test patch, stop and ask why.
- Before arrival: clear a 3-foot working zone, unlock windows if needed, move curtains/blinds and fragile items off sills, and secure pets out of the work area.
- During work: expect noise from scraping and trimming, temporary water runoff, and technicians stepping inside rooms; plan for 1–4 hours for a handful of residential windows and a full day for a typical living-room-plus-bedroom set.
- After final trim: installers will tape edges in place and leave a small inspection patch in some cases so you can approve appearance before they finish remaining panes.
Curing and cleaning window film — films need time to settle. Practical rule: do not wipe or scrub treated glass for at least 7 days; in cool, damp weather or for thicker security films, wait up to 30 days before aggressive cleaning. During curing you may see fine moisture lines or tiny surface bubbles that usually vanish as adhesive sets; persistent bubbles or hazing beyond the cure window should be documented and reported to the installer.
Common immediate issues and their tradeoffs: trapped dust or lint is the most frequent cosmetic problem and is almost always an installer error; it can sometimes be removed in a repair visit but large particulates require reapplication. Attempting to apply film to glass with failing sealed units or heavy edge corrosion will accelerate adhesive failure — a competent installer will refuse or recommend glass replacement first. That refusal can feel like an upsell; it is often cheaper than redoing film twice.
Concrete example: A homeowner in Beaverton scheduled a living-room install and cleaned the windows the day after application. The film picked up swirl scratches from a scouring pad and required a partial rework. The certified installer reinstalled two panes under workmanship warranty and provided a written 30-day cleaning schedule to avoid repeat mistakes.
If you want the installer to prepare the HOA or project packet and wait for approval before ordering film, request that in writing. For local, professional service options see residential window tinting or contact a certified provider through Tinting Oregon.
Next consideration: confirm the installer’s documented cure and cleaning schedule and the procedure for claiming remedy during the warranty period — that single piece of paper prevents most post-install disputes.
Maintenance, warranty, and long term performance
Straight truth: the day-to-day care and the paperwork you collect after installation determine whether your investment in window tinting beaverton oregon delivers value or turns into a headache. High-quality film and a neat install help, but long-term performance is controlled by proper cleaning, prompt inspection of problems, and a warranty that is clear and enforceable.
Cleaning and routine maintenance that actually extend life
Practical method: rinse large panes with clean water first, then wipe with a soft microfiber or a soft squeegee and a mild detergent solution. Avoid ammonia-based cleaners, abrasive pads, and razor contact with the film surface. For commercial or multi-unit properties train janitorial staff on an approved product list and post the cleaning interval where crews will see it.
Limitation to plan for: in cool, damp seasons adhesive curing and edge adhesion slow down. That means aggressive cleaning too soon or scrubbing at the film edges can lift adhesive and void workmanship claims. Ask your installer for a job-specific cure window—it depends on film thickness and the schedule they used.
Warranties: ask for specifics, not slogans
What to require in writing: a named manufacturer warranty for performance (with the exact model number), plus an installer workmanship warranty that specifies remedy (repair or replacement), response times, and who pays for removal if replacement glass is required. Get proof of warranty registration before final payment and keep a copy with your home records.
Warranty traps to avoid: many warranties exclude damage from improper cleaning, condensation-related edge failure, or pre-existing seal problems. If an installer offers a long workmanship warranty but uses unbranded film, insist on manufacturer backing too. A transferable registered warranty matters if you sell the property.
Real-world example: A small Beaverton office had janitorial crews use an ammonia cleaner across all glass. Over a season several panes showed adhesive haze and edge lift. Because the owner had the installer register the film and kept the cleaning instructions on file, the manufacturer covered replacement of affected panes; without that paperwork the business would have paid out of pocket.
- Maintenance checklist: keep a printed care card from the installer, use only approved cleaners, avoid scrapers and abrasive tools, and schedule an annual inspection for edge lift or bubbling.
- Documentation to collect: pre-install photos of glass, the film model and serial or batch if provided, the warranty registration confirmation, and the installer workmanship certificate.
- Operational note for managers: include approved-cleaner language in janitorial contracts and require contractor sign-off that they understand the cure window.
If an installer hesitates to register the manufacturer warranty or to put cleaning instructions in writing, consider that a red flag. Paperwork is where most disputes get resolved.