
Choosing the Right Window Tinting Place: Questions to Ask and Red Flags to Watch
Choosing the right window tinting place matters more than price alone; installer skill, film selection, and warranty determine whether your project delivers real energy savings, UV protection, and long life or ends up needing costly rework. This short guide gives Oregon homeowners and property managers the exact questions to ask, the film specs that actually matter, and the red flags that predict trouble so you can compare quotes and pick a reliable installer.
Why choosing the right window tinting place matters for performance and longevity
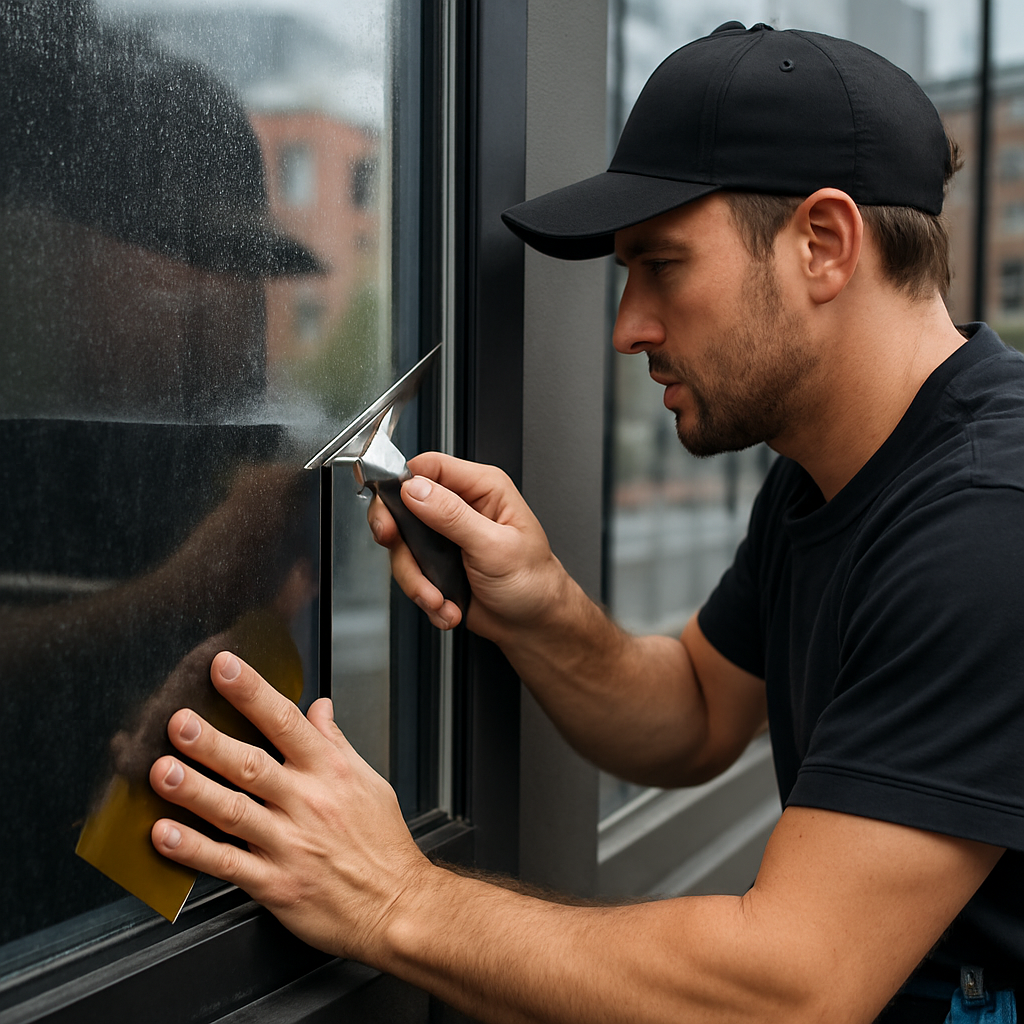
Key point: Installer skill and process determine whether a high-quality film performs for a decade or fails in months. Even premium ceramic or spectrally selective films will bubble, peel, or delaminate if the glass is not cleaned properly, margins are not trimmed to fit insulating glass units, or edges are left exposed to ponding water.
Why materials and workmanship are different risks
Material tradeoff: High-performance films such as ceramic or spectrally selective products deliver meaningful solar control and less visible light loss, but they cost more and require precise cutting and edge work. Metalized films may be cheaper and strong at rejecting heat, but they raise the risk of radio signal interference and mirror like reflections that can upset storefront aesthetics.
Workmanship tradeoff: A lower price only looks attractive before failure. Poorly trained installers commonly skip proper adhesion testing, do not follow manufacturer curing times, and fail to address thermal stress on insulated glass units – all of which shorten functional life and void warranties in practice.
- Warranty nuance: Many manufacturer warranties require installation by certified installers to remain valid; an installer who provides lifetime coverage orally but is not certified leaves customers with weak recourse.
- Operational impact: Overemphasizing visible light reduction to cut cooling loads can create dark interiors that increase lighting use in Oregon winters, reducing net energy benefits.
Concrete example: A mid sized Portland office chose the cheapest quote and a dark metalized film. Within eight months employees reported glare and hot spots; the building later paid to remove and replace the film with a spectrally selective ceramic product installed by a certified crew, doubling the expected service life and eliminating signal interference.
Judgment: When evaluating a window tinting place, prioritize documented local experience and manufacturer certification over small price differences. In the Pacific Northwest the wrong film or sloppy installation more often reduces occupant comfort and shortens film life than it improves energy bills.
Next consideration: After you confirm installer credentials, the next step is to compare film datasheets side by side and request a site mock up or sample install so you can see how the film performs on your actual glass before committing.
Essential questions to ask before you request an estimate
Start tight: do not ask a vendor to ballpark a price until they answer a handful of concrete, verifiable questions. The point of these questions is to expose gaps in process, credentials, and product transparency so your written estimate compares apples to apples.
Priority questions grouped by decision area
- Local experience: How many residential and commercial installs have you completed in my city in the last 24 months, and can you provide dated photos plus two contactable references? Local climate and building stock matter.
- Product specifics: Which manufacturers and part numbers do you recommend for this job (for example 3M, LLumar, Huper Optik)? Please provide the technical data sheets (TDS) and NFRC or lab ratings for VLT, SHGC, and UV rejection.
- Certifications and insurance: Are your installers certified by the manufacturer or IWFA, and can you provide proof of general liability and workers compensation insurance for this project?
- Survey and mock up: Will you perform a site measurement and a small sample or mock up on my glass before full installation? If not, explain how you validate fit and optical acceptance.
- Glass compatibility: Do you have experience with low-e, heat- strengthened, laminated, or curved glass and what steps do you take to mitigate thermal stress or delamination on IGUs?
- Warranty detail: Request a written warranty that names the film part number, lists covered failures (adhesive, discoloration, peeling), gives coverage length, and explains who handles claims and whether the warranty transfers to a new owner.
- Scope and exclusions: Does the estimate include removal of existing film, disposal, edge sealing (if recommended), travel fees, permits, or coordination with an HOA? Get exclusions in writing.
- Timeline and cure: What is the expected install duration, recommended cure time before cleaning or inspection, and do you perform a 30–90 day follow up inspection?
- On-site control & mobile service: If using a mobile window tint service, what measures do you take to control dust, temperature, and on-glass curing compared with shop installations?
- Energy and permitting help: Can you provide calculations or references showing expected heat reduction for this orientation and help with Energy Trust or permitting questions?
Practical trade-off: a certified installer charging 10–20 percent more usually saves you money in the long run by avoiding rework and preserving manufacturer warranties. Certification proves training, not everything—ask for recent, local job photos because some certified installers rarely work on the specific glass types you have.
Concrete example: A Salem homeowner worried about sun-faded hardwood requested the installer provide a TDS showing at least 99 percent UV rejection and a one-window mock up. The mock up proved the selected ceramic film preserved daylight while stopping fading; the homeowner approved the film and the full job avoided costly returns and aesthetic mismatch.
Practical judgement: vendors who quote VLT and SHGC numbers but refuse to show the actual film sample or the TDS are hiding trade-offs. Numbers without samples mean you cannot judge visible light, reflectance, or color shift in your space—insist on seeing the film on your glass or a physical swatch before signing.
Get written specs, a site measurement, and a dated photo of a local, similar install before you accept any estimate.
Next step: use the answers above to require a written estimate that lists film brand, part number, VLT/SHGC/UV ratings, labor scope, and warranty contact. If a vendor balks at any of those items, move on to a provider that treats specs and process as nonnegotiable.
How to read and compare film specifications that matter
Start with outcomes, not numbers. Technical sheets are useful only when you tie each spec to what you want the film to do in your building: reduce cooling load on west façades, preserve daylight in living rooms, or stop UV fade on floors and artwork.
Which specs actually move the needle
Visible Light Transmission (VLT): This controls how bright a space remains. High VLT keeps interiors naturally lit; low VLT improves privacy but can force more interior lighting in Oregon winters. Choose VLT to balance occupant comfort and daylighting goals rather than chasing the darkest option.
Solar Heat Gain and SHGC-related metrics: These tell you how much solar heat is blocked. Prioritize these on south and west exposures where cooling is the issue. For mixed-use facades, spectrally selective films usually give better cooling without excessive darkening.
UV rejection and durability figures: High UV blocking protects finishes. Don’t accept vague claims — demand the manufacturer test result on the TDS. Also check adhesive and color stability ratings; some low-cost films list UV block but fail cosmetically in a few years.
| Specification | What it tells you | What to ask the window tinting place |
|---|---|---|
| VLT | How much visible light passes through | Which VLT will meet our daylighting and privacy needs on these windows? |
| SHGC / Solar rejection | How much solar heat is reduced (affects cooling) | Show predicted cooling benefit for west/south façades using this film |
| UV rejection | Protection against fading and skin exposure | Provide the TDS UV test and expected indoor fade reduction |
| Emissivity / IR rejection | How the film handles longwave heat and emissivity of the glazing | Will this film interact with my low-e coating or insulated units? |
| Visible light reflectance | Exterior appearance and potential glare to neighbors | Show a swatch or photo of installed film on similar glass in my area |
Material trade-offs matter in practice. Ceramic and spectrally selective films give strong heat control with modest color shift and no radio interference; they cost more but avoid common failure modes. Metalized films cool well and are less expensive but can cause reflections, signal issues, and sometimes higher visible reflectance that triggers HOA pushback.
Real-world case: A downtown retail tenant selected a reflective film based on high lab rejection numbers. After install, the store received complaints because the film produced a mirror effect on the street side and changed storefront appearance required by the landlord. The owner paid to replace the film with a low-reflectance spectrally selective product that matched the façade.
Practical limitation: Lab ratings are measured under ideal conditions. Field performance depends on glass type, frame details, and installation quality. Ask the window tinting place for an on-glass mock up or local install photos showing the specific film on similar glazing.
Ask for the manufacturer Technical Data Sheet and an NFRC or lab label — then insist on an on-glass sample so you can see VLT, reflectance, and color shift in your space.

Next consideration: Once you understand which specs matter for each orientation and room, require the window tinting place to demonstrate those specs on your glass before work starts — it is the single most effective way to avoid unpleasant surprises.
Red flags to watch for during vendor selection
Straight answer: Some vendor behaviors predict failure more reliably than specific price points. Watch for patterns of opacity, shortcuts, and shifting responsibility; these show up before a single piece of film is cut and almost always cost you time and money later.
- No verifiable, recent work in your region: A vendor who cannot produce dated photos or contactable references from nearby projects is hiding either poor quality or a lack of relevant experience.
- Vague or shifting warranty language: If warranty terms are described only verbally, or the installer says the manufacturer will handle everything but cannot provide written confirmation, you will lose leverage when problems show up.
- Cash only or no formal contract: Insistence on cash payments, refusal to sign a clear scope of work, or ambiguous start/end dates is a deliberate transfer of risk to you.
- Pressure to pick the darkest film or a specific product on the spot: Aggressive upsells for darker or cheaper metalized films without an on-glass mock up often lead to optical issues, HOA complaints, or signal interference.
- No site survey or basic tools missing: Installers who skip a walk-through, decline to measure with calibrated tools, or show up without edge-sealing materials tend to make sizing mistakes and leave exposed edges that fail early.
- Blame-first responses: Vendors who immediately blame glass or building conditions for foreseeable installation problems instead of owning corrective work are likely to fight warranty claims.
Trade-off to accept: A slightly higher quote from a transparent, documented vendor buys risk reduction. Insist on a written scope that names the film part number, defines acceptance criteria, and lists responsibilities for removal, cleanup, and post-install inspection. That clarity costs little and prevents most disputes.
Concrete example: An independently owned salon in Eugene accepted a low bid that came with only verbal warranty promises. The crew skipped edge sealing to save time; within a year moisture tracked behind the film and adhesive failed on several panes. The original installer denied responsibility, forcing the salon to pay a second contractor to remove and replace panels and to negotiate with the manufacturer for any coverage.
Judgment: Certification stickers and slick sales decks are necessary but not sufficient. Prioritize vendors who answer operational questions — how they control dust, how they perform fit checks on insulated glass, and how they document handoff — over those who lean on brand names alone. That operational competence is a better predictor of long life than a single marketing claim.
If a vendor refuses an on-glass mock up or to show a dated photo of a nearby install with the same film, find a different window tinting place.
How to compare quotes and spot hidden costs
Start by treating the lowest line item as a red flag. Low initial prices often rely on omissions: no film part number, no tear-out allowance, or no labor for edge sealing. A credible window tinting place puts everything on paper so you can see what will actually be installed and who pays for surprises.
Three practical checks that expose real cost differences
- Demand the film part number and TDS: Compare part numbers, not adjectives. If one estimate says ceramic and the other just says premium, you do not have comparable scopes. Ask the vendor to attach the Technical Data Sheet or an NFRC label to the quote.
- Break out labor, access, and mobilization separately: Look for per-window labor hours, charges for lifts or scaffolding, and a mobilization/mileage line. Lump-sum pricing hides long-duration or hard-to-access charges that show up as change orders.
- Require explicit allowances and exclusions: The quote should state whether old film removal, disposal, lifting interior finishes, HOA permit coordination, or glass replacement due to thermal stress are included, excluded, or quoted as allowances.
Practical trade-off: A shop with a higher line-item labor rate may still be cheaper overall if they include removal, edge sealing, and follow-up inspections. Conversely, the lowest hourly rate can become the most expensive once you add travel, disposal, and unquoted overtime for difficult panels.
Concrete example: A Portland storefront received two quotes. Vendor A priced $2,200 but omitted lift rental and glass removal; Vendor B quoted $2,800 and listed those items. During install Vendor A billed an extra $900 for a boom and for replacing two thermally cracked panes. The final cost made Vendor B the better value and left the owner with clearer documentation to claim warranty work.
Watch for substitution and warranty holes. Inspect quotes for language that allows the installer to substitute film without your approval or to limit warranty recourse to manufacturer-only claims. That practice transfers the burden to you to navigate warranty bureaucracy if the installer will not own corrective work.
Takeaway: Force vendors to itemize film part numbers, removal and access costs, and warranty responsibilities. Buy the documented package you can verify on arrival — not the lowest number you hope turns out honest.
What to expect during installation and reasonable timelines
Straight answer: a competent window tinting place will turn a measured, stage‑driven process into predictable results — not a rush job finished on a single phone call. Expect planning, a controlled application window, and staged inspections rather than an all-at-once slapdash install.
Typical stages and how long they take
- Survey and mock up (1–7 days before install): on-site measurements, a small test panel or swatch on your glass, and a confirmed work schedule. This is when fit issues and visible light trade-offs are nailed down.
- Preparation day (same day or day before): furniture moved, protection placed, lifts set up. For multi-floor commercial work this can require permits and coordination with building ops.
- Application window (per pane: 30–90 minutes; per typical single-family home: same-day; larger commercial jobs: days to weeks): film is cut to fit, glass cleaned, film applied, and squeegeed. Complex façades or exterior work with lifts add hours per unit and slow the overall pace.
- Initial stabilization (24–72 hours): installers avoid aggressive cleaning and ask occupants not to touch edges while adhesive begins to set. This is not cosmetic drying; the bond strengthens over days.
- Follow-up visit (4–12 weeks): the team inspects for edge lift, trapped moisture, or adhesive issues and documents condition for warranty. Expect photos and a short punch-list if anything needs attention.
Practical trade-off: mobile window tint service is convenient and often faster, but shops give a cleaner environment and more consistent cuts. If your project has lots of small panes, delicate frames, or is scheduled during cool, damp months, favor a shop install or insist on a controlled on-site staging area.
Installation realities that matter: temperature and humidity materially alter adhesive behavior. In the Pacific Northwest, colder temps slow cure and increase the chance of temporary surface hazing; a reputable installer will either delay work or use warming tents/heat sources and document the conditions in writing. Do not accept an install when the crew says they can make it work without adjusting schedule or equipment.
Concrete example: A mid-sized Portland law office scheduled a weekend install to avoid business disruption. The crew performed a Friday mock up, applied film overnight to the west-facing glass, and returned three days later for a targeted edge seal on sun‑exposed panes. A 6‑week inspection caught a minor corner lift on one unit; the installer replaced that pane under warranty at no charge.
Expect documented timing: a confirmed prep day, a clear application window, and a follow-up visit within 4–12 weeks. If the window tinting place refuses to put those dates in writing, treat timing as a risk factor.
Final judgment: timelines are negotiable but not optional — proper sequencing and measurable cure windows prevent most early failures. Insist on a schedule, written post‑install care, and a documented follow-up visit; that combination separates a reliable window tinting place from the ones that leave you waiting for a warranty return.
Local Oregon considerations and regulatory notes
Local rules and seasons change the job more than you think. In Oregon, a competent window tinting place does three extra things that matter: navigates municipal or HOA approvals, times the work around weather and smoke, and documents compliance for incentives or permits. If your installer treats these as afterthoughts, expect delays, extra charges, or a film choice you cannot legally use.
Permits, HOAs, and historic district traps
Many Oregon cities require permits or review for exterior glazing changes on commercial buildings; historic districts and HOAs commonly restrict visible reflectance or dark tints. A responsible vendor will provide application-ready materials (part numbers, TDS, photos), draft a simple visual mock-up for your review, and — where needed — file or support the permit/approval paperwork. If they give you verbal assurances without paperwork, they are passing risk to you.
Concrete example: A Salem homeowner submitted a mock-up to the local historic commission showing a low-reflectance ceramic film. The commission approved the near-invisible option but rejected a reflective metalized film on aesthetic grounds. The installer that prepared the mock-up avoided a month of rework and saved the homeowner permit fees and replacement costs.
Seasonal scheduling, smoke, and thermal stress
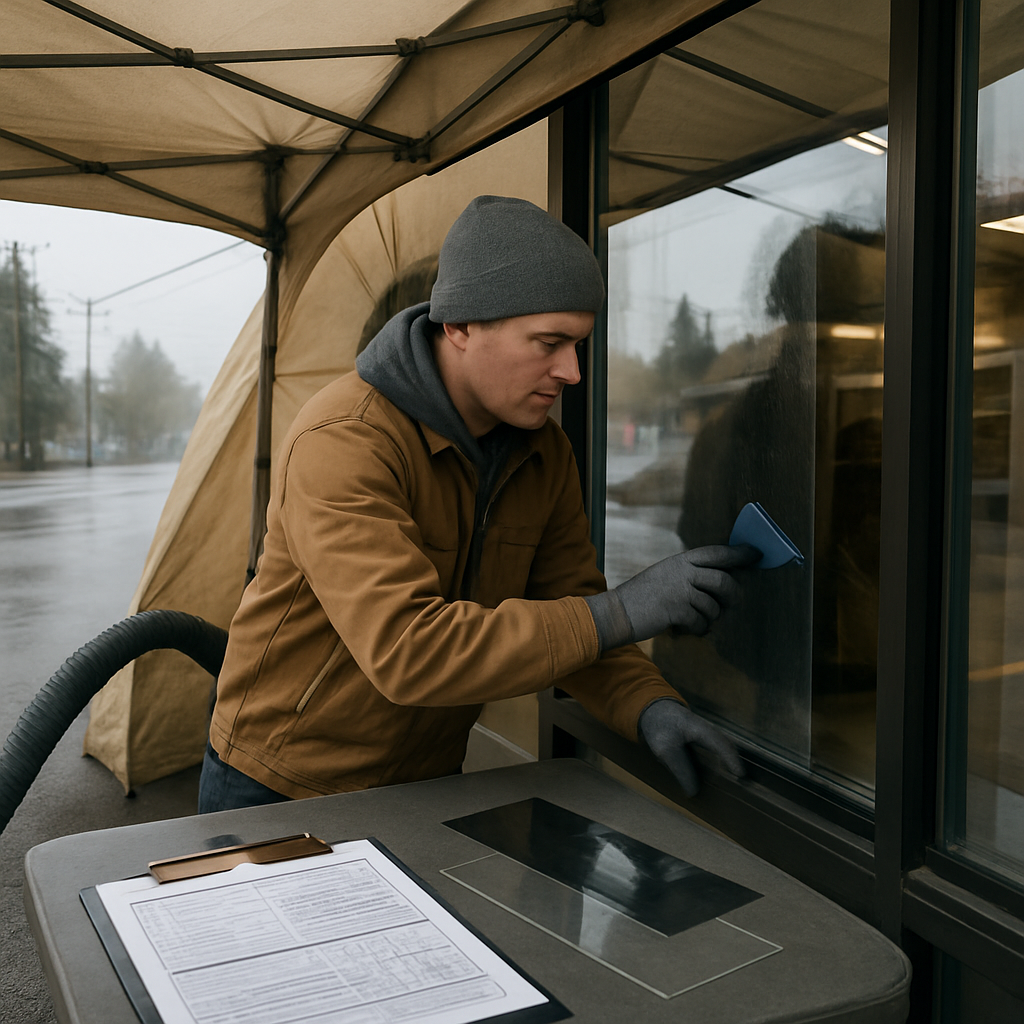
Oregon weather matters. Cold, damp conditions slow adhesive cure and increase surface hazing; wildfire smoke introduces particulates that permanently trap under film if applied during heavy haze. Installers should present a seasonal plan: acceptable temperature/humidity windows, use of heated tents or shop installs, and a smoke-avoidance policy. A vendor who insists they can install in any weather without controls is risking adhesion and optics.
Practical trade-off: Mobile window tint service is convenient for small jobs, but in cool or smoky months a shop install or staged on-site tenting reduces risk of rework. Paying a bit more for controlled conditions avoids common failures that become expensive under warranty disputes.
- Documentation to demand: a TAPED list of film part numbers and TDS, dated photos of local installs in similar climates, and a written statement about seasonality and smoke mitigation
- Permit and incentive support: confirmation whether the film and installer meet requirements for Energy Trust of Oregon guidance or local rebates
- Automotive compliance note: for car tinting, request a statement of compliance with Oregon vehicle tint rules and a copy of the installer’s compliance certificate
On automotive work: state vehicle tint limits are enforced and vary by window and medical exemptions. A reliable auto glass tinting shop will know Oregon DMV limits, provide a written compliance note, and refuse to install films that create a legal liability for you. If your installer dodges that conversation, walk away.
Final judgment: choose a local window tinting place that treats paperwork, timing, and local approvals as core competencies. Those operational skills prevent most schedule overruns, disputed warranties, and aesthetic rejections — and in Oregon they are worth paying for up front. For help with local permitting or project planning, see Tinting Oregon residential services and commercial services.
Key takeaway: Verify your installer can handle permits, seasonal constraints, and local compliance up front — those are the issues that turn a competent film into a durable, trouble-free retrofit in Oregon.
How Tinting Oregon supports customers evaluating vendors
Clear role: Tinting Oregon acts as a practical, on-the-ground evaluator when you are comparing a shortlist of window tinting places — we verify claims, test how candidate films look on your actual glass, and point out contractual traps that few buyers notice until it is too late.
What we do during a vendor evaluation
- On-glass mock ups: apply small film samples to the same panes your vendors quoted so you can judge VLT, color shift, and reflectance, not just lab numbers.
- Technical verification: review the vendor's Technical Data Sheets and NFRC/lab labels for the exact part numbers they propose and flag unsupported or vague claims.
- Contract review: scan estimates for substitution clauses, unclear warranty responsibilities, and missing line items like removal, edge sealing, or lift rental.
- Comparative report: deliver a short, dated summary that compares true scopes side-by-side (film part, measured VLT/SHGC from the TDS, specified labor, and warranty contact).
- Permit and HOA check: confirm whether the proposed film will likely pass local approvals or require additional documentation for historic districts or Energy Trust programs.
- Recommendation and handshake: we recommend whether to hire a vendor, request changes, or require an on-glass proof prior to payment.
Practical trade-off: paying a third party for a short evaluation is an upfront cost but it eliminates common downstream expenses — rework, denied warranty claims, and surprise change orders. For medium and large commercial jobs the evaluation fee is routinely recovered because it forces apples-to-apples comparisons and closes substitution loopholes.
Concrete example: A Bend medical clinic had three bids with similar numbers. We did a single-site mock up, discovered one vendor planned to substitute a lower-grade metalized film, and documented that substitution clause in our report. The clinic chose the certified installer we vetted; the result preserved daylight, avoided radio interference, and prevented a costly mid-project change.
Limitation and judgment: we do not replace manufacturer warranties or guarantee another contractor's workmanship. What we provide is risk reduction—clear documentation, a tested visual sample on your glass, and a contract checklist that makes warranty responsibility explicit. If you need warranty enforcement later, that process still runs through the installer and manufacturer, but our documentation makes claims resolvable instead of arguable.
If you are comparing two or more quotes, insist on at least one on-glass mock up plus a written comparative report before you sign any contract.
If you want hands-on help, we document findings and provide a short recommendations memo you can attach to your RFP or use to renegotiate terms. See our residential and commercial service pages for process details: Tinting Oregon residential services and Tinting Oregon commercial services.