Window Tint Service Near Me: Scheduling, On-site Options, and What to Expect
If you are searching for a window tint service near me in Portland, Salem, Eugene, or Bend, this guide gives practical steps to find, schedule, and prepare for a professional installation. You will learn how mobile on-site installs compare with shop-based work, which film types suit Oregon sun and climate, and the scheduling and access details crews need to finish on time. Expect realistic timelines, the main pricing drivers, and a short pre-appointment checklist so you can book confidently and avoid last-minute delays.
How to find a reputable window tint service near me in Portland, Salem, Eugene, or Bend
Start local and inspect proof, not promises. When you search for window tint service near me, prioritize evidence: recent local projects, verified reviews, and clear brand or installer certifications. In Oregon markets a strong local footprint matters because crews familiar with regional glass types and seasonal scheduling constraints will avoid common delays and installation problems.
Local signals that actually predict quality
- Job photos on the company site or Google My Business: look for before and after shots from Portland, Salem, Eugene, or Bend projects so you can confirm workmanship on similar glass types.
- Specific manufacturer certifications: verify technician-level certification from brands like 3M or LLumar rather than a generic badge.
- Recent, geolocated reviews: prefer reviewers who describe job specifics such as ceramic window tinting, storefront installations, or mobile window tint service.
- Proof of insurance and local business registration: liability insurance and a local address reduce risk on commercial projects where access and safety matter.
Practical check: ask for a sample and a copy of the exact film spec sheet before you sign.** A low bid that does not specify brand, model, or visible light transmission is usually hiding inferior film or corner cutting on labor.
Tradeoff to accept: mobile installs will handle most homes and storefronts quickly, but workshop conditions are better for heavy safety laminates or complex decorative films.** Expect mobile work to be faster and less disruptive; expect shop work to cost more but reduce risk for multi-layer safety films or precision pattern matching.
Season and scheduling reality: book earlier for spring and summer.** In Oregon, crews book weeks ahead during sunny months when demand for heat-reducing tints near me spikes; last-minute quotes that promise same-day window tinting service are rarely both cheap and high quality.
Concrete Example: A small-business owner in downtown Eugene needed anti-glare film for a west-facing storefront before a product launch. They vetted two local companies, requested the 3M Crystalline spec sheet, checked that the installer had lift experience, and scheduled a phased evening install to keep the store open. The result was minimal downtime and a documented warranty tied to the exact film model.
Bottom line: focus on documented local experience, exact film model, and installer certification rather than price alone when choosing the best window tint service near me.
Next step: when you are ready, request a site visit or virtual survey with a checklist: exact film model, installation location, warranty terms, and a clear timeline. For local service options and to compare on-site versus shop work, check providers like Tinting Oregon or review installer certification information at International Window Film Association.
Scheduling process step-by-step for Tinting Oregon and similar local providers
Direct fact: A clear, documented intake cuts onsite surprises. Give accurate photos, glass orientation, and a rough square footage up front and you will avoid repeat visits and change orders.
- Step 1 — Initial contact: Provide project address, photos of each elevation, whether glass is tempered or insulated glass, and desired outcomes such as UV protection, privacy, or anti-glare. Request an initial ballpark and ask if the installer offers a virtual survey.
- Step 2 — Virtual or on-site survey: The tech verifies glass types, measures visible light transmission needs, notes obstructions, and documents hardware or film already present. This is when you should ask for the exact film model and spec sheet from the manufacturer.
- Step 3 — Formal quote: Expect a line-item proposal listing film brand/model, VLT, labor per square foot, removal or prep charges, any lift or access fees, and warranty language. Do not accept a quote that leaves brand or VLT blank.
- Step 4 — Sample and acceptance: Ask for a small sample or a swatch and the manufacturer datasheet. Approve the quote in writing, confirm crew size and estimated install window, and pay only the stated deposit.
- Step 5 — Logistics and permits: For commercial sites confirm load-in times, elevator reservations, insurance certificates, and any building permits. For residential jobs confirm parking and whether the crew will need an exterior ladder or scissor lift.
- Step 6 — Day of install and QA: The crew should arrive with protective coverings, an ETA, and a checklist. Perform a walkthrough after installation to log defects and obtain a sign-off that ties the work to the film model noted on the quote.
What crews actually measure and why it matters
Key measurements: Installers record glass type (single pane, IG unit), frame details, sight-line dimensions, and any existing film. Those details change the cut pattern, overlap allowance, and whether a job can be done on-site or needs shop work.
Practical tradeoff: If a project has multilayer safety film or highly patterned decorative film, expect a shop-controlled installation for quality and warranty adherence. Shop work costs more and adds time, but it reduces rework risk on complex laminates.
Concrete example: A homeowner in Southeast Portland sent photos of west-facing living room windows and asked for heat reduction. The estimator confirmed glass was insulated, recommended LLumar IR series, scheduled a two-week window to source film, and a two-person crew completed the install in a single day with minimal furniture moves.
Do this before you book: insist the final invoice references the exact film model and VLT and that the installer provides a manufacturer datasheet. This prevents a substitution on install day and protects warranty claims.
Next consideration: if you are uncertain about glass type, schedule the survey first rather than accepting a flat online price. If you want an estimate or to arrange a virtual survey, start with Tinting Oregon or review installer certification guidance at International Window Film Association.
On-site options: mobile residential installation, on-location commercial crews, and shop-based specialty work
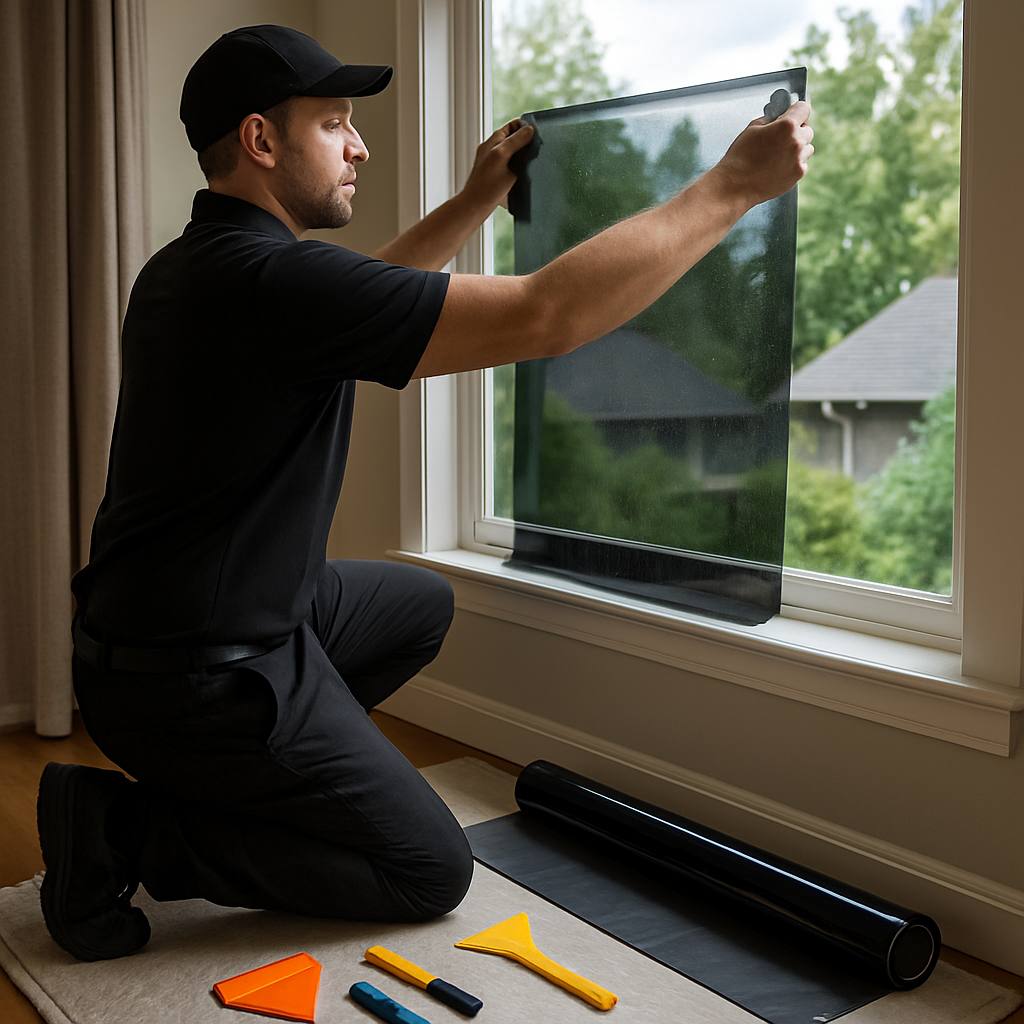
Practical reality: most homeowners and small businesses will use a mobile window tint service near me because it is faster and keeps disruption low. Mobile crews come equipped to measure, cut, and apply films on-site, handle basic glass types, and usually finish single-family installs in a day. That convenience comes with limits that matter for warranty and finish on complex jobs.
How the three options differ in practice
Mobile residential installation: best when you need quick turnaround and minimal building disruption. Mobile crews are efficient on insulated glass, picture windows, and standard sash sizes. Limitation: they struggle with multilayer safety laminates, precision patterned decorative films, or jobs that require factory-quality lamination because those tasks need climate-controlled cutting and curing spaces.
On-location commercial crews: used for storefronts, offices, and phased rollouts where business continuity matters. Commercial crews bring lifts, traffic control, and staged scheduling to work nights or weekends. Tradeoff: you pay more for logistics and certified lift operators, and you must coordinate with building managers for insurance and elevator access.
Shop-based specialty work: reserved for safety films, large-format decorative prints, and custom automotive tints that require multi-pass lamination. A shop environment controls dust, temperature, and humidity, which reduces rework on complex assemblies. Consideration: transporting large glass or moving parts off-site increases handling risk and lead time, and not every installer offers secure shop storage for high-value jobs.
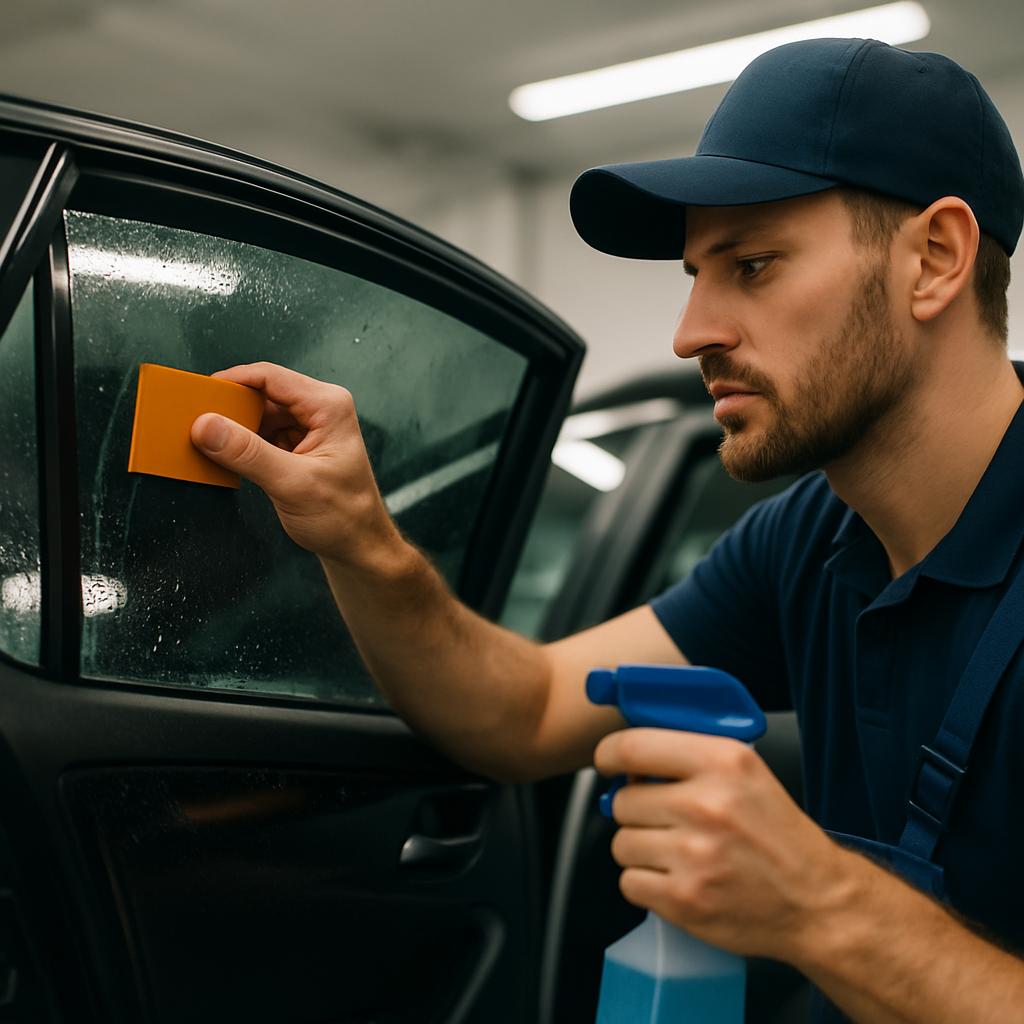
- When to pick mobile: quick residential jobs, standard automotive window tint service, or when you need same-day window tinting service for a few windows.
- When to pick on-location commercial crews: large storefronts, occupied offices, or projects that must be phased to avoid downtime or that require exterior lifts.
- When to pick shop work: multilayer safety films, precision decorative patterns, or custom automotive film work where manufacturer warranty requires controlled conditions.
Concrete Example: A Bend hotel needed privacy window film for conference rooms and anti-glare film on a west-facing breakfast area. The vendor scheduled an on-location crew for overnight installation of the breakfast area using a scissor lift and did the conference room decorative frosting in-shop to ensure pattern alignment. The staged approach kept daytime operations running and delivered a precise frosted finish that would have been hard to get on-site.
Judgment that matters: mobile is the default and usually the best value for Oregon homes and small storefronts, but accepting mobile by habit causes problems when safety or pattern precision matters. If the quote covers a safety laminate or complex decorative film, insist that the installer commits to shop processing or documents equivalent on-site controls.

Choosing the right film for your property: performance categories and brand examples
Choose by function, not price. If your primary goal is heat control, pick a film built for infrared rejection; if you need privacy, pick an opaque or frosted option; if you need blast or impact resistance, pick a certified safety laminate. Calling up a quick search for window tint service near me without specifying the performance you need is the common mistake that leads to a cheap dye film being installed where a ceramic or safety film was required.
Film categories and how they behave in the real world
| Performance goal | What to expect | Typical VLT | Brand examples |
|---|---|---|---|
| Heat and glare reduction with clear view | High IR rejection while keeping daylight and color fidelity | 40% to 80% (higher VLT possible) | 3M Crystalline, Huper Optik Ceramic |
| Budget glare control | Lower upfront cost, visible tinting, modest heat rejection; fades/color shifts over years | 15% to 50% | LLumar dyed series |
| Maximum heat rejection and reflective appearance | Strong solar control but may be metallic-looking and interfere with antennas | 5% to 35% | LLumar IR, sputtered metalized films |
| Privacy and decorative needs | Frosted or printed finishes for bathrooms, conference rooms, branding | Opaque to 80% depending on pattern | LLumar Frost, Madico decorative films |
| Safety and security | Laminates hold glass on impact, can meet code/retrofit needs, often thicker and processed in shop | N/A (film thickness and tear strength matter more) | 3M Safety Series, Madico Safety Films |
Practical insight: For Oregon properties, high-visible-light ceramic or sputtered films usually give the best balance — you keep daylight in often-cloudy months while cutting peak solar heat on sunny afternoons. Dark dyed films that look good in photos reduce glare but can make interiors gloomy and are a poor choice for north-facing rooms or living areas where daylight matters.
Real-world use case: A Portland condo owner had west-facing floor-to-ceiling glass that baked the living room in summer afternoons. The installer recommended Huper Optik ceramic film to retain the view and cut IR heat; the job was completed as a mobile residential installation in one day and the occupant reported noticeably cooler afternoons without the room going dim.
Key trade-offs to weigh before you book
- Signal interference vs performance: metalized films reject heat well but can affect GPS, toll tags, and radio; ceramic avoids that but costs more.
- Appearance vs light: darker films give privacy but reduce natural light; high-VLT ceramic films keep brightness at a higher price point.
- Shop processing vs mobile convenience: thick safety laminates are often shop-processed to meet warranty and test specs; mobile installs are faster but may not be appropriate for some laminates.
Final judgment: If you are searching for the best window tint service near me, prioritize installers who quote a specific film model and performance figures. Matching the film category to the problem you actually have prevents common regrets: a cheap dark film that makes rooms gloomy, or an expensive laminate deployed where a high-performance ceramic would have worked better.
Preparing for the appointment: access, occupant considerations, and surface prep
Straight to the point: installers show up and leave on schedule when site access, occupant coordination, and surface readiness are managed in advance. Missing a parking permit, locked service doors, or greasy window sills are the three things that most commonly force a crew to reschedule or add hours on the clock.
Practical site-access items that matter
Logistics first: confirm parking or a loading zone, elevator reservations, and whether the crew needs a building access badge or escorted entry. For storefronts and offices, provide vendor insurance details and gate codes at least 48 hours ahead to avoid wait time and overtime charges.
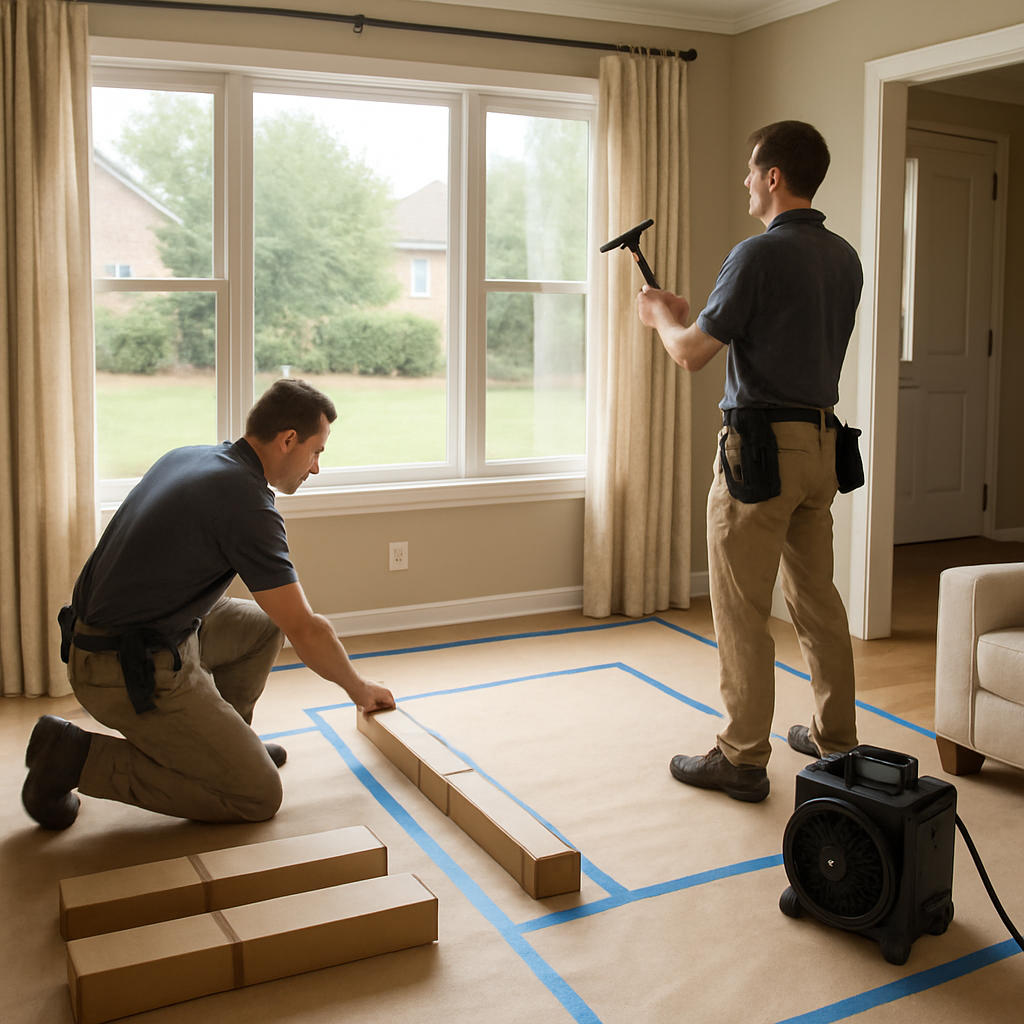
- Clear a 3-foot working zone around the windows so crews can lay out tools and film boxes without moving your furniture.
- Reserve parking close to the entry or permit a temporary loading zone; crews carry large film rolls and tools and won’t park blocks away.
- Book elevator windows: if glass panels require moving between floors, failure to reserve elevator time or padding can add hours to the job.
Occupant coordination is non-trivial. Expect noise when cutting and squeegeeing and a faint adhesive odor for a few hours; plan installs around sensitive occupants (infants, tethered medical equipment, or scent-sensitive staff). Designate one onsite decision-maker so the crew can get quick approvals on film placement and handle minor unforeseen issues without delays.
Surface prep specifics: clean glass should be free of silicone, wax, and hard-water scale. Installers will clean glazing but will refuse to apply film over etching, deep scratches, or loose sealant — those require repair or glass replacement. If you have mineral deposits or paint overspray, expect a prep charge or a recommendation to replace the IG unit.
Environmental limits and tradeoffs: adhesives cure best in moderate temperature and low-humidity conditions. Mobile installs on very cold, wet days increase drying time and the risk of trapped moisture; shop work avoids that but costs more and adds handling time. If you need speed, schedule on a dry, mild day — if you need perfection on safety laminates, accept shop lead time.
Concrete example: A Portland homeowner with a newborn requested low-odor ceramic film and asked for a morning slot. The crew brought HEPA fans, used low-VOC cleaners, and staged the job as a two-hour mobile install while doors were open for ventilation. The homeowner reported minimal odor and the crew completed the living-room windows without disrupting the baby’s routine.
Final judgment: invest 30 minutes of prep on your side and you will usually save several hours and avoid rescheduling fees. The small cost of clearing furniture, confirming access, and addressing etched or contaminated glass up front is cheaper than dealing with a failed install or warranty dispute later.
Pricing, timelines, and common cost drivers in Oregon
Straight fact: the two items that move price and schedule most are film selection and site access. Everything else — labor, travel, and permits — flows from those decisions, so specify the exact film model you want before comparing quotes.
Film construction is the single biggest cost driver. Dyed films sit at the low end, metalized or sputtered films sit midrange, and ceramic or high-IR films sit at the top. Safety laminates add thickness, processing time, and often require controlled shop work or specialized on-site rigging — that increases both price and lead time substantially.
What typically adds to the invoice
- Removal and prep: old film, hard-water scale, or painted-over edges frequently add a line-item and slow the crew.
- Access equipment: scissor lifts, boom trucks, or rope access for taller storefronts carry day rates and certified operators.
- After-hours or phased installs: commercial sites that require nights or weekends pay premium scheduling and logistics fees.
- Travel and staging: projects outside the Portland metro (for example, long runs to Bend or remote Eugene locations) often incur travel and per-diem charges.
Representative installed price ranges (qualify first): basic residential glare/UV films commonly start near $4 to $6 per sq ft installed; metalized and higher-performance sputtered films are often $7 to $12 per sq ft; premium ceramic or high-IR films commonly run $10 to $18 per sq ft; safety laminates and multi-layer security systems can be $15 to $30+ per sq ft depending on testing and certification. Small vehicle window tinting typically ranges from $150 to $400 depending on film and vehicle complexity.
Those numbers are directional. Practical judgment: always convert quotes into a unit price and ask what is included. A low per-square-foot price that excludes removal, lift time, or a required warranty registration will cost more in the end.
Timeline realities in Oregon: mobile residential installs for standard films are often scheduled within one to three weeks when stock is available; specialty shop-processed jobs may require two to six weeks because of fabrication and curing time. Peak sunny months compress availability and push faster lead times to a premium.
Tradeoff to consider: choosing the cheapest film now can force replacement sooner, which raises lifetime cost. Spending 20 to 40 percent more on a reputable ceramic film and certified installation frequently delivers better optical clarity, longer warranty protection, and lower complaint rates in practice.
Concrete Example: A small dental clinic in Salem asked for privacy and UV reduction on ten treatment-room panes (~200 sq ft). The installer quoted LLumar IR at about $12 per sq ft installed with a two-night phased schedule to avoid disrupting patients. The total was roughly $2,400; removing old film and reserving a lift for an exterior entrance were the two add-ons that pushed the price above the initial ballpark.
Key point: insist the final proposal lists film brand, model, VLT, and separate line items for removal, lift, travel, and warranty registration so you can compare apples to apples.
Quality assurance, warranties, and post-installation care
Reality check: manufacturer warranty is necessary but not sufficient. The warranty that matters in practice is the combination of the film manufacturer guarantee plus an installer workmanship promise and documented registration. If the installer will not register the job with the manufacturer or provide a signed workmanship agreement, the warranty will be difficult to enforce when something goes wrong.
Immediate steps after install: inspect and document. Walk every pane with the crew before they leave, photograph edges, note any trapped debris or visible cuts, and confirm the exact film model and VLT on the final invoice. Doing this creates the evidence trail you will need for any warranty claim and reduces disputes about substitutions or model swaps.
What warranties actually cover and common exclusions
Manufacturer warranties typically cover adhesive failure, bubbling from manufacturing defects, and significant color or metallization degradation for specified years. Installer warranties cover application errors such as poor edge adhesion or improper trimming. Neither will cover glass failure from thermal stress, scratches caused by abrasive cleaning, or cosmetic wear from exterior exposure unless explicitly stated. Also, warranties may be void if the installed VLT violates local vehicle or building rules, so confirm compliance up front.
Practical limitation: long warranty length is not a substitute for a responsive installer. A ten-year manufacturer warranty is worth little if the installer declines service calls or delays repairs until a claim is rejected. Prioritize installers who put a clear, time-bound workmanship warranty on paper and who will perform corrective work quickly while the manufacturer claim is processed.
- On-site checklist to request at sign-off: photograph each elevation, get a copy of the manufacturer datasheet, confirm registration with the manufacturer or installer, and obtain a written workmanship warranty period.
- Post-install checks to do in 7 days: look for edge lift, trapped moisture, or adhesive residue; report any issues immediately and do not attempt heavy cleaning.
- Cleaning timeline: wait the period specified on the datasheet before aggressive cleaning – typically 30 to 60 days for full adhesive cure – and use non-abrasive cleaners recommended by the manufacturer.
Concrete example: A Portland office installed a safety laminate on storefront glass. Two months later small edge separation appeared where the frame seal had been compromised. Because the installer had registered the job, kept installation photos, and provided a 2-year workmanship warranty, the installer returned, removed and re-laminated the affected panels under the warranty terms. Without that registration the manufacturer would have required more documentation and the client would have faced longer downtime and extra cost.
Judgment call: demand documentation and a repair timeline before work begins. If an installer resists placing warranty terms in the proposal or refuses to register with the manufacturer, treat that as a red flag. The most reliable outcome combines a known film model, visible proof of registration, and a local installer who will do remedial work quickly.
Important: do not accept a vague warranty. Insist the final invoice names the film model, lists manufacturer warranty length, and includes a signed installer workmanship warranty with a turnaround time for repairs.

Next consideration: schedule a 30- to 60-day follow-up inspection when you book the job so both parties commit to a quick resolution window and so any slow-cure adhesion issues are caught before they become warranty disputes. For manufacturer specs consult 3M or LLumar and for installer standards see windowfilm.org.
Common red flags and questions to ask before booking
A bad contractor will look cheap up front and expensive later. When you search for a window tint service near me, the real risk is not the sticker price but the gaps in documentation and process that surface after installation — substituted film, warranty fights, or surprise travel and lift fees.
How installers typically cut corners
- No written film spec: quote lacks the exact film model, VLT, or manufacturer datasheet so you cannot verify performance or warranty.
- Full payment demanded upfront: an insistence on 100 percent before work or registration is a common scam vector — require staged payments tied to milestones.
- No proof of insurance or permits: installer avoids showing COI or local permit experience, which shifts liability to you on commercial jobs.
- Refuses on-site measurements: flat online pricing without a site survey often hides tricky access issues that increase cost and delay work.
- Quick same-day promise on complex work: same-day claims for large storefronts or safety laminates usually mean they will rush or subcontract critical parts.
Practical tradeoff: a modest deposit is reasonable; never agree to final payment until you do a signed walkthrough and the invoice names the film model and VLT. High-quality films and proper warranty registration cost more up front but protect you from an inferior substitution that requires rework.
Concrete Example: A homeowner in Bend paid a contractor in full for residential ceramic window tinting after a weekend promise of same-day service. The crew installed an unspecified dark dyed film, left with no datasheet, and refused warranty work three months later. The owner paid again to replace the film with a certified ceramic product and got the original installer to sign a workmanship warranty before work began the second time.
Before you book, get direct answers to a short checklist and document them. If the installer resists any of these, walk away.
- Which exact film model and VLT will you install? Ask for the manufacturer datasheet and a physical or photographed sample.
- Will you register the job with the manufacturer? Confirm who does it and get a copy of the registration confirmation.
- What is your workmanship warranty and response time? Get it in writing with a specific turnaround for repairs.
- Do you carry liability insurance and can you provide a COI? For commercial jobs, request evidence 48 hours before arrival.
- What are payment milestones? Tie final payment to a signed sign-off that references film model and visible condition.
If an installer will not put the film model, VLT, warranty terms, and payment milestones in writing, treat that as a deal breaker.