
House Window Tint: How to Choose the Right Film for Comfort, Privacy and Energy Savings
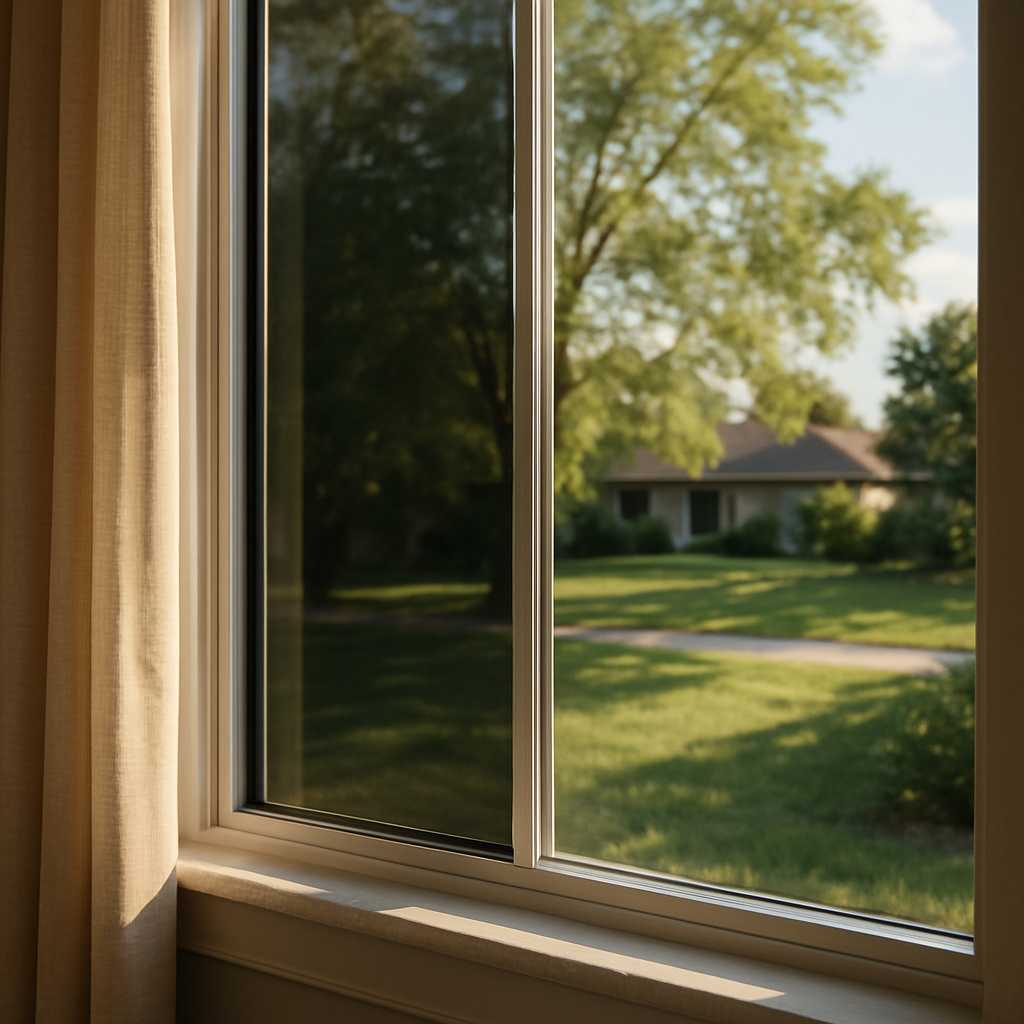
If west-facing rooms bake in afternoon sun or street-facing bedrooms lack privacy, house window tint is a practical retrofit that cuts glare, blocks UV and trims cooling loads. This guide explains the performance numbers that matter, maps film types to common goals, and gives Oregon-specific advice on orientation, low-e compatibility, costs and how to vet local installers. By the end you will know which window tint films make sense for Portland, Salem, Eugene or Bend homes and what to ask for when requesting an on-site estimate.
How Window Film Works and Which Performance Numbers Matter
Key point: Window film does two things: it changes how glass transmits visible light and it changes how glass absorbs or reflects solar energy. The decisions you make should be driven by four numbers on a data sheet or NFRC label, not by color or marketing terms.
What the numbers mean and why they matter
- Visible Light Transmittance (VLT): Percent of daylight that passes through. Higher VLT keeps interiors bright; lower VLT darkens rooms and increases privacy.
- Solar Heat Gain Coefficient (SHGC): Fraction of solar heat that becomes interior heat. Lower SHGC reduces cooling load and afternoon overheating; this is the single best predictor of summer comfort benefits.
- U-factor: Heat transfer through the whole assembly. Films can slightly improve U-factor by reducing radiant losses, particularly on single-pane glass, but films do not match replacement windows for winter insulation.
- UV rejection: Percent of ultraviolet light blocked. High UV blocking prevents furniture and flooring fade. Look for >99 percent for meaningful protection.
- Visible Light Reflectance (VLR) / Exterior reflectivity: How mirror-like the outside surface looks. Higher reflectivity gives privacy from the outside during the day but can create an unwanted mirrored appearance and cause HOA issues.
Practical insight: Use NFRC-rated numbers when available. Manufacturers publish internal test results that can be optimistic; NFRC ratings are independently verified and make comparisons apples to apples. See NFRC consumer guidance for how to read labels.
Tradeoff to accept: Most high heat rejection films reduce VLT to some extent, but spectrally selective films are the real-world solution in Oregon when you want heat reduction without darkening living spaces. Reflective films give stronger SHGC cuts but often at the cost of curb appearance and daytime exterior glare.
Concrete Example: A west-facing living room in Portland with afternoon glare and hot afternoons will get the most practical benefit from a spectrally selective solar window film such as 3M Prestige Series or similar. Those films cut a large portion of infrared energy while keeping VLT high, so the room remains bright but cooler; you will see reduced air conditioner cycling on hot summer afternoons without turning the room into a cave.
| Metric | What to look for | Realistic range or target |
|---|---|---|
| VLT | Keep above 40 percent for main living spaces if daylight is a priority | 10% to 70% (choose based on room function) |
| SHGC | Lower is better for cooling; aim for a meaningful percent reduction vs current glass | Expect 15% to 40% reduction with common solar films |
| U-factor | Film can slightly lower U-factor; do not rely on film alone for winter insulation | Small improvements; replacement windows give larger gains |
| UV rejection | Protects furnishings; choose >99 percent for strong protection | Typically 90% to 99+% |
| VLR | Balance privacy vs curb look; check HOA rules for reflective finishes | Low to high depending on film family |
Judgment call most homeowners miss: If your goal is daytime comfort and reduced AC use in Oregon, prioritize SHGC reduction combined with a VLT that preserves daylight. Choosing the darkest film because it looks like it will block heat is a common mistake that trades away usable daylight for marginal additional cooling.
Next consideration: After you verify NFRC numbers, compare how those numbers map to your orientations and room priorities before choosing a film family or installer.
Film Types and When to Use Each
Not all house window tint is created for the same problem. There are distinct families of window film—spectrally selective (ceramic), reflective and dyed, low-e/insulating, decorative/frosted, and safety/security—and each has different strengths, visible impact, and tradeoffs you must accept.
Spectrally selective (ceramic) films
When to pick it: choose spectrally selective films when you need high heat rejection with minimal darkening. These films block a large portion of near-infrared energy while keeping visible light high, so rooms stay bright but cooler. Practical tradeoff: they cost more than dyed films but deliver better performance without a mirrored look—good for living rooms, north-facing light-heavy spaces that still get glare, or historic homes where exterior appearance matters. Example products: 3M Prestige Series and LLumar Platinum.
Reflective and dyed solar films
When to pick it: reflective and dyed films are useful when aggressive daytime glare and heat are the priority and you can accept darker interiors or a mirrored exterior. They give strong immediate heat and glare reduction for west and southwest exposures but often reduce visible light and change curb appearance—this can trigger HOA pushback. In practice, reflective films work for sunrooms, commercial storefronts, or west-facing ground-floor windows where privacy and heat control outweigh daylight concerns.
Low-e and insulating films
When to pick it: use low-e window film when winter heat retention is a meaningful priority or when windows are single-pane. These films improve emissivity and can modestly lower U-factor, which helps overnight radiative losses in colder months. Tradeoff: low-e films are not a substitute for proper insulated replacement glazing when seals have failed; they offer incremental winter benefit while also providing some summer improvement.
Decorative, frosted and privacy films
When to pick it: choose decorative or frosted films for bathrooms, entry sidelights, or street-facing rooms where privacy and design matter more than thermal performance. They can provide UV blocking depending on the product but generally do not deliver the same solar heat rejection as spectrally selective or reflective films. Products such as MetroDecor by 3M give pattern options without permanent alteration to glass.
Safety and security films
When to pick it: safety films are the right choice when you need laminated-strength glass to resist breakage, blast, or forced entry. They come in varied thicknesses; thicker laminates improve holding force but add cost and can affect window operation or egress hardware. These films should be specified with clear performance targets because a generic safety film does not equal tested security glazing.
- Spectrally selective: best balance of heat rejection and daylight for Oregon homes with visible-light priorities
- Reflective/dyed: strongest short-term glare and heat control for sun-heavy orientations but darker rooms and altered curb appeal
- Low-e/insulating: modest winter benefits and reduced overnight losses; consider when replacing windows is not an option
- Decorative/frosted: privacy and style with limited thermal gains
- Safety/security: adds retention and impact resistance; specify thickness and tested performance
Concrete example: a Portland living room with large west-facing panes and a TV suffers late-afternoon glare but the homeowner wants to keep the room bright. A spectrally selective ceramic film like 3M Prestige will cut heat and glare substantially while keeping visible light high. By contrast, the same homeowner in Bend with a sunroom used mostly in summer might accept a darker reflective film for maximum daytime heat rejection.
Practical judgment: many homeowners assume darker equals better for heat reduction; that is often false. Ceramic, spectrally selective films reject infrared more efficiently than darker dyed films for a given VLT, so you get comfort without trading away daylight. Also, consider exterior reflectivity and HOA rules—optics matter as much as thermal numbers in neighborhoods.
Choosing Film Based on Your Primary Goal: Comfort, Privacy or Energy Savings
Start with the objective, not the product. If your priority is cooling and glare control, you pick differently than if you want street-side privacy or measurable HVAC savings. Each goal points to different film families and different tradeoffs in light level, exterior appearance and cost.
Comfort and glare reduction
Practical choice: spectrally selective or high-performance solar films. These block a large share of infrared energy while keeping visible light relatively high, so rooms stay bright without the oven effect. Trade-off: higher-cost ceramic/metalized films perform best but will not eliminate the need for shading on extreme west exposures.
- Where to use: west- and south-facing living areas, sunrooms, TV and home office windows with glare issues
- What to expect: reduced peak surface temps and lower glare; interiors stay brighter than with traditional reflective films
- Watch for: some reflective films can alter curb appearance and trigger HOA pushback
Privacy and aesthetics
Practical choice: decorative frosted films or privacy tints. These preserve daylight while obscuring sightlines. Limitation: decorative films usually offer limited solar heat rejection unless paired with a solar control layer; expect improved privacy but only modest cooling gains.
- Use case: street-facing bedrooms, bathrooms, entryways where you need daytime privacy without blackout
- Trade-off: exterior reflectivity affects night-time visibility (a reflective film can make interiors visible from outside when interior lights are on)
Energy savings as the primary goal
Practical choice: energy-efficient films with low SHGC or low-e insulating films, but only after checking the glazing.Judgment: in Oregon, films deliver the clearest HVAC benefit for cooling season and sun-heavy orientations; for winter heating or failed seals, full window replacement usually gives bigger, longer-term savings.
- When film wins: double-pane windows with intact seals, strong solar exposure (large south or west glass), and when replacement costs are prohibitive
- When to replace: single-pane windows, compromised seals, or when U-factor improvement is the dominant payoff driver
Concrete Example: A west-facing living room in Portland with afternoon TV glare and faded upholstery benefits most from a spectrally selective film like 3M Prestige or LLumar Platinum. Expect noticeable glare reduction, cooler wall and floor surfaces and less fading while keeping the room bright; if curb appearance matters, choose a non-reflective or low-reflectivity variant.
A practical rule of thumb: prioritize comfort and UV protection for most Oregon homes unless you have large, sun-drenched south glazing or thermally failing windows. Energy payback from film is real but rarely immediate; use an on-site assessment to quantify likely HVAC savings.

Key takeaway: Choose the film that solves the one problem you must fix first – comfort/glare, privacy, or measurable energy savings – then layer additional features (UV protection, safety film) if budget allows.
Real Product Examples and Use Cases
Practical shortlist: in Oregon you will most often choose between spectrally selective films for bright rooms, reflective/dual-reflective films for strong west exposures and privacy, decorative films for bathrooms and entries, and safety films for doors and ground-floor glazing. The brand and technology matter because the same nominal SHGC can look very different in real life.
Vendor-level choices and when they win
3M Prestige Series: Ceramic, spectrally selective films that block a large portion of infrared while keeping high visible light transmission. Best for living rooms, south-facing windows and homeowners who refuse to darken interiors. Tradeoff is higher material cost but better day-to-day comfort and less impact on interior lighting.
LLumar Platinum and LLumar Safety Series: Platinum uses ceramic and dyed layers and is a reliable middle ground on cost versus visible light. Safety Series is thicker, laminated film for impact resistance and forced entry mitigation. Use LLumar Platinum where budget and daylight both matter; use Safety for sliding doors, storefront-style glazing, or bedrooms with security concerns.
Solar Gard XR and VISTA by Eastman: Solar Gard XR is strong at heat rejection and available in reflective options that are useful for west-facing rooms and sunrooms. VISTA offers economy spectrally selective and decorative lines. Choose these where installer availability or warranty terms are the deciding factor – both brands are widely stocked by local installers.
| Product | Ideal use case in Oregon | Typical strength / tradeoff |
|---|---|---|
| 3M Prestige Series | Bright living rooms, south-facing glazing, homeowners wanting maximum comfort with daylight | High IR rejection, high VLT, higher cost |
| LLumar Platinum | Balanced performance for bedrooms and common areas | Good heat rejection, moderate cost, neutral appearance |
| Solar Gard XR | West-facing rooms and sunrooms needing aggressive heat reduction | Strong rejection, more visible tint or reflectivity |
| VISTA decorative / frosted | Bathrooms, entry sidelites, privacy on street-facing windows | Design options, limited heat rejection unless combined |
| LLumar Safety Series | Sliding doors, ground-floor windows, tenant properties | Adds glass retention and forced-entry resistance, thicker film feel |
Concrete Example: A small Portland living room with late-afternoon west sun and TV glare performed best with 3M Prestige 40 installed across three windows. The homeowner kept natural daylight, glare on the screen dropped significantly, and peak-room temperatures fell enough to avoid running the AC as often on warm days. That outcome required professional templating and the higher material cost, but it avoided the shadowy interior look that reflective films produce.
Use case – privacy: For a street-facing bedroom in Eugene where neighbors are close, a decorative frosted film from VISTA or 3M MetroDecor gives privacy without darkening the room. If you also need UV protection for furnishings, pick a decorative film rated for UV blocking or layer a solar control film – installers can advise on stacking and warranty implications.
Practical limitation: DIY home window tinting kits are tempting but usually fail on optical clarity, warranty coverage and long-term adhesion. For multi-pane or low-e windows, cheap DIY films can introduce bubbling and premature failure. If you value appearance and warranty, budget for professional installation.
Bottom line: pick the technology to match the room and your tolerance for exterior reflectivity. Spectrally selective is the best real-world compromise for most Oregon homes despite higher cost; reflective options still have a place for stubborn west exposures and privacy needs.
Cost Considerations, ROI and Local Incentives
Key point: Installed cost for house window tint varies widely because the project is mostly labor and customization, not just square footage of film. Film type, window count and complexity, removal of old film, and whether you need cutouts or patterned decorative work drive price more than basic material cost.
What changes the sticker price
- Film technology: spectrally selective and ceramic films cost more than dyed or reflective films but keep interiors brighter for similar heat rejection
- Glass condition and type: double pane, low-e coatings and tempered glass require specific films or prep and reduce expected energy savings
- Labor complexity: tall units, divided light, curved glass and patterned decorative film increase hours and therefore cost
- Removal and warranty work: removing old film, repairing seal edge issues or offering transferable warranties adds to price
Practical tradeoff: If your priority is energy savings, focus budget on the few highest-gain exposures – typically west and southwest windows. Spending heavily to tint north facing or already low-e windows is usually wasted money.
Simple payback framework you can run yourself
- Estimate installed cost from an installer quote that lists film model and labor separately
- Estimate annual energy savings for affected zones – use conservative range, for Oregon expect lower HVAC savings than sunbelt climates unless windows face strong afternoon sun
- Divide installed cost by annual savings to get simple payback in years
- If payback is under 7 years and the job improves comfort or protects furnishings, film is usually a good value; longer paybacks require stronger non-energy reasons
Concrete example: A Portland bungalow with ten medium west facing double pane windows gets a spectrally selective install quoted at 2600. Installer estimates annual HVAC savings of 150 to 300, plus reduced cooling discomfort. Simple payback is then 9 to 17 years, so the decision leans on comfort and UV protection rather than pure energy return. If the same house used cheaper reflective film at 1200 with tighter cooling savings of 100 per year, payback is 12 years and occupants often regret the darker interior.
Incentives and audits: Some projects qualify for local programs or rebates when they are part of an efficiency upgrade. Start with Energy Trust of Oregon and the Department of Energy guidance at Energy Saver. An energy audit or HERS rater can confirm whether film or window replacement delivers better lifecycle savings.
DIY versus pro: DIY home window tinting kit costs are tempting but have high failure rates and minimal warranty. Professional installation costs more upfront but preserves manufacturer warranties, produces predictable performance using NFRC data, and avoids rework costs that quickly erase the DIY savings.
Installation, Maintenance and Warranty Considerations
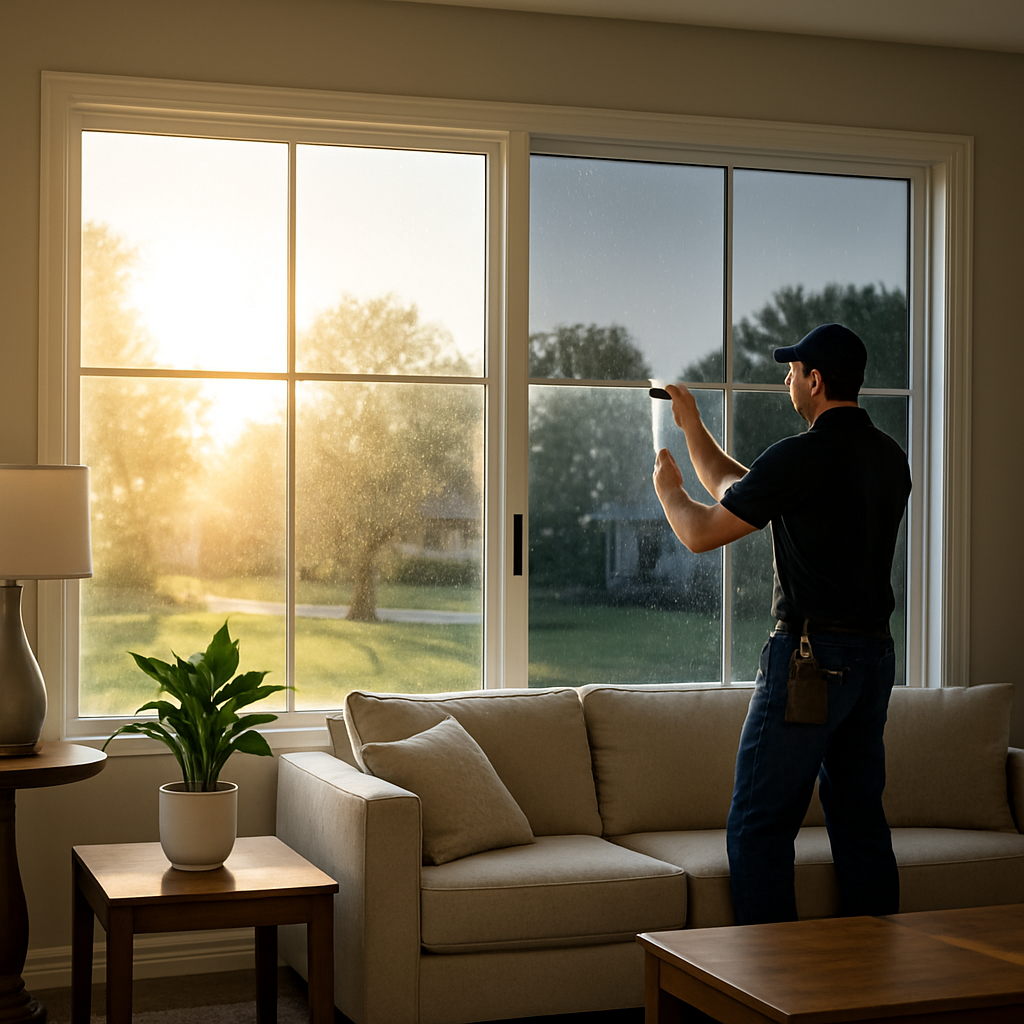
Installation quality matters more than sticker price. A correctly installed house window tint performs to spec for years; poorly installed film fails quickly and can void warranties, trap moisture, or create unsightly edge lifting. Expect installers who inspect glass condition, identify low-e or tempered coatings, and document any preexisting seal failures before they quote.
What professional installation looks like. A proper job begins with an on-site survey, sample data sheet review and clear scheduling tied to weather and indoor humidity. Installers will remove existing damaged film, clean and decontaminate the glass, cut and fit film on-site, and allow a curing period; typical disruption is a few hours per large window and a day for a full house job.
Practical constraints and tradeoffs
Timing and environment limit performance. Installations done in cold or excessively humid conditions have adhesion problems and trapped moisture that show up weeks later. If your home uses coated low-e glass, expect the installer to run a compatibility check; some films are fine, some reduce coating performance or complicate forced-entry egress and need special handling.
- Maintenance basics: Wait at least 30 days after installation before the first wet clean, then use a mild, ammonia free cleaner and a soft microfiber cloth.
- Avoid mechanical damage: Do not use razor blades or abrasive pads on interior film surfaces; those remove the topcoat and shorten life.
- Watch for seal issues: If insulating glass units have failed seals, film can temporarily hide the problem while accelerating visible deterioration; replace units first when condensation is present.
Warranty is two separate promises. Manufacturer warranties cover film manufacturing defects such as delamination or color change. Installer warranties cover workmanship such as bubbling caused by poor surface prep. Ask for both in writing, with explicit coverage terms, durations, and transferability if you sell the house.
Common warranty gaps. Coastal exposure, exterior abrasion for reflective films, preexisting glass damage and seal failure are often excluded. Vague lifetime warranties are a red flag unless the terms are itemized and indexed to a product model and NFRC rated performance.
Concrete example: In a Bend sunroom project the installer found degraded film from a previous DIY job and a weak IGU seal. The crew removed the old film, sealed the perimeter, installed a spectrally selective solar window film and provided a 10 year manufacturer warranty plus a 5 year workmanship warranty. The homeowner received a written maintenance sheet and a photographed before and after record tied to the warranty claim process.
Judgment call. Do not choose price over documentation. A lower bid with no NFRC data, no separate workmanship warranty and no written maintenance instructions is likely to cost more in rework and reduced performance. Next step: schedule an on-site survey and insist on receiving the data sheet and written warranties before work begins.
How to Vet Installers and Why Choose a Local Provider
Start with this assumption: not all installers are equal — the installer matters as much as the film. A competent installer translates manufacturer specs into the right film choice for your orientation, glass type and weather exposure; a poor installer turns good film into a short-lived problem.
Practical checklist for vetting installers
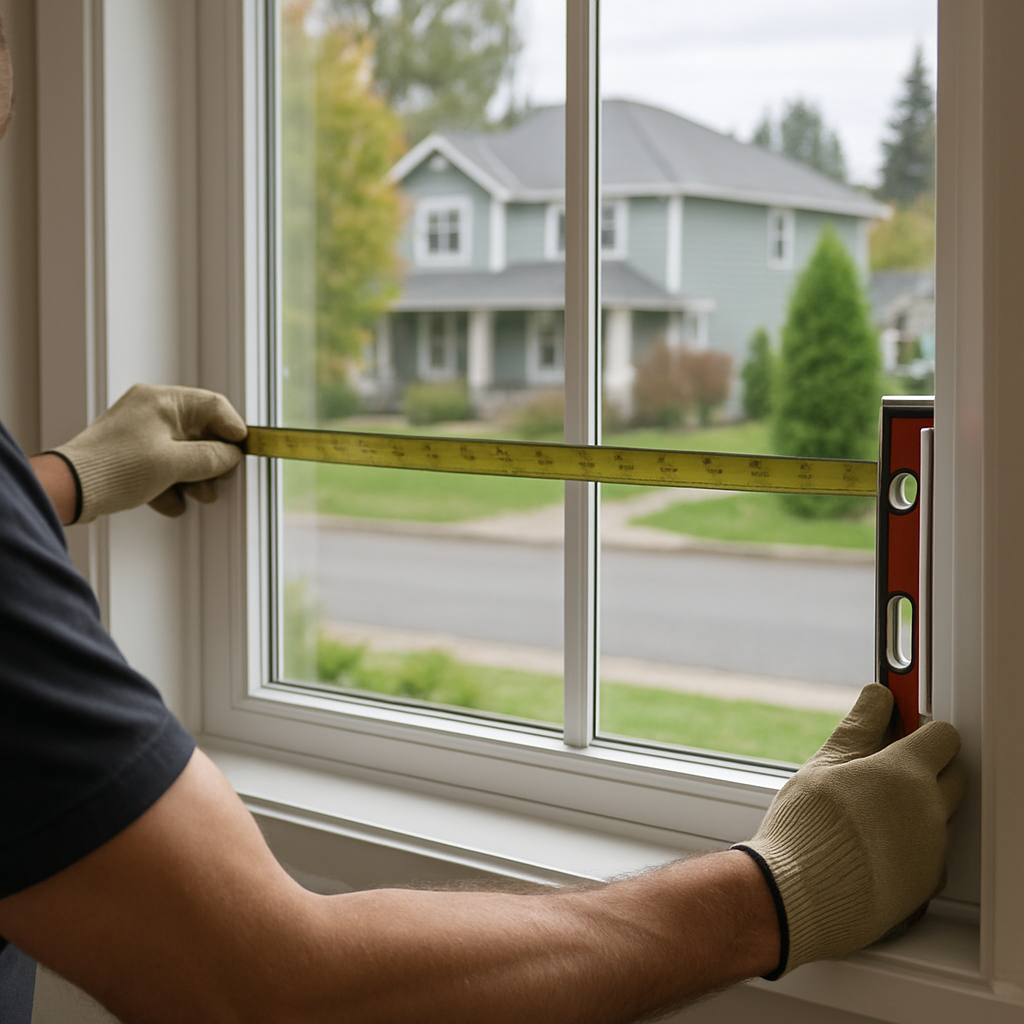
- On-site assessment: insist on an in-person survey and measurements rather than tape-measure quotes over the phone.
- NFRC and datasheet literacy: ask for the NFRC label or manufacturer data sheet for the exact film proposed and have the installer explain VLT, SHGC and UV rejection in relation to your windows.
- Sample/demo: request a small test panel or temporary sample on a problem window so you can judge glare, color shift and visible darkening before full installation.
- Insurance and licenses: verify general liability and workers compensation; get policy limits in writing on the contract.
- References and photos: ask for recent local project photos and at least two references you can call — follow up and ask about longevity and touch-ups.
- Warranty specifics: get written details on manufacturer warranty, installer workmanship, and whether warranties are transferable.
- Compatibility checks: confirm experience with low-e, tempered and insulated glass and whether the film voids any manufacturer window warranty in your case.
Red flags to walk away from: vague film descriptions, quotes that list only cost per square foot without film model, pressure to sign without a site visit, installers who can't produce NFRC data for the proposed film, or demands for large up-front cash payments.
Trade-off to accept: the cheapest installer will often cut corners on prep, edge sealing and cleanup. Paying 10–20% more for a proven local team usually reduces rework and warranty disputes — that matters when a poorly applied film bubbles or de-laminates in year three.
Concrete example: A homeowner in Bend had persistent west-facing glare. A non-local vendor quoted reflective film aggressively darking interiors. A local installer from Tinting Oregon performed an on-site mock-up with a spectrally selective sample, measured the glass, and recommended a lighter VLT film that cut heat and preserved views. The result avoided an expensive rework and kept the living room bright while reducing afternoon peak temperature by observable amounts.
Always request the NFRC label or manufacturer data sheet for the exact film proposed before you sign.
Why local providers matter in Oregon: local teams understand microclimates, common glass types in regional inventories, HOA and historic-district sensitivities, and logistical realities like access for scaffold or narrow streets in Portland neighborhoods. They handle callbacks faster and are more likely to honor workmanship guarantees without sending disputes offshore.
Next consideration: after narrowing to two or three vetted local installers, compare written proposals side-by-side for film model, VLT/SHGC, warranty language and a timeline. If you want independent validation, ask for an energy-performance estimate tied to the film's NFRC numbers or consult NFRC consumer guidance.