
Window Tinting in Redmond: Energy-Saving and Privacy Solutions for Your Property
If your Redmond windows bake rooms in summer, create glare on screens, or let interiors fade, professionally applied film is a low-disruption retrofit that actually moves the needle. In this practical guide to window tinting redmond oregon we show which film types work best in Central Oregon, how much energy and comfort you can realistically expect, and what to ask a professional installer. You will get specific product recommendations, cost ranges, and a clear next step to request a site assessment from Tinting Oregon.
Why window tinting matters in Redmond climate and building types
Local climate creates a clear problem. Redmond sees strong daytime sun and large day night temperature swings that make solar heat gain a summer cost and interior surface cooling a winter comfort issue. For anyone researching window tinting redmond oregon this means films must be chosen for solar control without killing daylight or creating excess winter heat loss.
Common building types and their glazing patterns
Typical buildings. Single family homes and new residential builds use big picture windows and sliding doors; small offices and retail storefronts favor large, low iron glass faces; light industrial units and warehouses include skylights and clerestories. Each type produces different problems – retail cares about fading and display temperatures, offices need glare control for productivity, homes need a balance of view and privacy.
- Glare and screen visibility: West and southwest glazing causes afternoon glare that reduces occupant comfort and productivity
- Interior fading: UV damage to flooring and merchandise from unfiltered sunlight is common in storefronts and south facing rooms
- Uneven HVAC load: Rooms with large glass areas create hotspots and lead to oversized AC cycling
Practical tradeoff to accept up front. The single biggest decision is visible light transmission versus solar heat rejection. High heat rejection films tend to darken windows or add reflectivity. For Redmond I prefer spectrally selective or ceramic films – examples include 3M Prestige Series and LLumar AIRX – because they reject heat while keeping VLT high. Reflective mirror like films work for some commercial storefronts but can be visually intrusive and may run into HOA or historic district restrictions.
Concrete example: A small Redmond office with west facing conference room had complaints about afternoon glare on projectors. The owner installed a spectrally selective solar film on the west glass and a frosted privacy film on the street side windows. After installation the conference room retained daylight, projector contrast improved noticeably, and the street side now meets privacy needs without blinds.
What often gets overlooked. Orientation matters more than total glazed area. A single small west facing window will cause more cooling and comfort complaints than a larger north window. Installers who quote by square foot without addressing orientation and internal loads are cutting corners.
Takeaway for decision makers. Match the film family to the specific problem – glare, fading, privacy, or security – and prioritize spectrally selective or ceramic options for most Redmond homes and offices to keep daylight while cutting solar heat. The next consideration is a room by room survey that accounts for orientation, glass type, and occupant use before you compare quotes.
How window films save energy and increase comfort: metrics and realistic expectations
Get the numbers, not the marketing. The three performance figures that determine real-world outcomes are visible light transmission (VLT), solar heat gain coefficient (SHGC), and UV rejection. VLT controls daylight and view, SHGC determines how much solar energy becomes heat inside your space, and UV rejection protects fabrics and finishes. For anyone researching window tinting redmond oregon these specs are the only reliable way to compare films across manufacturers.
What each metric means for comfort and energy
Practical meaning: A film that lowers SHGC from 0.60 to 0.30 cuts the solar heat passing through that glass roughly in half under the same sun angle. That reduces peak room cooling load and surface temperatures near the window, but it does not change conductive losses through the glass. Low-e coatings and multi-pane assemblies interact with film behavior, so always confirm base glass specs before assuming a percent improvement.
Tradeoff to accept: Higher heat rejection often reduces VLT or increases reflectivity. In Redmond I recommend spectrally selective or ceramic films for most homes and small offices because they reject infrared heat while keeping VLT relatively high. Reflective mirror-like films work for some retail storefronts but can be objectionable to neighbors and may conflict with HOA or historic-district guidelines.
Step-by-step estimate you can run quickly: 1) Measure glass area by orientation. 2) Note existing SHGC (or glass type). 3) Choose target film and use the published SHGC after-film. 4) Multiply solar irradiance hours for the season by SHGC difference and glass area to get estimated heat reduction. 5) Convert that to kWh using local cooling degree data and your utility rate for a rough annual savings. Use the IWFA resources and check potential rebates at Energy Trust of Oregon for guidance.
| Example variable | Sample value | Notes |
|---|---|---|
| Treated glass area | 150 sq ft (west facing) | Typical single-room treatment |
| SHGC before -> after | 0.58 -> 0.28 | Spectrally selective film example |
| Estimated annual cooling energy saved | $220 | Conservative estimate using local rates and shading factors |
| Installed cost | $1,500 | At $10 per sq ft installed |
Concrete example: A Redmond townhouse replaced blinds with a ceramic solar film (3M Prestige Series) on 150 sq ft of afternoon-glass. Peak window surface temperatures dropped by about 8 to 12 degrees Fahrenheit and the owner reported a measurable reduction in AC run-time. The simple payback on that install was approximately 6 to 8 years under conservative assumptions — shorter if the space had been heavily sun-loaded or if a utility rebate applied.
Privacy and decorative options with specific film recommendations
Direct point: Privacy and decorative films solve different problems than solar control films — they shape sightlines and aesthetics first, and comfort second. For anyone looking at window tinting redmond oregon, treat decorative and privacy films as design-grade retrofits that can be combined with solar or security films when you need performance beyond appearance.
Practical distinction: Use frosted or patterned films where daylight is desirable but visibility must be limited (bathrooms, lobbies, conference-rooms). Choose opaque or near-opaque films when you want a clear visual barrier (street-facing retail backrooms, storage areas). If heat rejection or UV protection matters, pick a solar-rated privacy film or layer a solar film beneath a decorative overlay rather than relying on aesthetic films alone.
- 3M Fasara (decorative finishes): wide range of etched-glass looks, reliable adhesion, good for reception areas and branding applications — pairs well with a spectrally selective solar film where glazing faces intense sun. See 3M window films.
- LLumar Frost series: cost-effective frosted privacy for bathrooms and conference rooms; retains daylight while obscuring detail — available in multiple opacity levels for fine tuning.
- Solar Gard Frost / patterned options: good where retail displays need both diffusion and some solar control; choose the solar-rated variants when fading or heat is a concern.
- Custom vinyl/etched-look films: use these for signage, wayfinding, or partial privacy bands; avoid full-coverage reflective finishes on historical façades — check HOA and City approvals first.
Tradeoff to plan for: Decorative textures and heavy opacities change perceived daylight quality and depth. A frosted film that preserves 50 percent VLT looks bright but flattens view detail; an opaque film that gives complete privacy will make rooms feel smaller and may force additional electric lighting. Decide which matters more: retained daylight or absolute privacy, and pick a VLT target to match.
Real-world use case: A downtown Redmond boutique needed to hide storage shelves from the sidewalk while keeping a bright display area. Tinting Oregon installed a two-layer solution: a patterned 3M Fasara on street-level panes and a thin spectrally selective film on the south storefront. The shop kept window brightness for displays, blocked direct sightlines to back-of-house, and avoided the reflective look that would have triggered an HOA complaint.
Common mistake installers see: Clients ask for decorative film expecting it to provide security. Decorative films do not stop forced entry. If security matters, specify a certified safety/security laminate first and then add a printed or frosted overlay if appearance is important — layering is a small additional cost but a major functional difference.
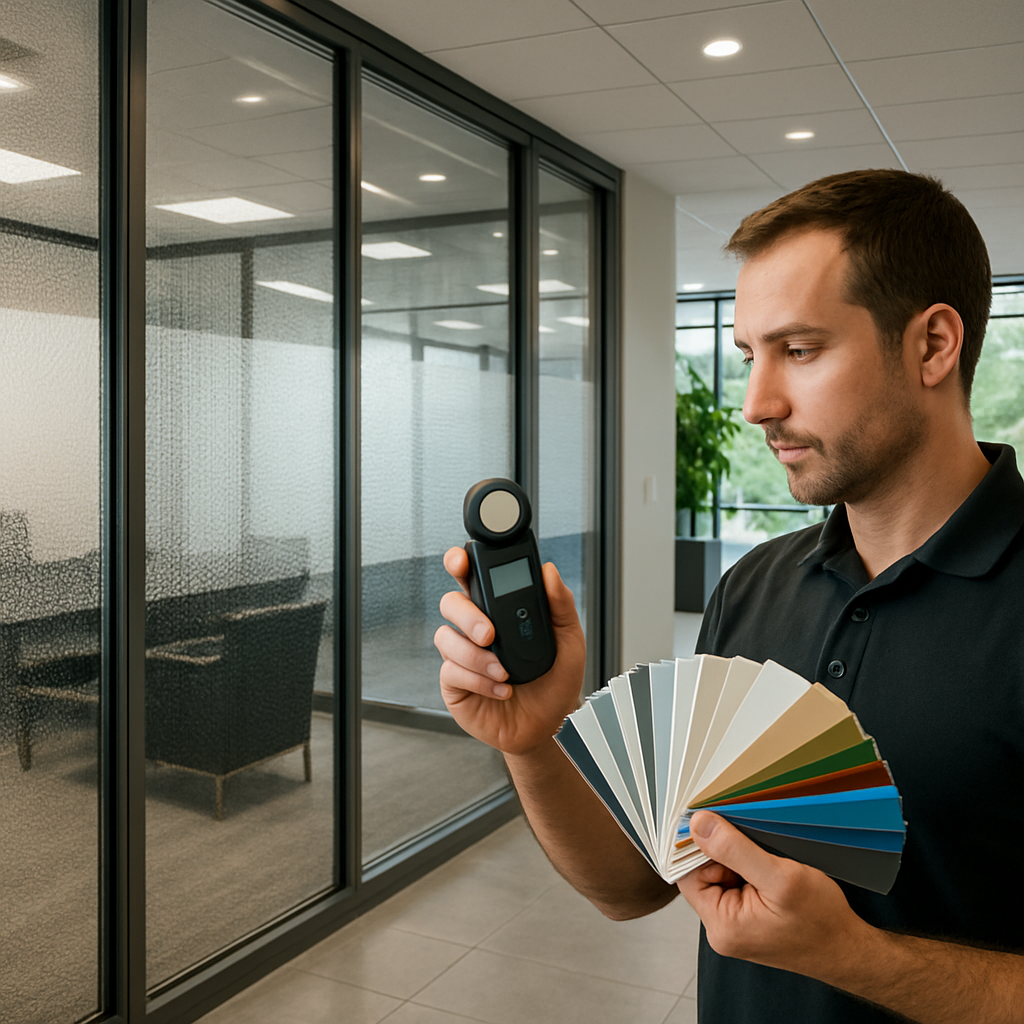
Next consideration: Before signing a proposal, confirm the exact film model and ask to see installed samples on the same glass type. Appearance varies with base glass tint and exterior light; what looks good in a showroom can read very different on your building. If you need both privacy and performance, specify layered solutions and insist on manufacturer-backed warranties.
Security and safety film choices for Redmond properties
Security film is a risk-mitigation choice, not a miracle. Properly specified and installed safety or security film will hold shattered glass in place, slow smash-and-grab entry, reduce cut hazards after breakage, and limit flying glass during seismic events — but it will not make storefront glass bulletproof or replace the need for good physical locks and alarm systems.
How security films work in practice. These products use thicker polyester layers and stronger adhesives to bond to the glazing; combined with perimeter anchoring or channel systems they transfer impact forces away from the glass edge and keep fragments bound to the film. Performance depends on film thickness, adhesive quality, attachment method, and the framing details of the existing window.
Product families and practical choices
Recommended families: 3M Safety and Security Window Film series for tested forced-entry resistance, LLumar SCDX security films for retail and municipal retrofit work, and heavier Solar Gard protective films where impact resistance and solar control are both required. Choose films in the 4 mil to 8+ mil range depending on the threat and budget; thicker films give better hold-in-place performance but add weight and visual tinting.
- 4–6 mil — light protection: slows breakage, reduces laceration risk; good for interior partitions, daycare glass, and secondary glazing projects.
- 7–8+ mil — stronger resistance: appropriate for ground-floor retail and small business storefronts when paired with anchoring channels; better at delaying forced entry.
- Laminated approaches: film plus mechanical edge anchoring or channel systems are the only way to approach the performance of laminated glass without replacing windows.
Trade-offs you must weigh. Thicker security film increases visible tint and can exacerbate thermal stress in insulated glass units, which risks seal failure on older windows. In practice this means you must verify base-glass condition and manufacturer compatibility before applying heavy films; installers who treat all glass the same are courting callbacks and warranty disputes.
Layering and performance reality. If you need solar control plus security, do not assume stacking films is free of consequences. Combining a dark solar film over a security laminate can reduce daylight and change heat absorption patterns; high-performance projects in Redmond often use a spectrally selective solar layer beneath a clear safety laminate or specify a single product designed for both functions.
Concrete example: A ground-floor Redmond café experienced two smash-and-grab attempts in a year. The owner installed an 8 mil 3M Safety and Security film with an aluminum channel at the sill. The film prevented glass from falling into the space during a later breakage, allowed the business to remain open while repairs were scheduled, and reduced immediate boarding costs — the install paid back largely through avoided business interruption and reduced repair bills.
Key point: For street-level retail and high-traffic entrances, insist on channel-mounted security film systems rather than film-only adhesive installs; the mechanical attachment is the difference between delay and deterrence.
What installers should document and you should demand. Ask for published test reports (ASTM or manufacturer forced-entry data), film thickness and adhesive specs, compatibility notes for insulated or tempered glass, and a written warranty that covers installation workmanship. Also verify whether the film affects your window manufacturer warranty or requires a post-install inspection for seal integrity.
Residential applications and film selection guidance
Start with the glass, not the brand. The single biggest error homeowners make is picking a film from a brochure and assuming it will behave the same on every window. Insulated glass units (IGUs), low-e coatings, tempered glass, and even spacer condition change how a film performs and what risks you accept — thermal stress, accelerated seal failure, or altered condensation patterns.
Practical checks before you choose a film
- Inspect the IGU: look for fogging, edge corrosion, or prior seal failure; if present, replace the unit instead of covering it.
- Ask about low-e compatibility: some high-heat rejection films change how low-e coatings radiate heat and can increase stress in older units.
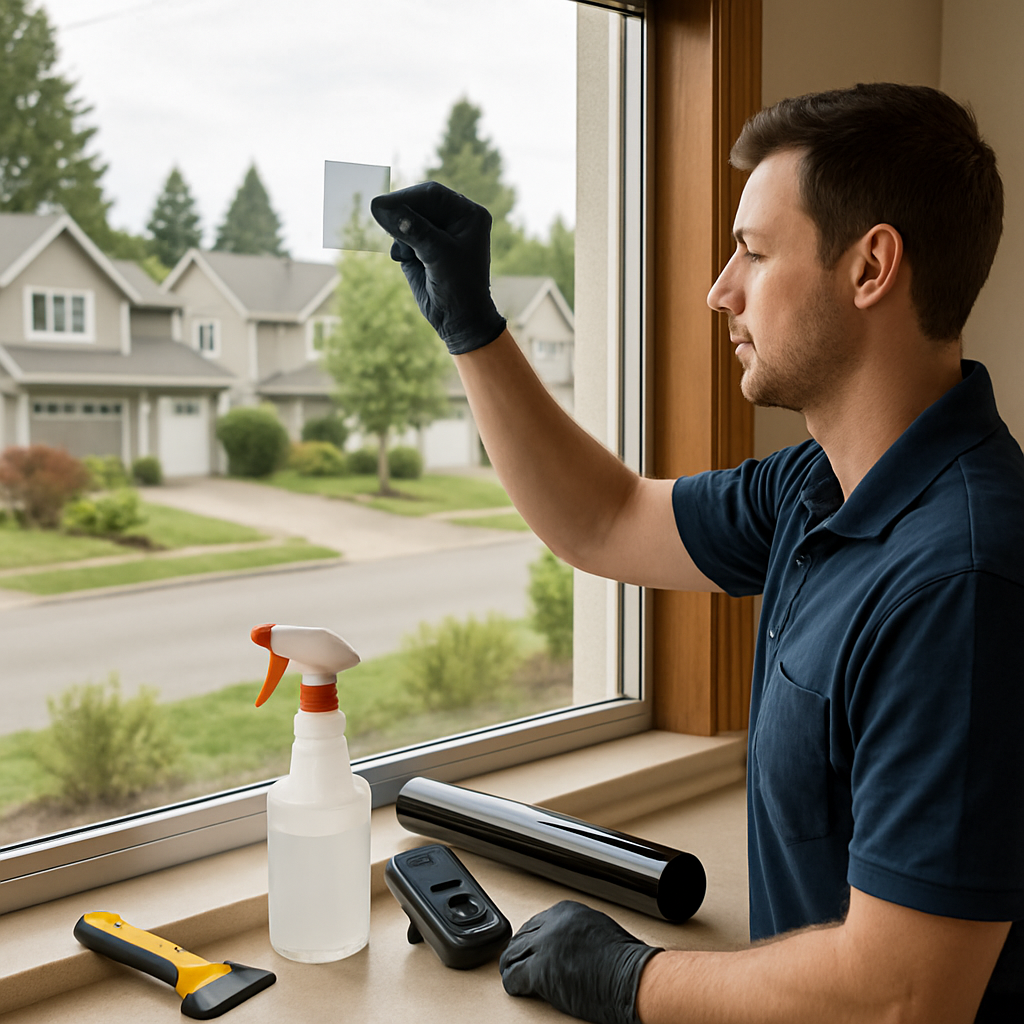
- Request a sample patch: a 2–3 sq ft trial on the actual glass gives realistic appearance and confirms there are no compatibility issues.
- Confirm manufacturer test data: demand product model numbers and ASTM or IWFA test reports for optical, solar, and adhesive performance.
Trade-off to accept up front. If your goal is maximum cooling reduction on a west-facing living room, expect either a darker look or more reflectivity; if you insist on keeping the view and daylight, the only practical choice is a higher-cost spectrally selective or ceramic film. That cost buys preserved VLT with decent SHGC reduction — but it is not free of consequences, especially on older windows.
Practical selection strategy. Prioritize films by window function, not by room. Treat a small west-facing picture window the same as a large glazing bank that causes the same heat and glare. For rented units or uncertain outcomes choose removable, lower-cost films or run a single-room pilot before committing to whole-house coverage. For combined needs — privacy plus solar control — plan a layered approach and insist on manufacturer-approved stack-ups rather than improvisation.
Concrete example: A couple in north Redmond had afternoon overheating in their open-plan living room but wanted to keep mountain views through low-iron glass. They tested a ceramic spectrally selective film on two panes for three weeks, confirmed no change in IGU seals or condensation, then treated the full bank. Daytime glare fell, living-room surface temps dropped noticeably, and the family kept the daylight quality they wanted — the pilot prevented an expensive mistake on the entire façade.
Installer selection matters more than the cost per square foot. Choose an installer who documents glass type, performs a patch test, and provides written compatibility notes and a workmanship warranty. Low bids that skip on-site verification are where most callbacks and warranty disputes come from in Central Oregon.
Next consideration. If you care about long-term performance, budget for periodic inspections (especially on older IGUs) and prioritize manufacturer-backed warranties combined with installer workmanship guarantees — that pairing prevents most real-world failures, not the lowest sticker price.
Commercial use cases, return on investment, and measurable outcomes
Direct point: Commercial window film projects in Redmond routinely pay back through a mix of measurable energy savings and less obvious operational benefits such as reduced product fade, fewer tenant complaints, and lower peak cooling demand. Treat film as a low-disruption, measurable retrofit rather than a cosmetic upgrade if you want stakeholder buy-in.
A practical ROI framework for facility managers
Start with baseline measurement: Collect at least one season of cooling data or run a 30 day summer-before snapshot using submetering, thermostats, or utility interval data. Energy estimates without measured baseline are guesses and will not convince finance teams.
- Define objectives: List the primary goals in dollar terms where possible – reduced kWh, avoided peak charges, lower inventory replacement, or fewer tenant turnover days.
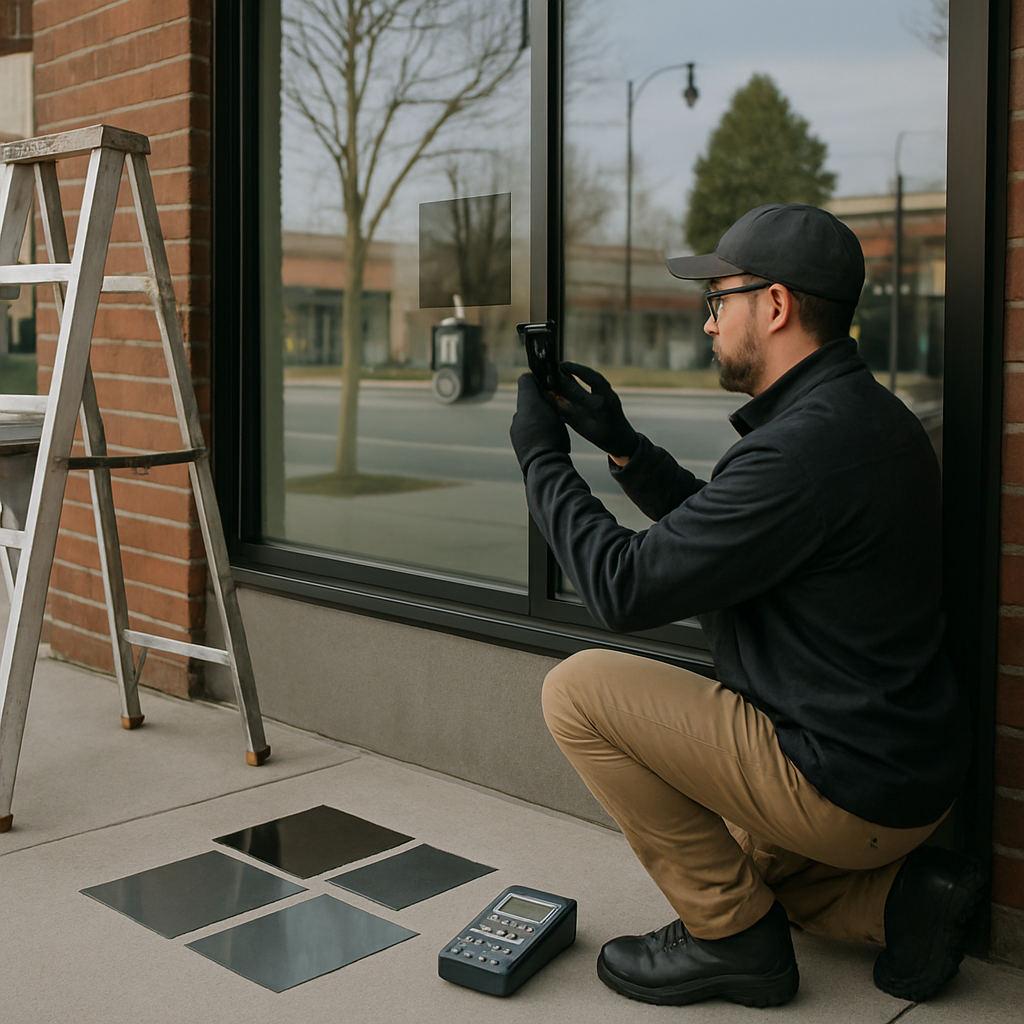
- Target high-impact glazing: Focus on west and southwest façades, skylights, and tenant amenity spaces where occupant comfort and display temperatures drive costs or complaints.
- Select measurable metrics: Track pre/post building energy, peak demand, interior surface temperature, and a simple tenant satisfaction score to capture non-energy benefits.
- Calculate conservative savings: Use manufacturer SHGC deltas applied to measured solar exposure and convert to kWh with your utility rate. Include a sensitivity case that assumes 50 percent of modeled savings to avoid overpromising.
- Present payback scenarios: Show best, expected, and conservative cases and include non-energy benefits monetized where possible, for example reduced inventory replacement or reduced vacancy days.
Trade-off to expect: The fastest paybacks come from targeting a few high-exposure areas rather than treating an entire building. Small, scattered installs are easy to sell to finance but usually deliver limited whole-building ROI. If your goal is short payback, prioritize high solar-load façades or shared tenant spaces.
Product guidance with commercial fit in mind: For neutral appearance and strong heat rejection choose spectrally selective films such as 3M Prestige Series for tenant-facing offices; for large low-iron storefronts consider Solar Gard Ultra Performance; LLumar CTX balances clarity and thermal control where visual merchandising matters. My judgment: avoid highly reflective mirror films on multi-tenant buildings unless the site is isolated and aesthetics are not an issue.
Project snapshot: A downtown Redmond retail tenant opted for a spectrally selective film on the south storefront and a clear security laminate at the lower panes. Management tracked display case temperatures and a simple daily sales log for sun-exposed merchandise for three months. The owner documented fewer faded items and a drop in midday display case temperatures, which management translated into lower display replacement costs and a smoother sales cadence during sunny weekends.
| Commercial KPI | How to measure | Why it matters to ROI |
|---|---|---|
| Cooling energy (kWh) | Building meter or submeter on conditioned zone | Direct utility cost reduction and payback input |
| Peak demand (kW) | Utility interval data or BMS | Reduces demand charges and HVAC oversizing pressure |
| Tenant comfort score | Short survey or complaint log pre and post install | Drives retention, fewer vacancy days, and lease value |
| Inventory fade or spoilage | Visual inspections and replacement cost tracking | Tangible savings for retail and display-heavy tenants |
Next consideration: When preparing a proposal for executives, put energy savings next to operational savings and risk reduction. For a site-specific, documented ROI and product recommendation request a survey from Tinting Oregon and include measured baseline data to avoid optimistic modeling.
Installation process, costs, timelines, maintenance, and warranty expectations
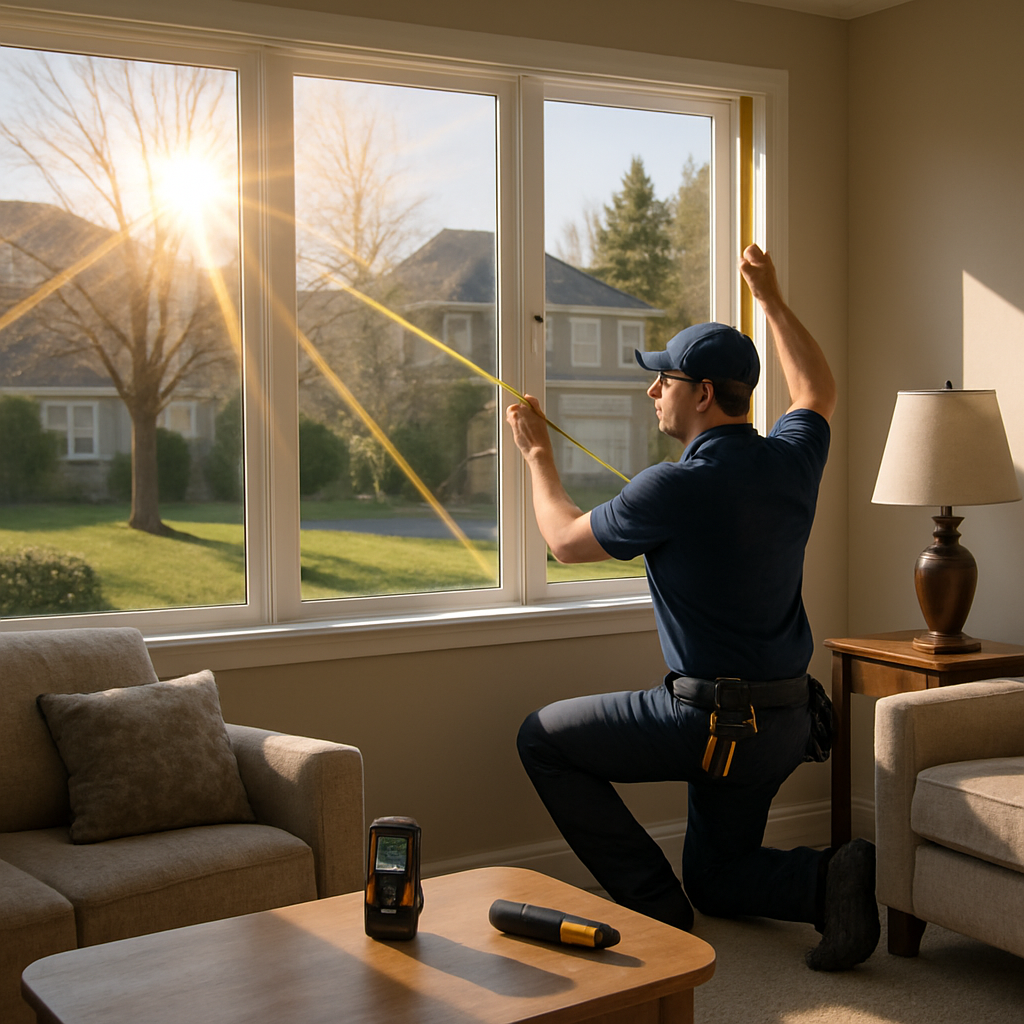
Straight to the point: professionally installed film is a systems job — measurement, surface prep, controlled application, and follow-up — not a quick sticker job. For anyone evaluating window tinting redmond oregon, the quality of the site survey and a small test patch predict more of the project outcome than the brand name on the proposal.
Typical installation steps: a technician documents glass type and orientation, confirms any IGU or low-e issues, applies a 2–3 sq ft test patch when needed, schedules the install for appropriate weather, and completes the full application with edge trimming and defect inspection. Do not accept proposals that skip an on-site verification or refuse to run a patch.
On-site timeline and what to expect the day(s) of install
- Pre-install (30–90 minutes): technician protects floors and hardware, removes screens and loose sashes where applicable.
- Application (varies): small residential rooms often finish the same day; larger storefronts or channel-mounted security systems take multiple days because of mechanical anchoring and curing windows.
- Post-install check (30–60 minutes): installer trims edges, clears adhesive residue, documents finished panes and photographs the work for warranty records.
Cost drivers and realistic expectations: installed price depends far more on access, glass condition, and film performance class than on the nominal film brand. Curved glass, second-story access, channel-mounted security systems, and pre-existing IGU failures add the bulk of additional cost. If a proposal quotes a flat per-square-foot price without line-items for access or framing work, treat it as incomplete.
Maintenance and the early period: treat the first 30 days as a hands-off window for adhesives to finish settling — avoid pushing on edges, using razor blades, or cleaning aggressively. For routine care use a soft cloth, mild soapy water, and avoid ammonia or abrasive cleaners; that preserves adhesion and optical clarity. If a hazy residue or edge lift appears in the first month, the installer should correct it under workmanship coverage.
Warranty realities and what to confirm: expect two distinct warranties — one from the film manufacturer (covers peeling, discoloration, adhesive failure on the product) and one from the installer (covers workmanship). Ask for the exact model number, the manufacturer warranty PDF, and the installer workmanship period in writing. My judgment: pick a contractor who will put the manufacturer warranty on the proposal and who is willing to show proof of factory training — that combination reduces disputes later.
Practical tradeoff to plan for: scheduling matters in Central Oregon. Installers prefer moderate temperatures and low direct sun during application because very hot glass shortens working time and cold slows adhesive curing. If you push an install into peak sun or freezing conditions to meet a deadline, expect appearance issues or longer curing observations — insist on a weather contingency in the contract.
Concrete example: Tinting Oregon performed a downtown storefront retrofit where two insulated panes showed mild edge fogging during the survey; the crew replaced the failing IGUs, then completed a two-day install of spectrally selective film and channel-mounted lower panes. The tenant saw immediate glare reduction the first afternoon, and a minor adhesive haze on a corner resolved within the initial month under the installer warranty — no charge and with before/after photos documented in the proposal.
Bottom-line consideration: prioritize documented compatibility and workmanship over the lowest bid; correct diagnostics and a controlled install save more money and headaches than a cheap per-square-foot number.
Local considerations, incentives, and next steps for Redmond property owners
Start locally: the economics and approvals for window film in Redmond hinge on three practical checks — building permits and any historic or HOA rules, available utility or state incentives, and a site-specific survey that maps orientation and base glass type. Skip these and you risk delayed rebates, rejected HOA requests, or a film that behaves poorly on an older IGU.
Permits, HOAs, and code checkpoints
Check before you buy: contact the City of Redmond Building Department to confirm whether your project needs a permit or design review and verify if your property sits in a historic overlay. Many HOAs have rules on reflectivity and visible tint; get written approval before ordering reflective or dark films. See the City site for contacts and forms: City of Redmond Building Department.
Incentives and the gotchas
Incentives exist, but they come with conditions. Energy Trust of Oregon and some local utilities run programs and technical audits that can reduce net cost for energy-focused solar control films; however, most require pre-approval or a qualifying audit before purchase. Start incentives conversations early and keep receipts, model numbers, and pre/post energy documentation for application.
- Week 0 — Prepare: photograph every treated façade, note window orientations, and pull two months of summer utility bills.
- Week 1 — Audit/Pre-checks: schedule a short site survey with a certified installer that documents glass type and provides film model recommendations; ask the installer to flag any IGU or low-e compatibility risks.
- Week 2 — Incentive pre-clearance: contact Energy Trust of Oregon to confirm program eligibility and whether a pre-inspection or application is required.
- Week 3 — Trial & quotes: request a 2–3 sq ft test patch and at least two written proposals that list exact film model numbers, manufacturer warranty PDFs, and installer workmanship terms.
- Week 4 — Schedule & document: get written HOA approval if needed, finalize incentive paperwork, and book the install for weather-appropriate days (mild temperature, low direct sun).
Practical tradeoff to budget for: chasing the highest SHGC reduction will usually push you toward pricier spectrally selective or ceramic films, and sometimes toward visible change that HOAs dislike. My recommendation: prioritize the minimal visual change that achieves your thermal or privacy goal — it lowers friction with local approvals and preserves resale appeal.
Concrete example: a Redmond multi-family landlord used a paid pre-audit to qualify for an Energy Trust incentive, then applied a spectrally selective film to the five highest solar-load units. The pre-audit was required for the rebate and also uncovered two IGUs that needed replacement first — addressing those before film saved a likely warranty dispute and preserved the incentive eligibility.
Important: do not purchase or install film before confirming rebate pre-approval; retroactive incentive claims are commonly denied.